

bundymania
-
Innlegg
394 -
Ble med
-
Besøkte siden sist
Innholdstype
Profiler
Forum
Hendelser
Blogger
Om forumet
Innlegg skrevet av bundymania
-
-
-
-

Under Construction !

-
Halloween is over....but it´s Time for a Monster again !

-
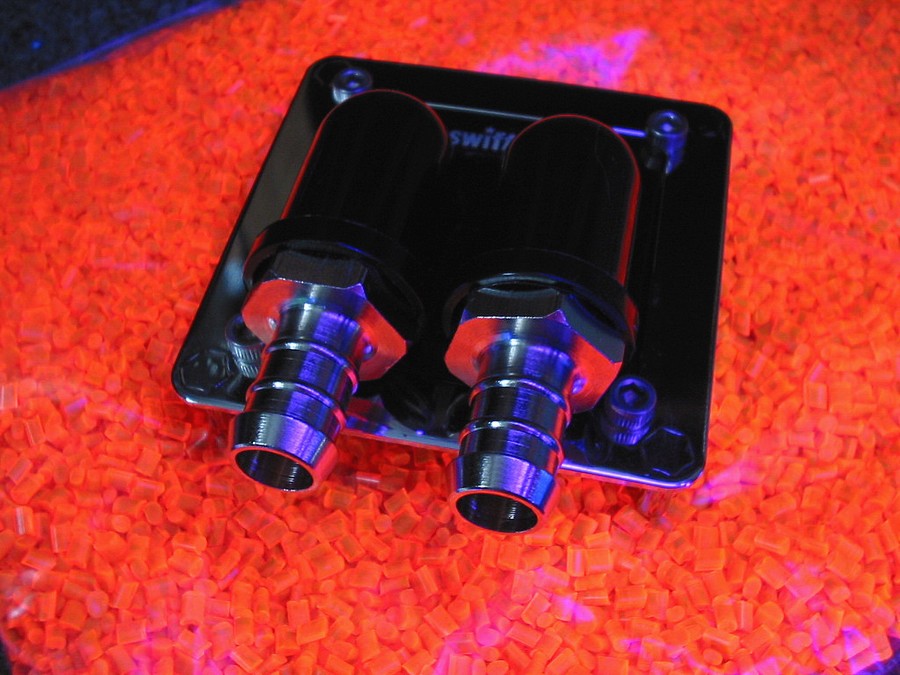
Yeah, it´s an Alphacool Yellowstone, nickel plated by AC-Shop
-
-
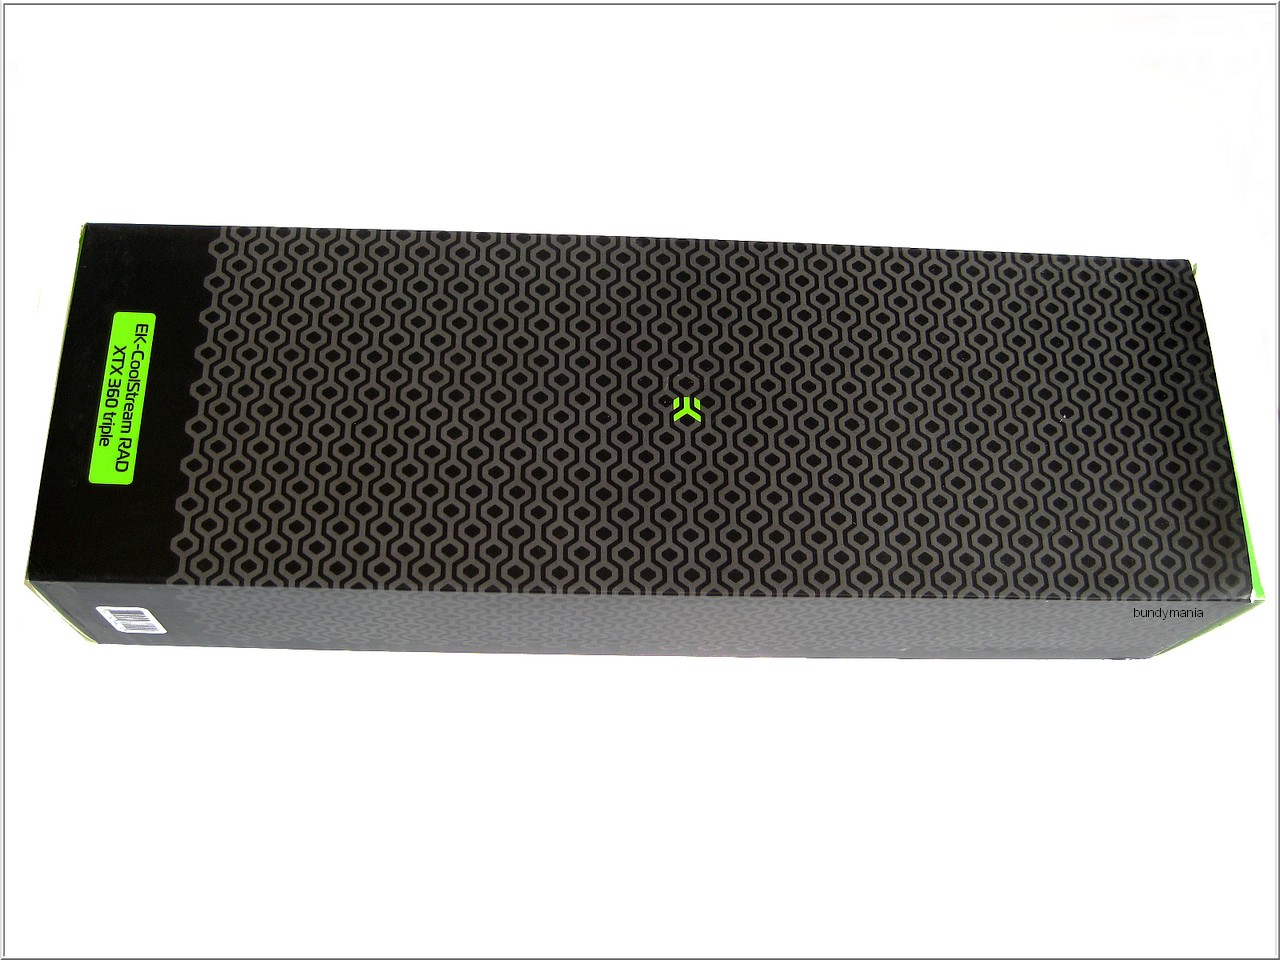
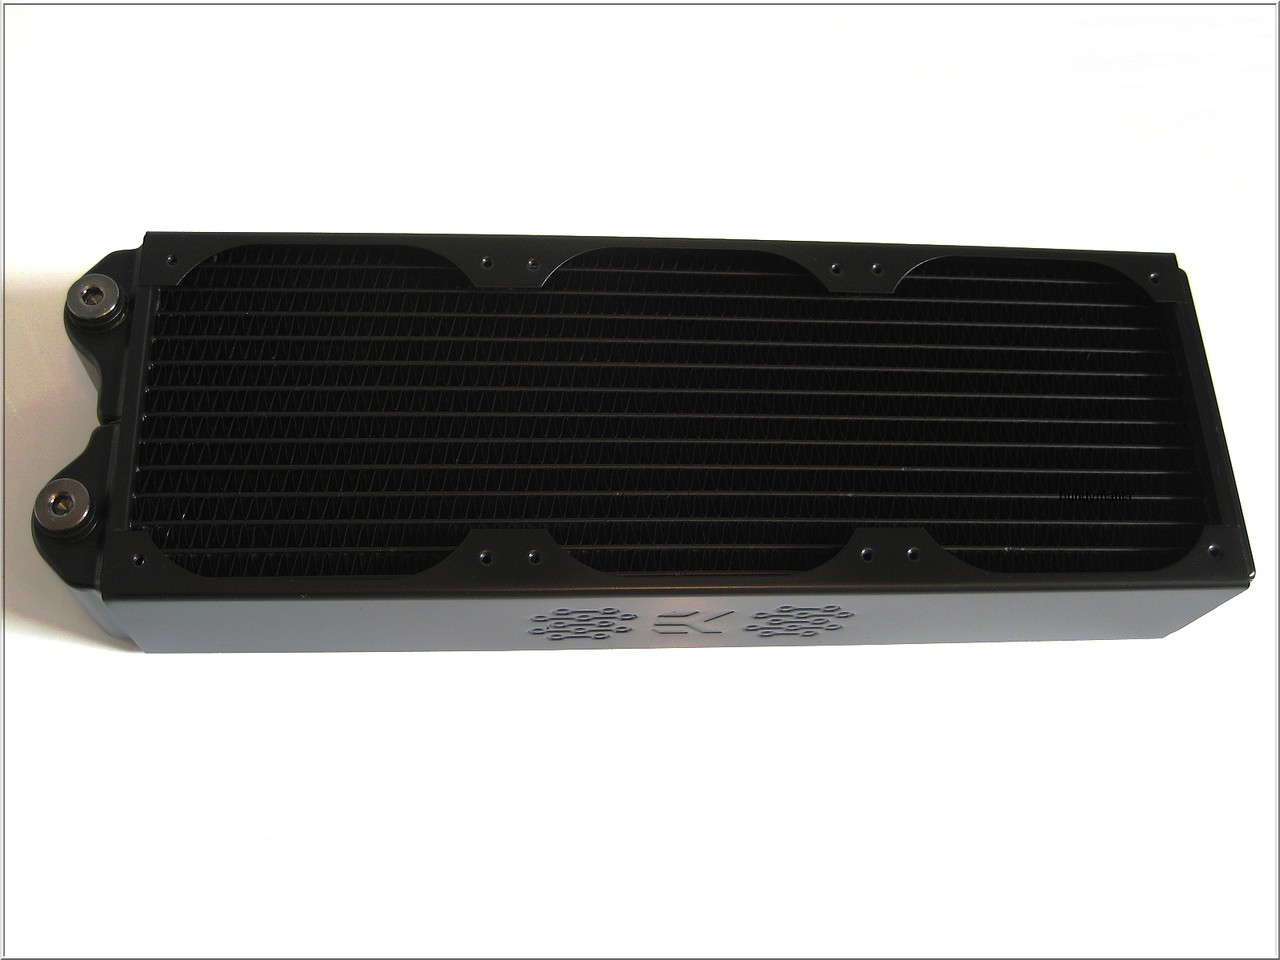
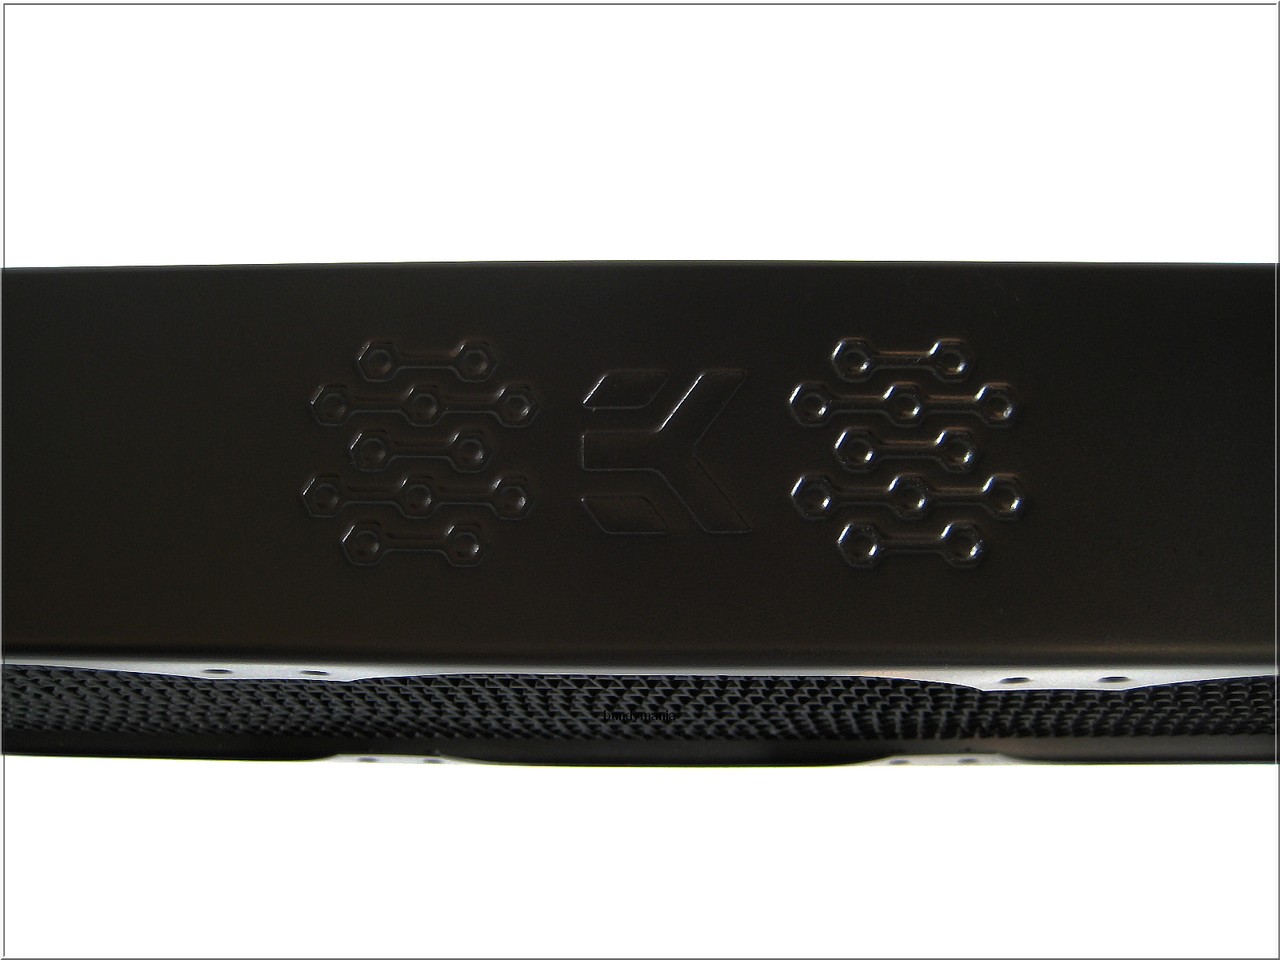
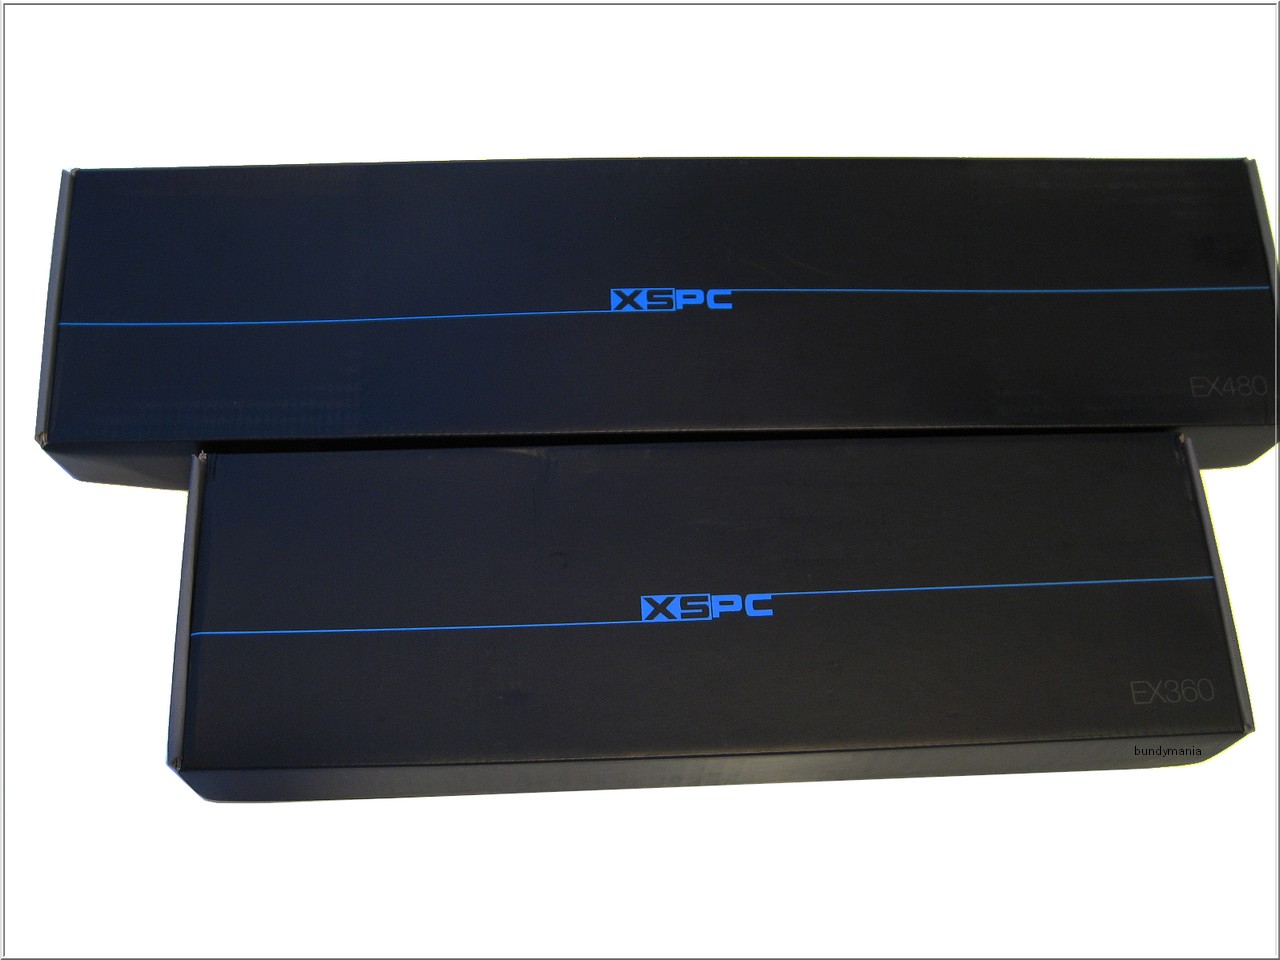
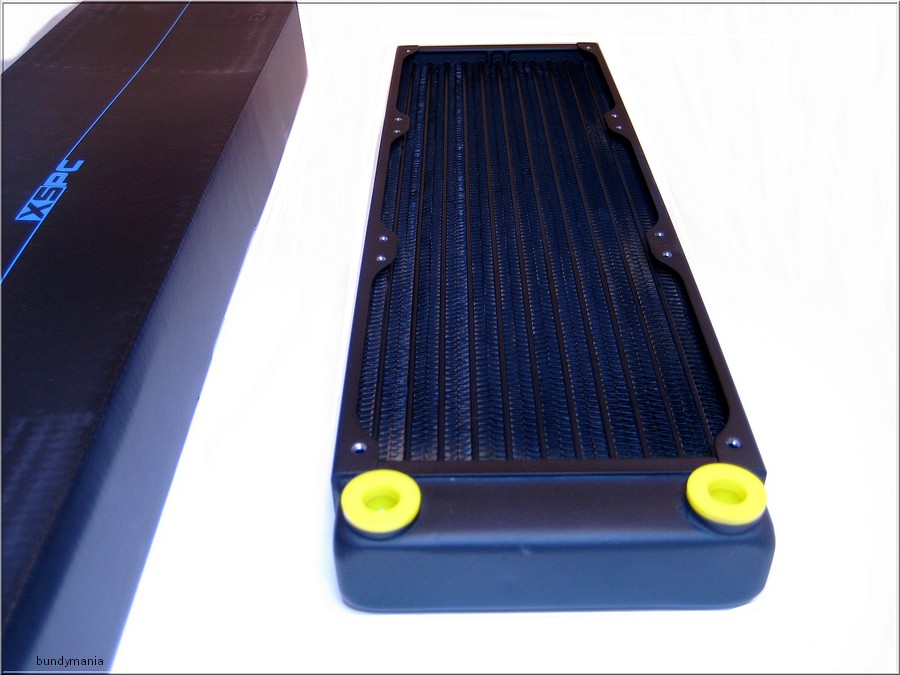
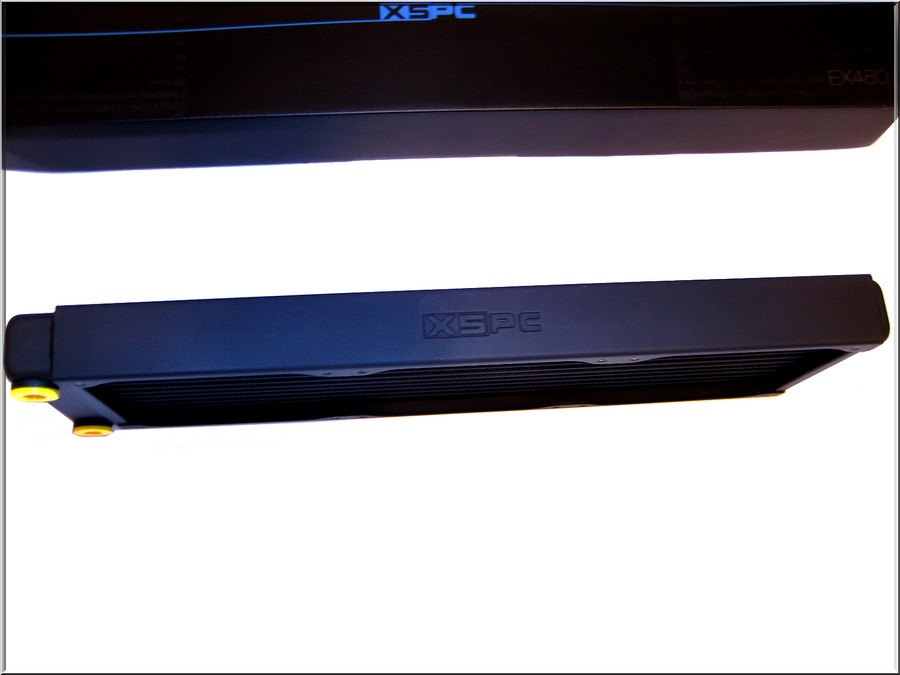
Which one..the small XSPC EX360 ? The new EK XTX is better
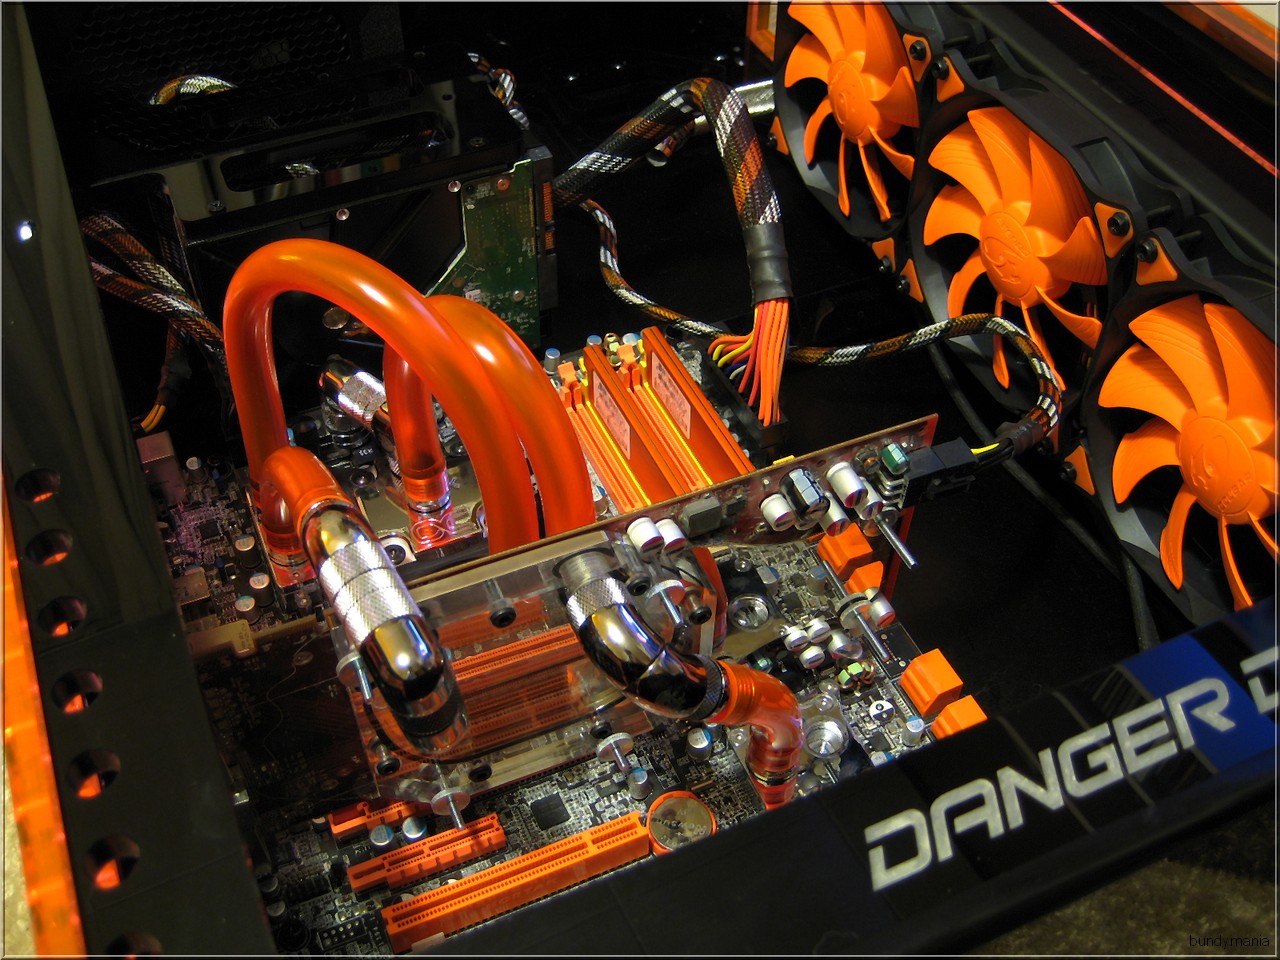
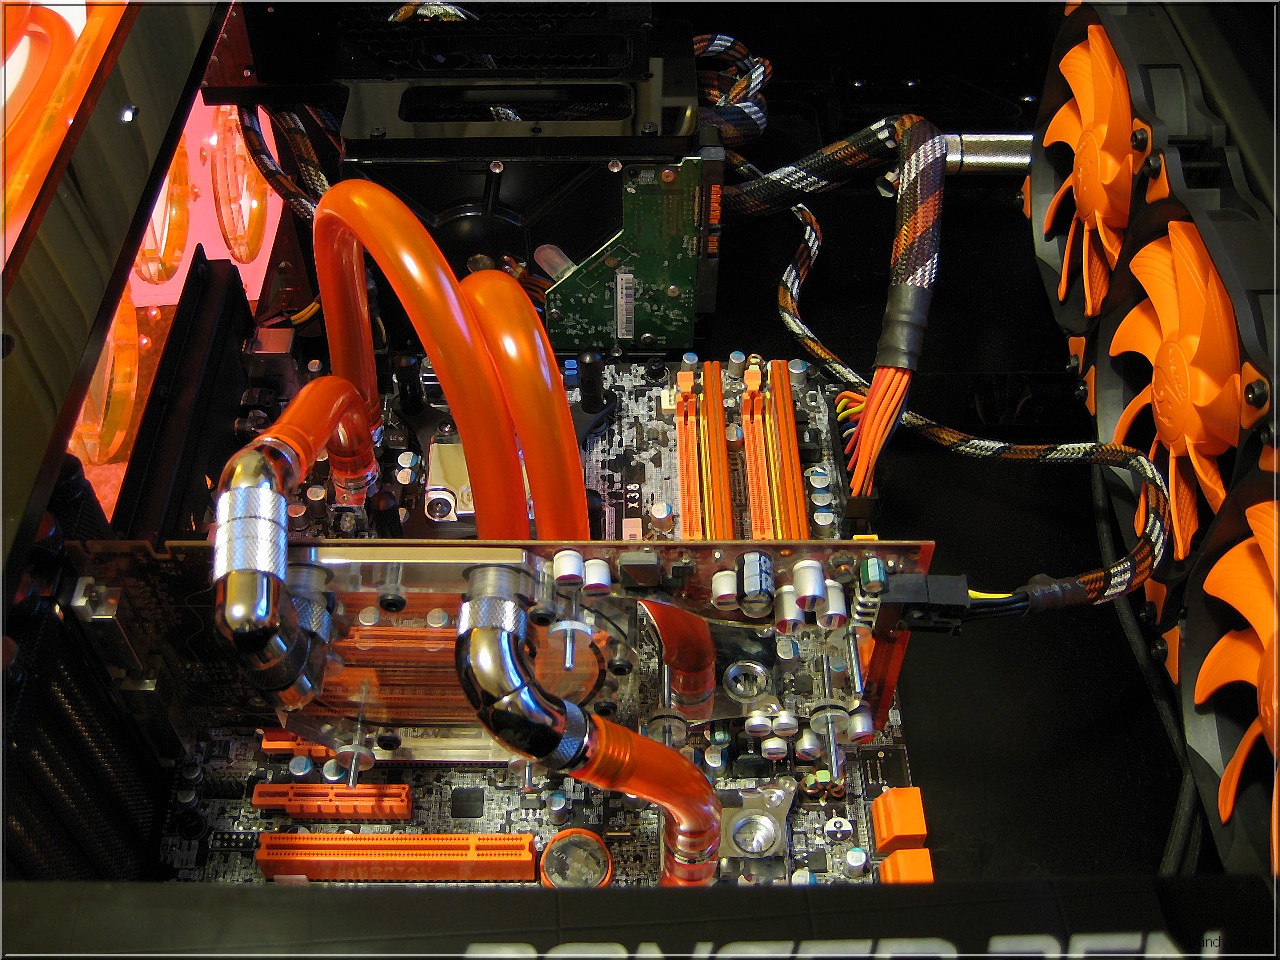
..still work in progress
-
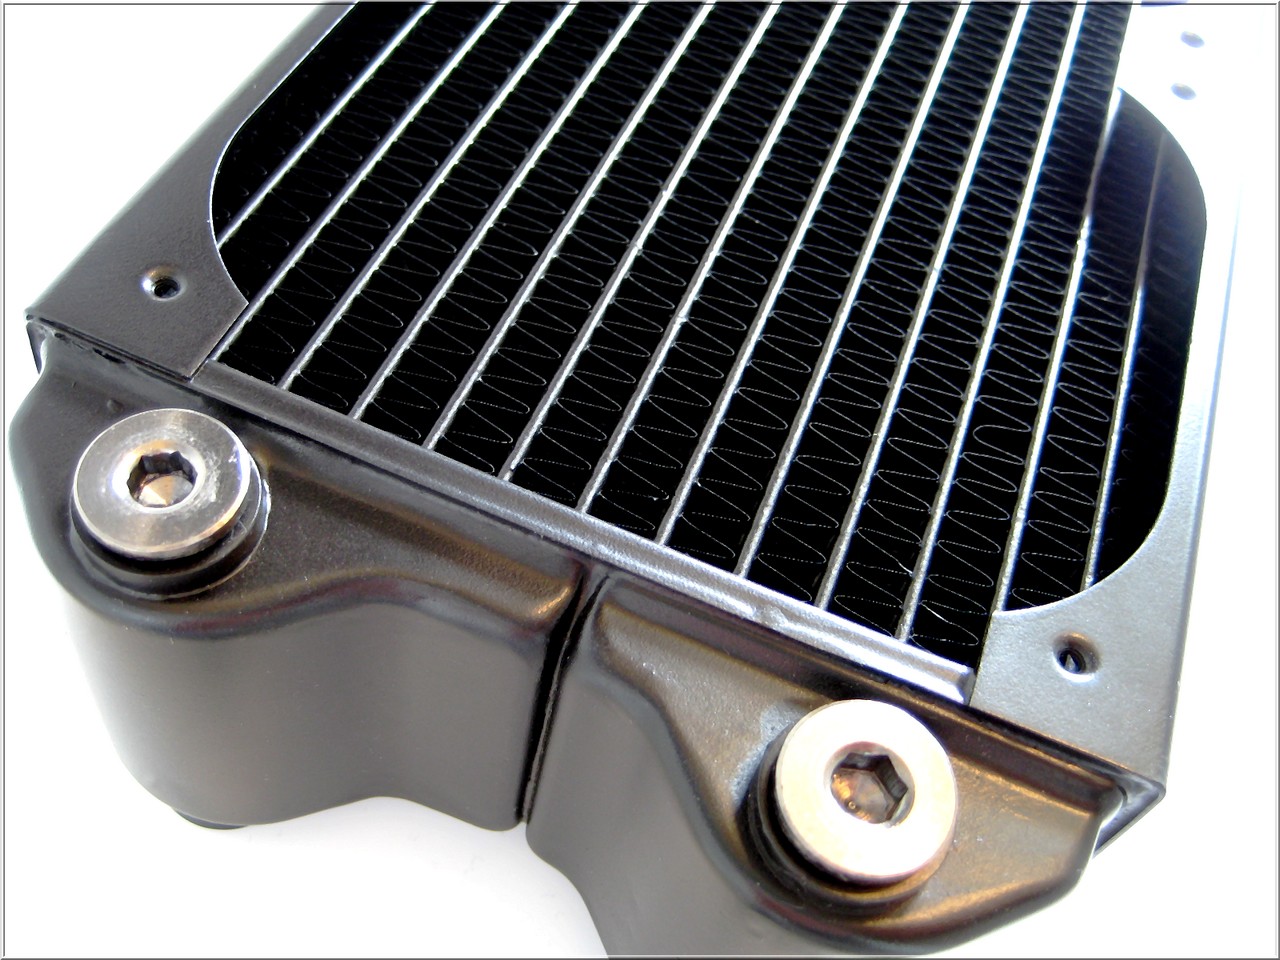
Yes, better than Magicool Slim with 1000 RPM and above...

-
-
Hello Guys,
I started my own thread now, so have fun looking at new products from the watercooling section and sometimes some other stuff:


-
-
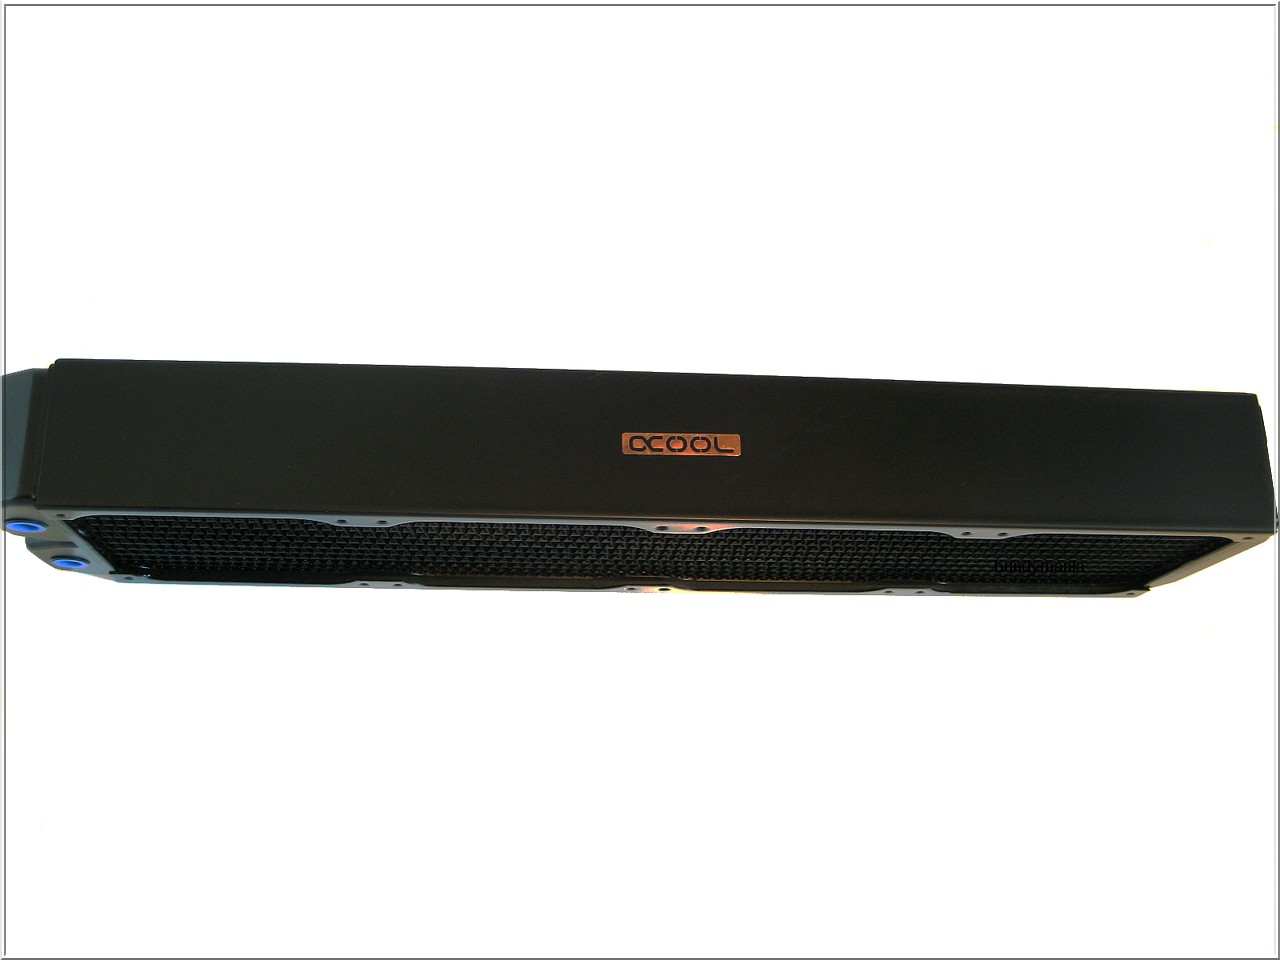
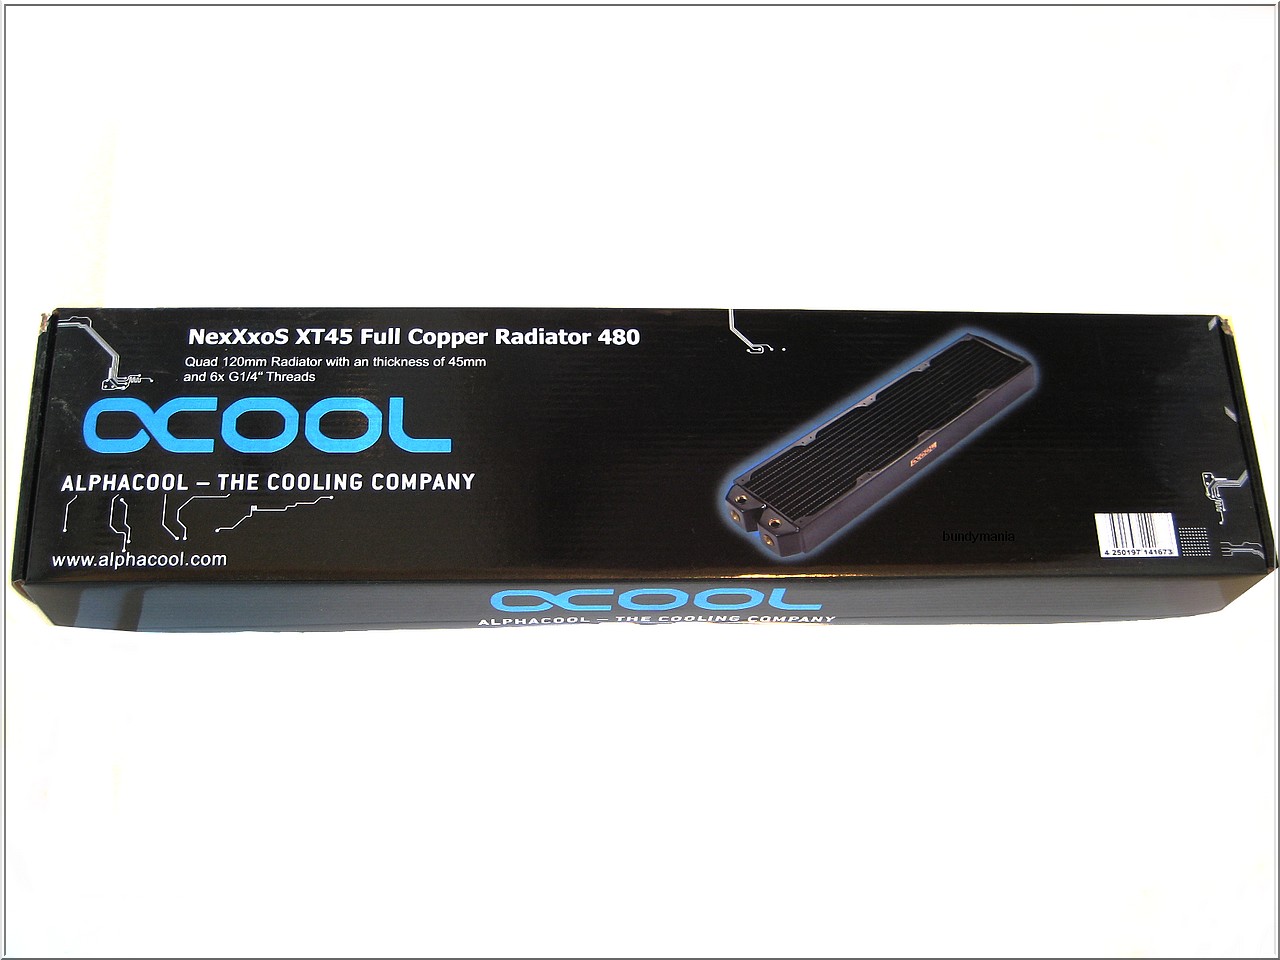
UPDATE :
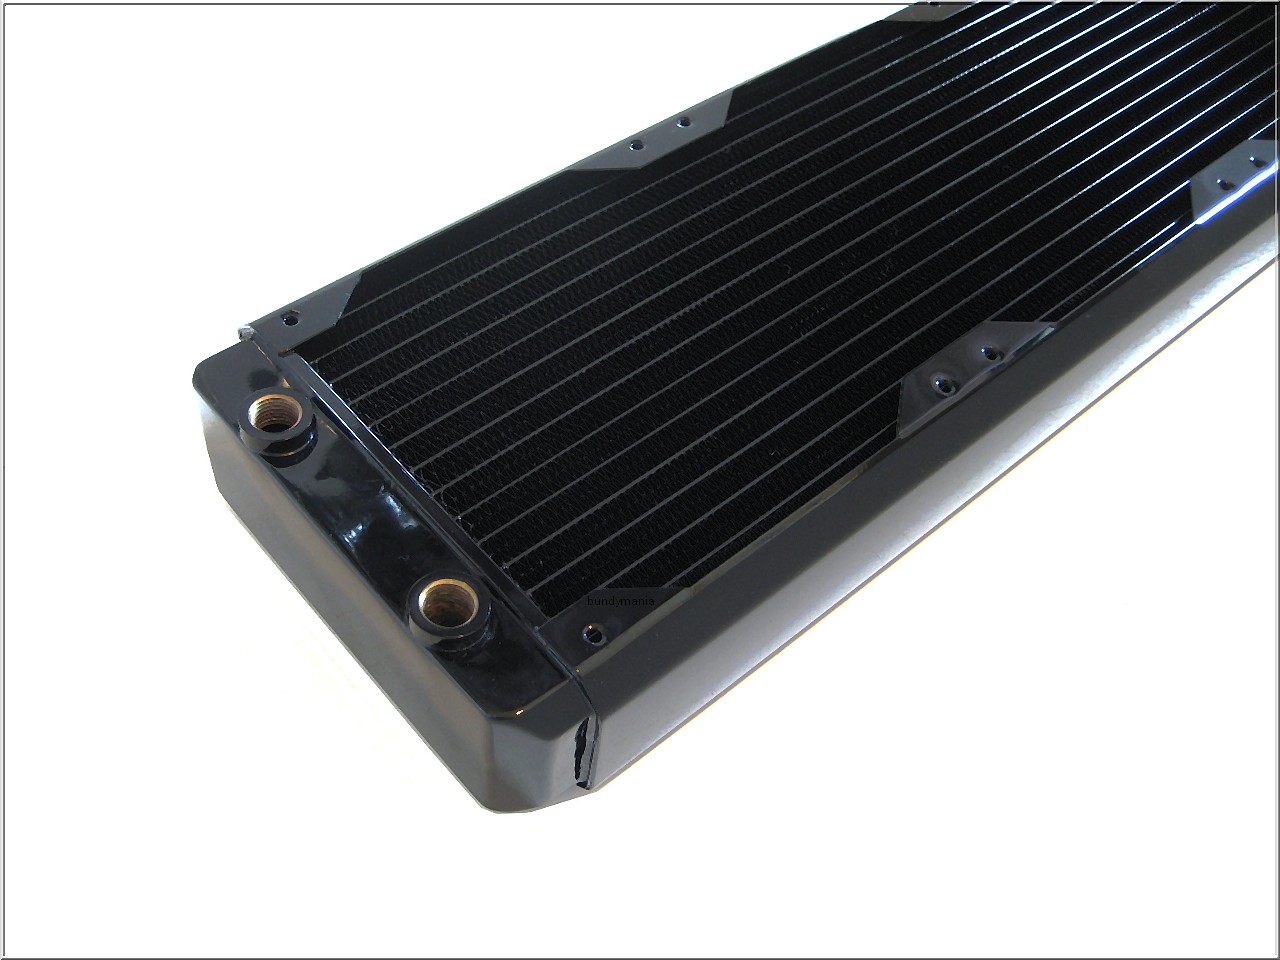
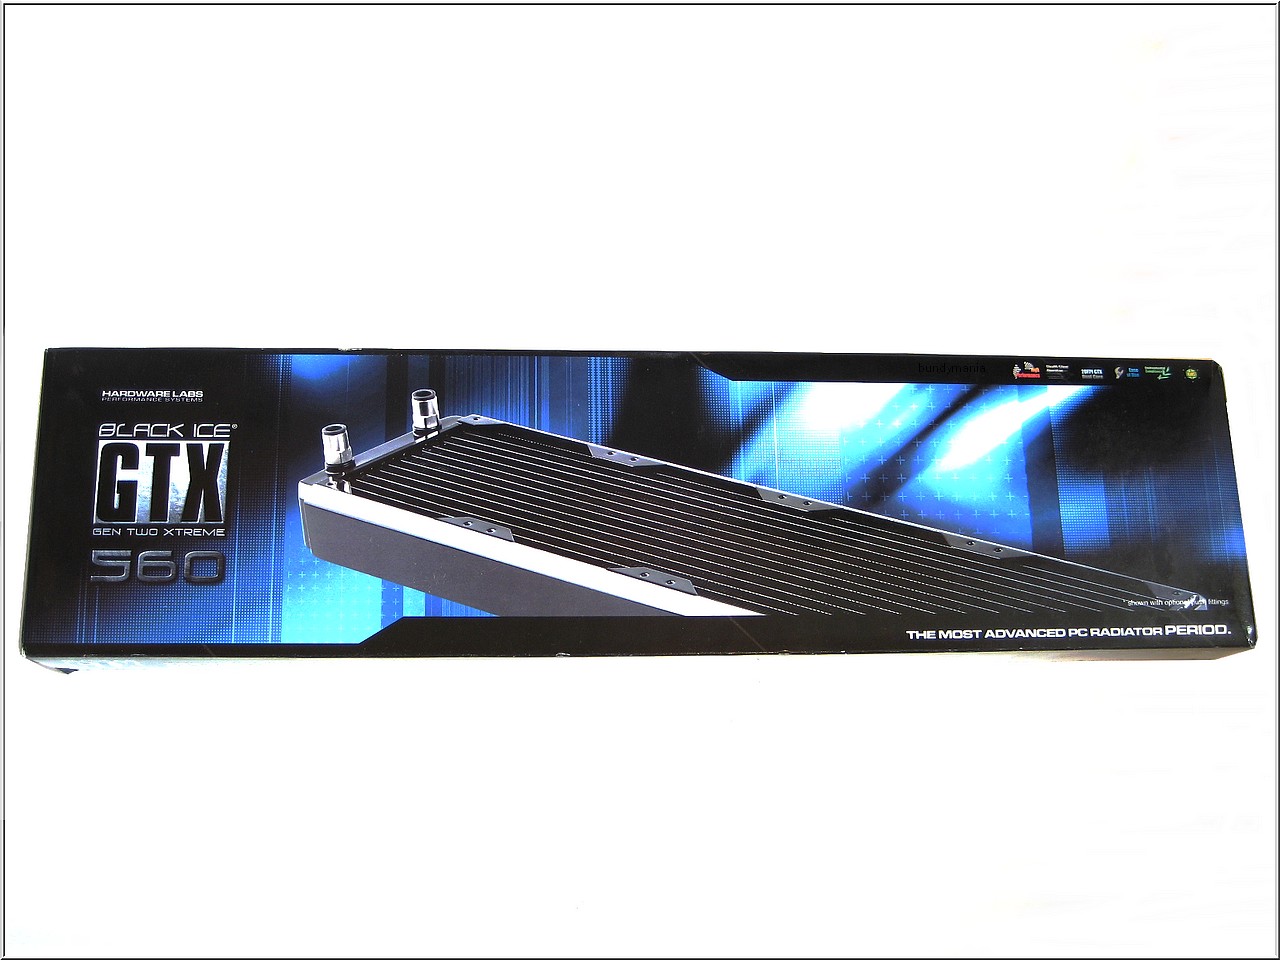
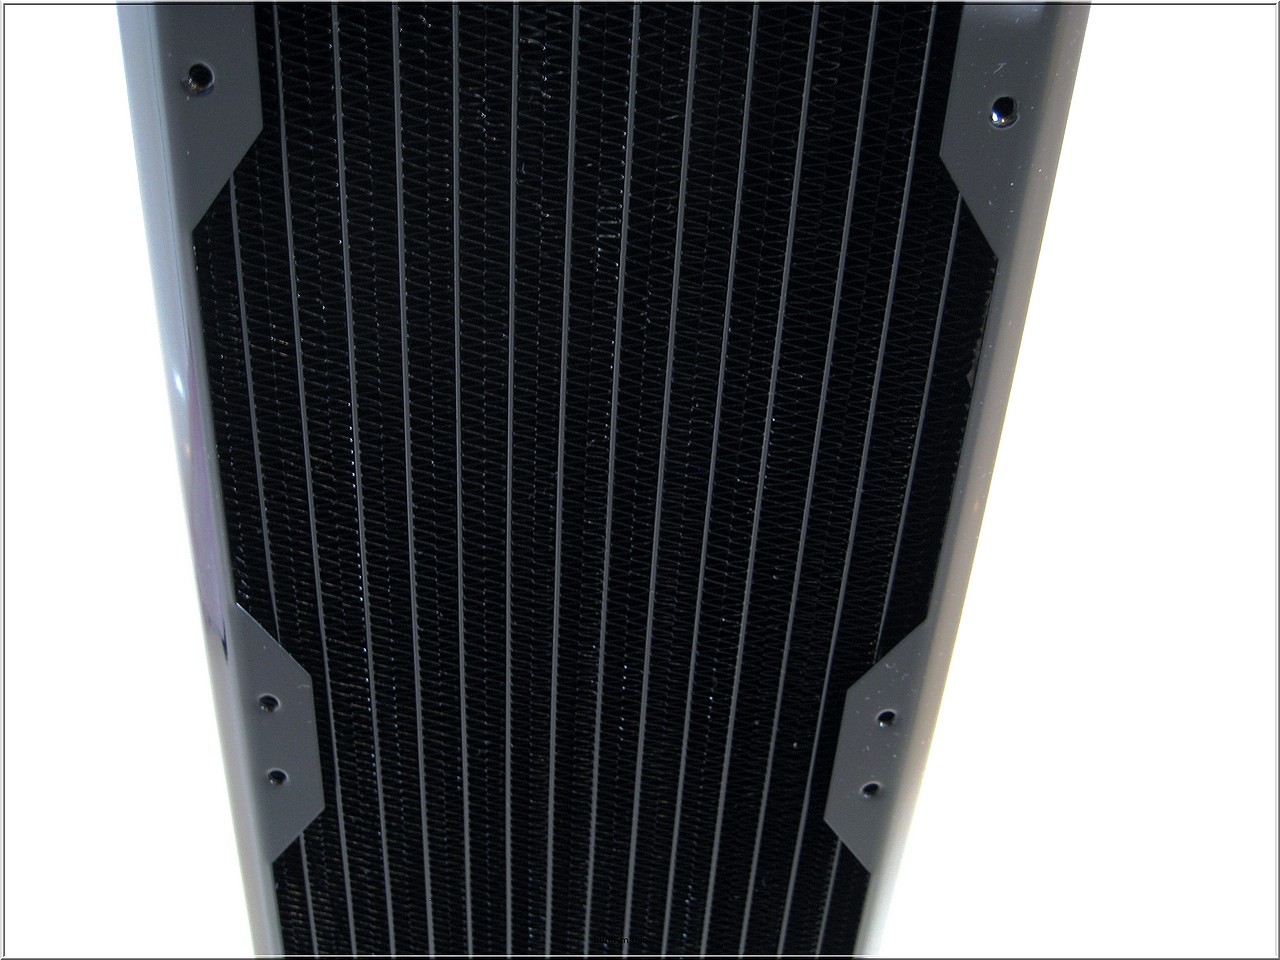
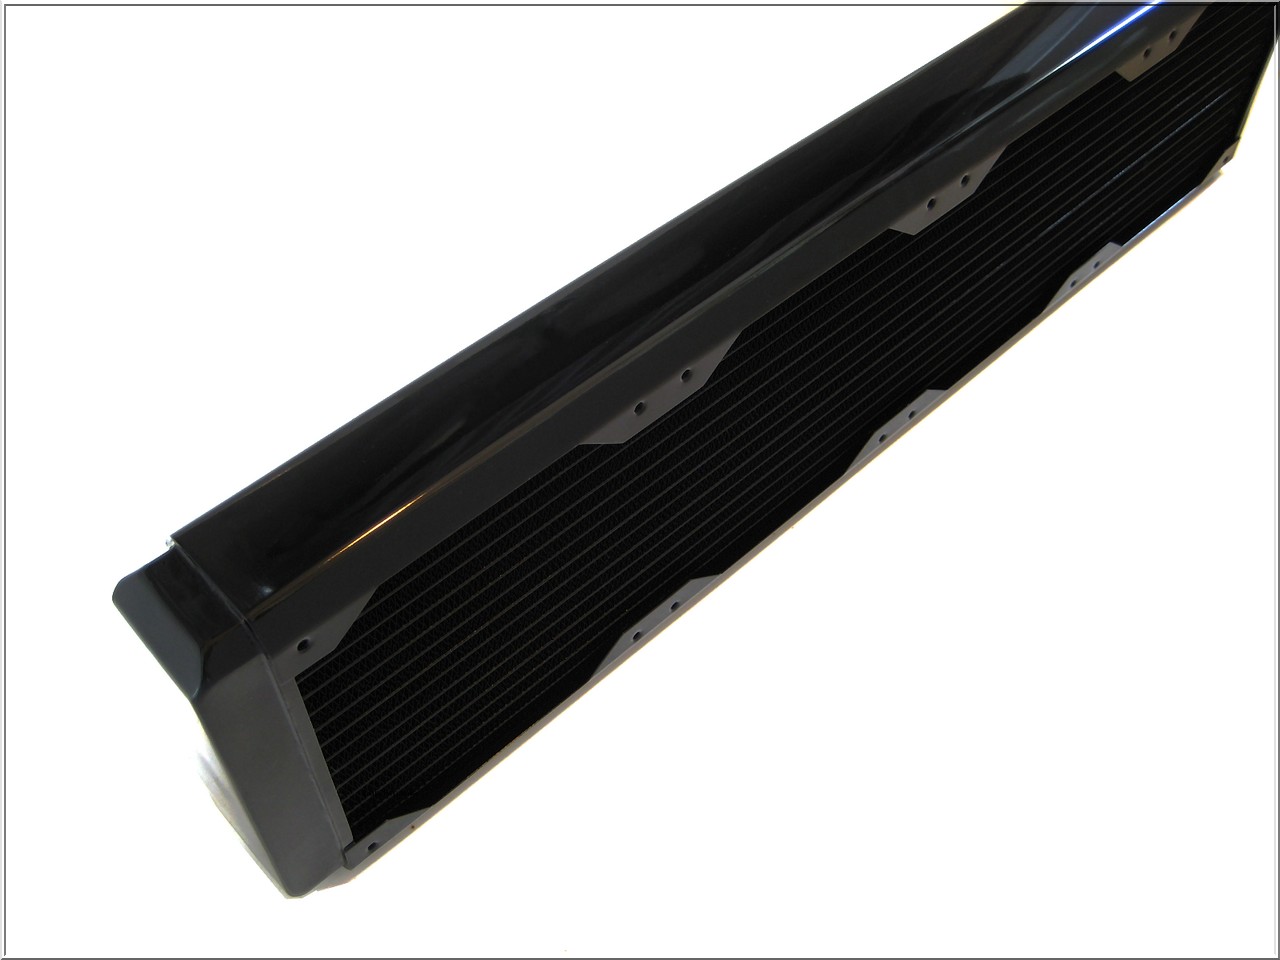
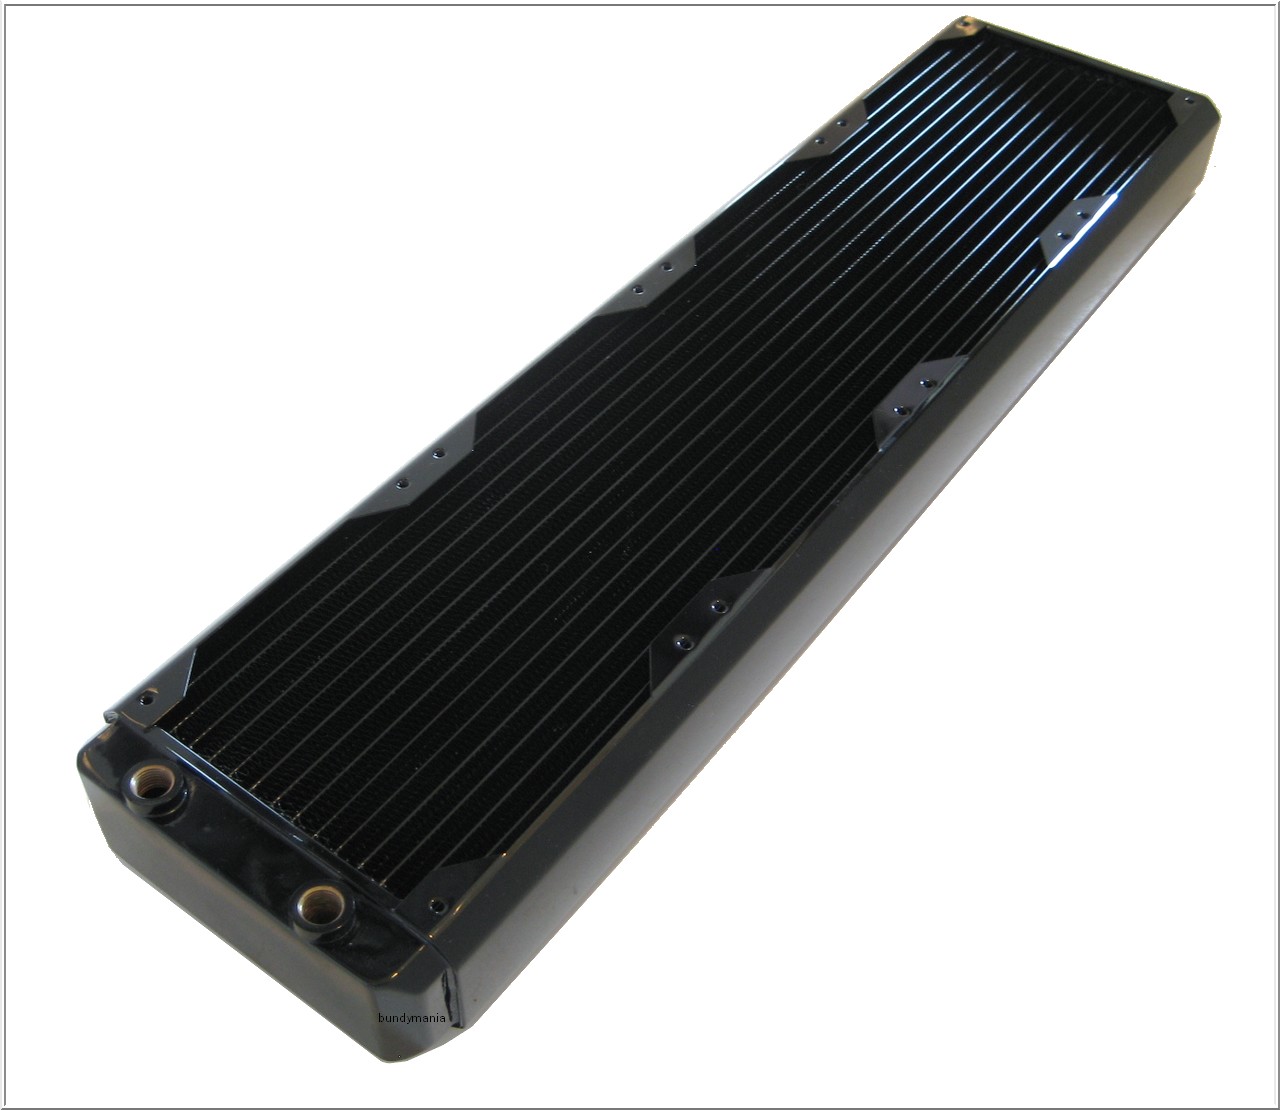
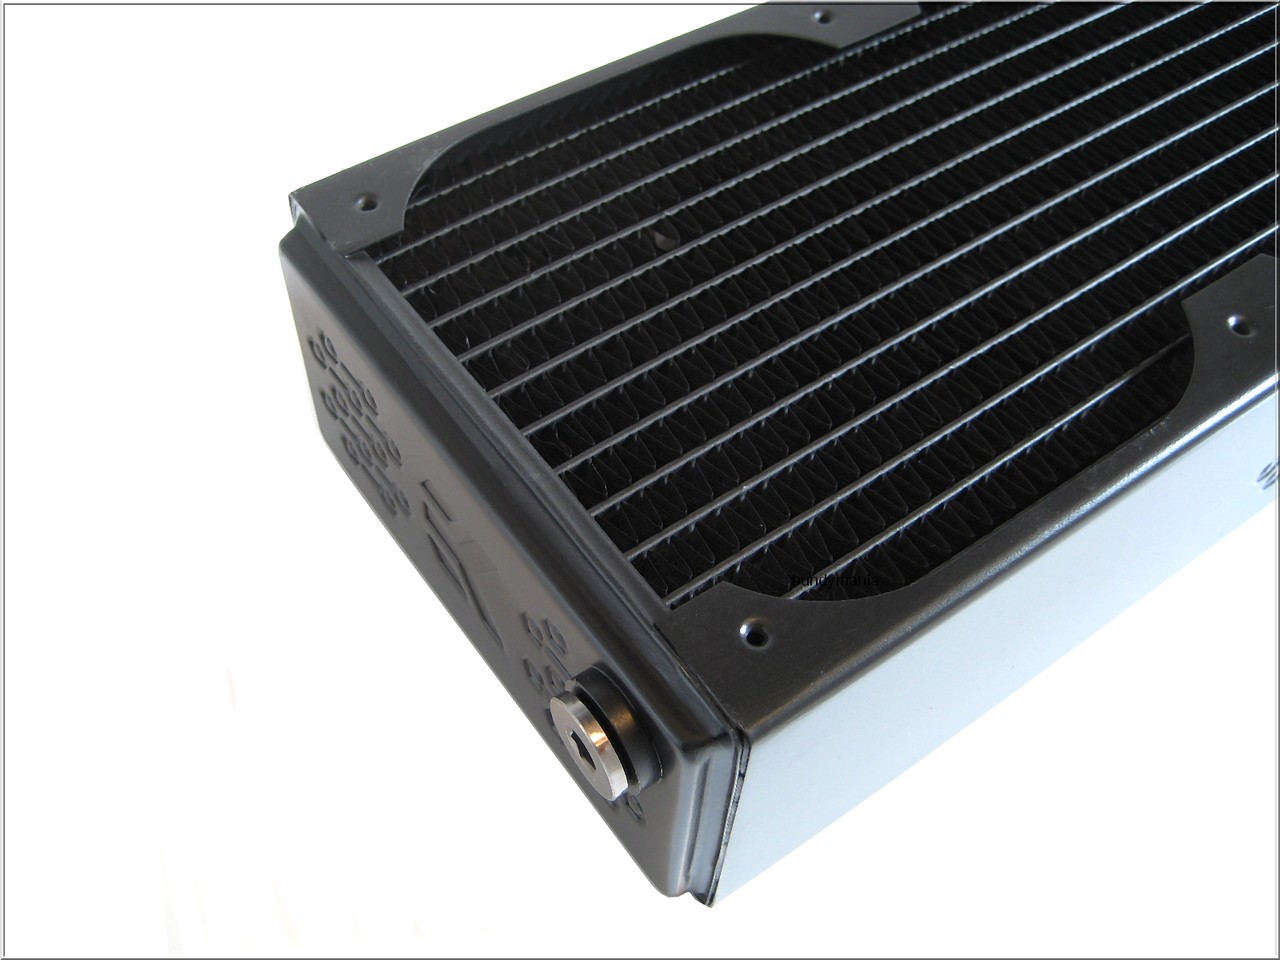
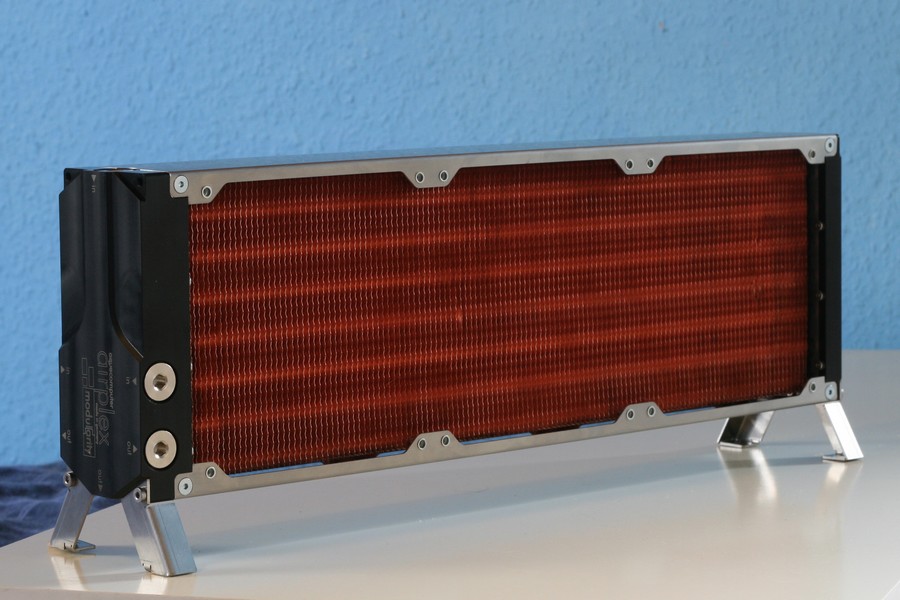
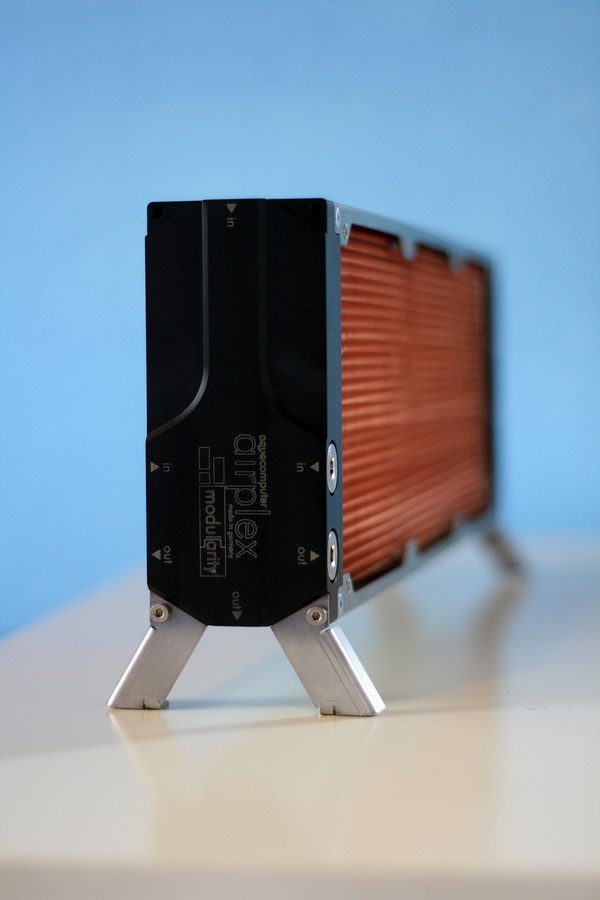
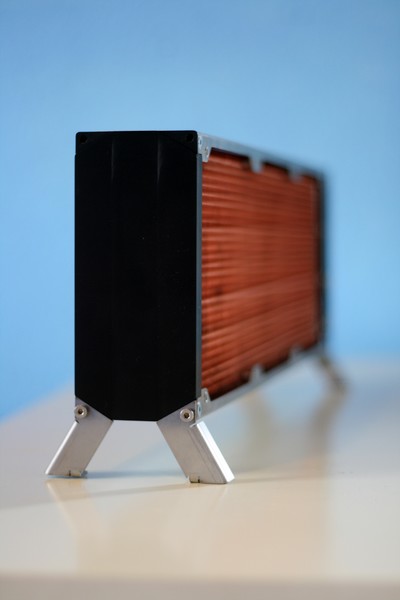
Phobya Xtreme SUPERNOVA 1260 Radiator included !
-
 1
1
-
-
Alex with HIS new House..eeehm....Microcool Banchetto 101 Benchtable !
-
-
Hi Guys in 15 countries and 25 forums where i released this review,
Many from you Enthusiasts out there worldwide already heard from XSPC, based in England, Producer from Watercooling Products since many years.
Now, XSPC has Aluminum Cases in their Portofolio, the H1 Cube, which i tested for you and the H2 Big Tower aswell. Both Cases are ideal for watercooling setups, because there are plenty of space to install many radiators and High End Hardware !
I want to show you the Case in details and equiped with hardware, but first:
The technical specifications:
Dimensions (DxWxH): 619,3 x 475,6 x 529,8mm
Colour: Matte black
Material: Brushed aluminium
Fan openings: 16x120mm
Space for 5x Triple 120mm Radiators
and 1x Single 120mm Radiator
Drive bays:
8x 5.25" drive bays (Baycovers not included!)
5x HDD bay (up to 10 with optional HDD cage)
1x SSD bay (Up to 10 with optional drive bays)
2 Acrylic windows build in
Extent of delivery:
1x XSPC H1 Cube Case
Mounting screws (6 - 32UNC)
Price: ~ 400 Euro
http://www.aquatuning.de/product_info.php/language/en/info/p11643_XSPC-H1-Cube-Case.html
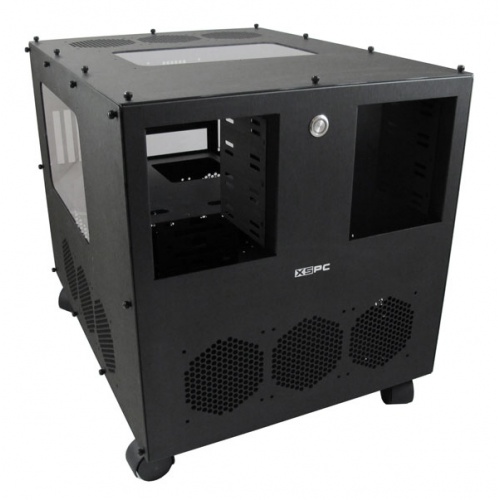
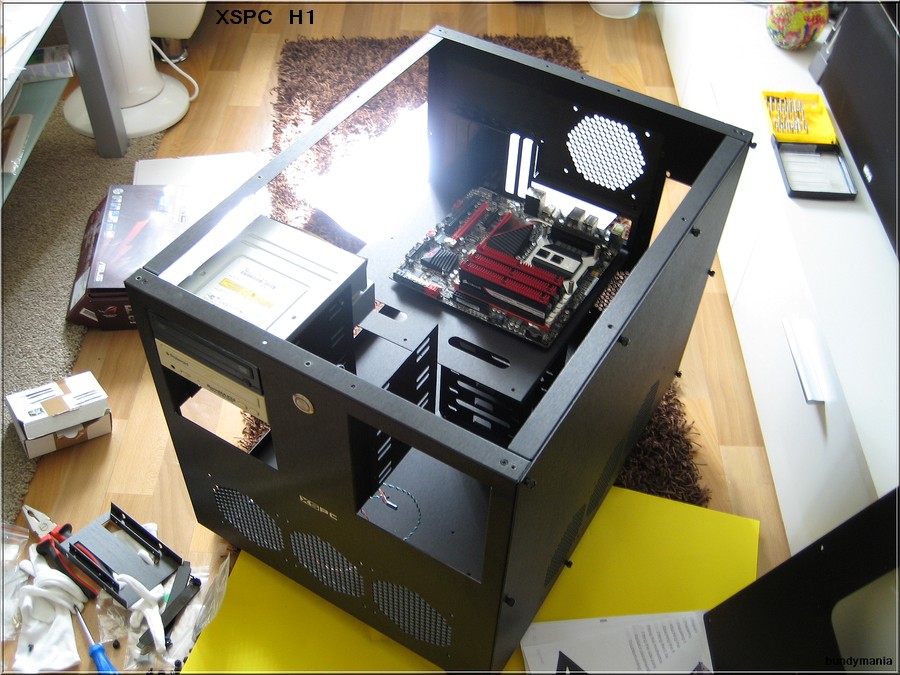
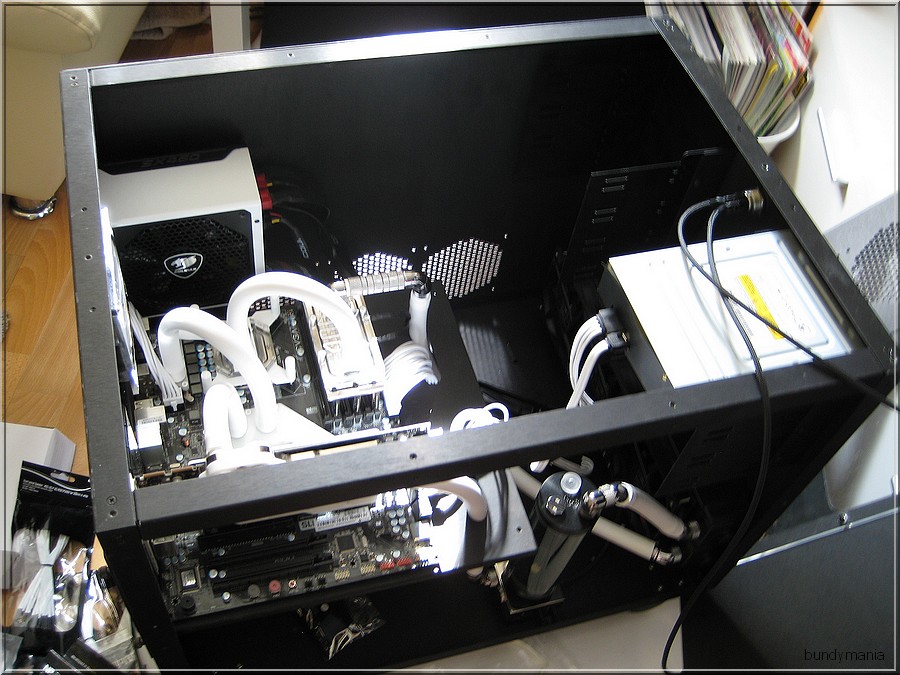
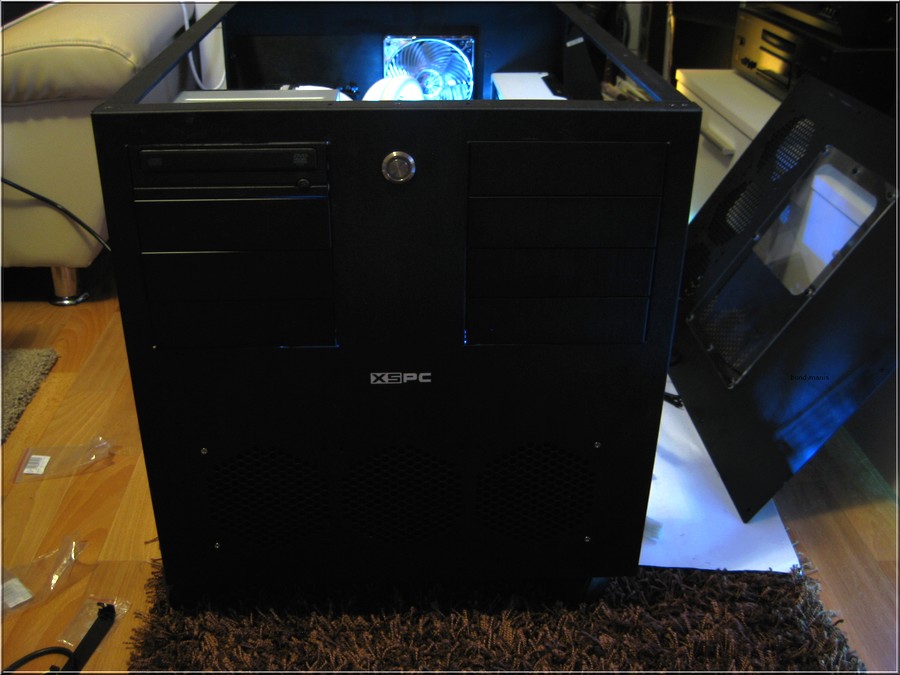
The XSPC H1 is a huge Aluminum Case which comes with a build in side window and another one in the top, so you always can see your nice hardware and watercooling gear
The H1 looks stylish and has so much space for mounting radiators in there. You can install 5x 360 triple rads plus 1x 120mm Rad in the back. So, even a high end Triple-SLI
System could be handled complete internal will all those cooling power from the masses of radiators, which can find their home in this monster case !
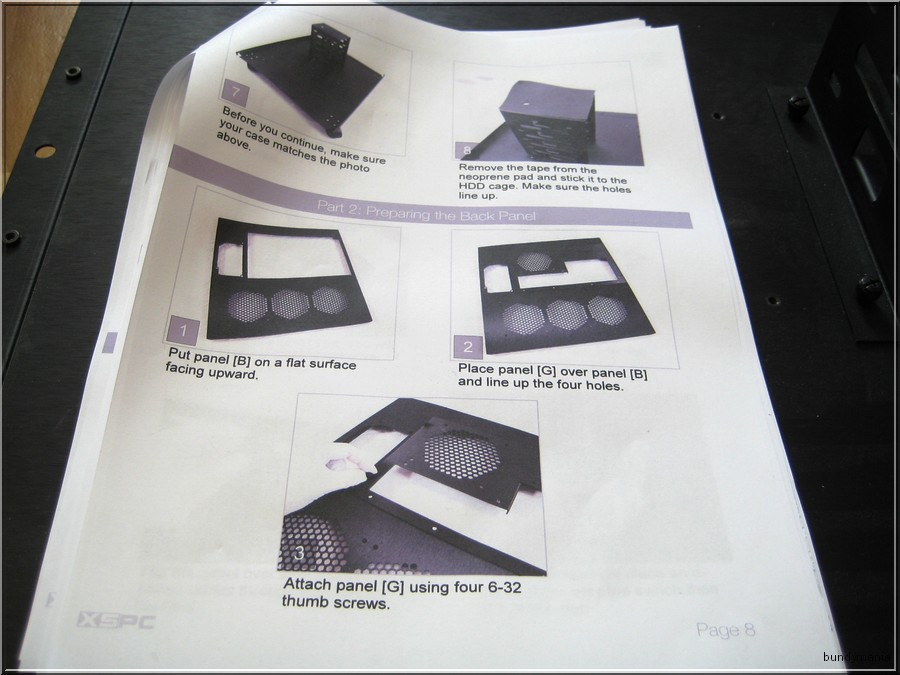
The manual is in english and avaiable to download at the manufacturer site, not included in the package.
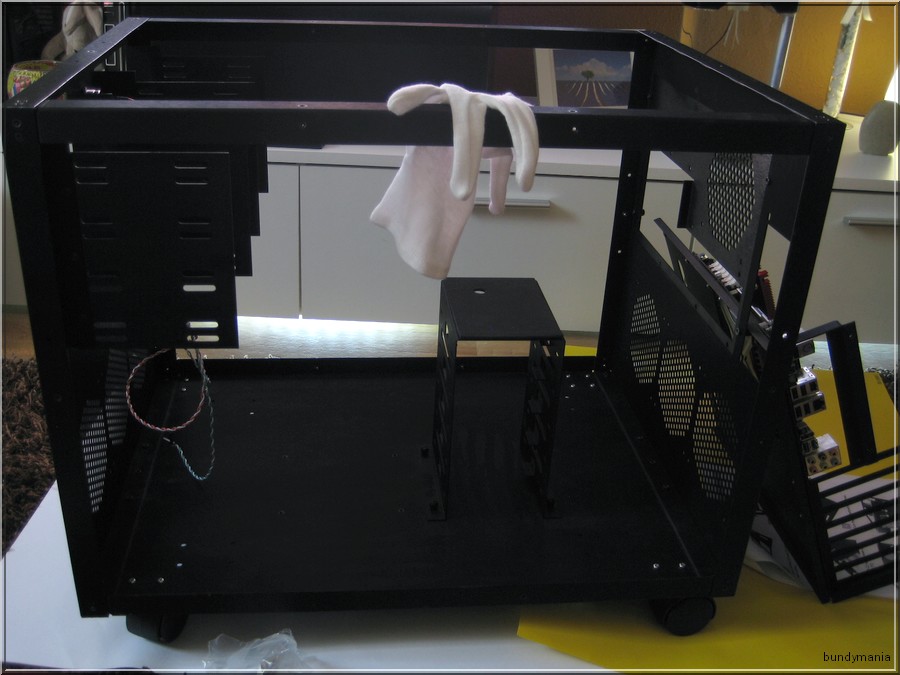
Depending on your skills, it takes about 1-2 hours to completly bring all parts together to a complete functional case.
Most parts fits good, i only had a little problem with the mainboard tray. I had to bend the slot bracket from the graphic card a bit and then it fits and i can fix it with the screw.
The Side panels and top comes together with many thumb screws, so you need no screwdriver to open the case. Same Mechanism inside for the SSD Cage.
In the Frontplate is a nice bulgin power button located, it looks good and is very massive. The Connector cables are not sleeved here. A Reset Button or Front USB/E-Sata Connectors are not available.
Here and there are some sharp edges, so take care, when mounting the optical drives in the front. Best method is, to dismount the top, when you install optical drives.
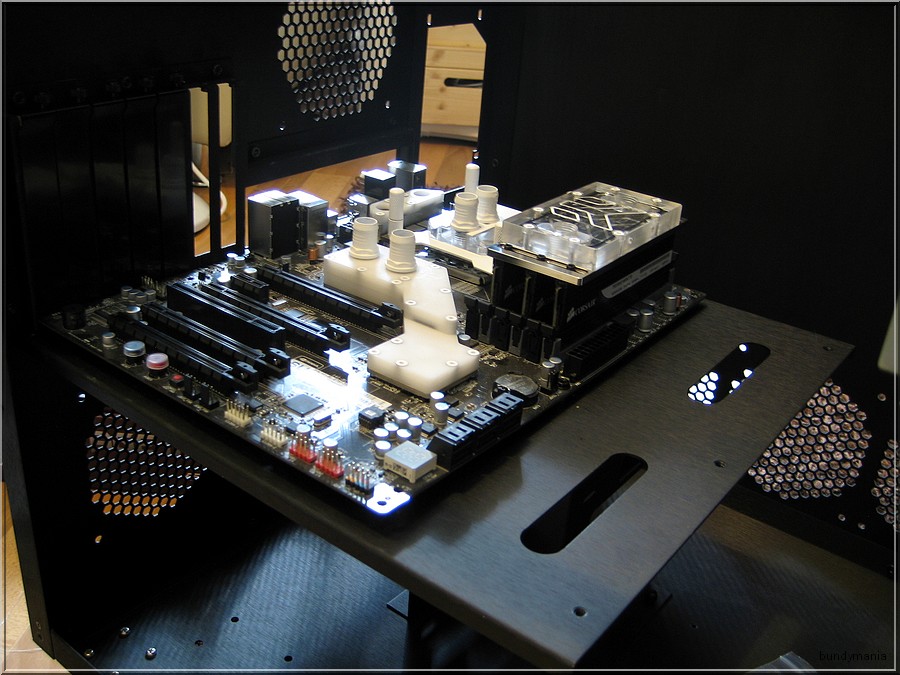
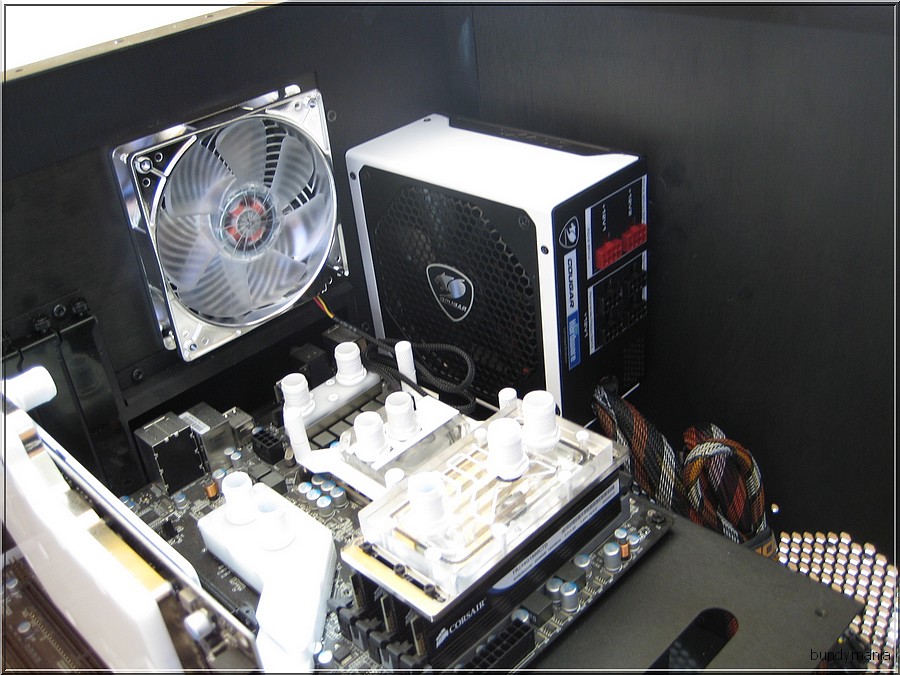
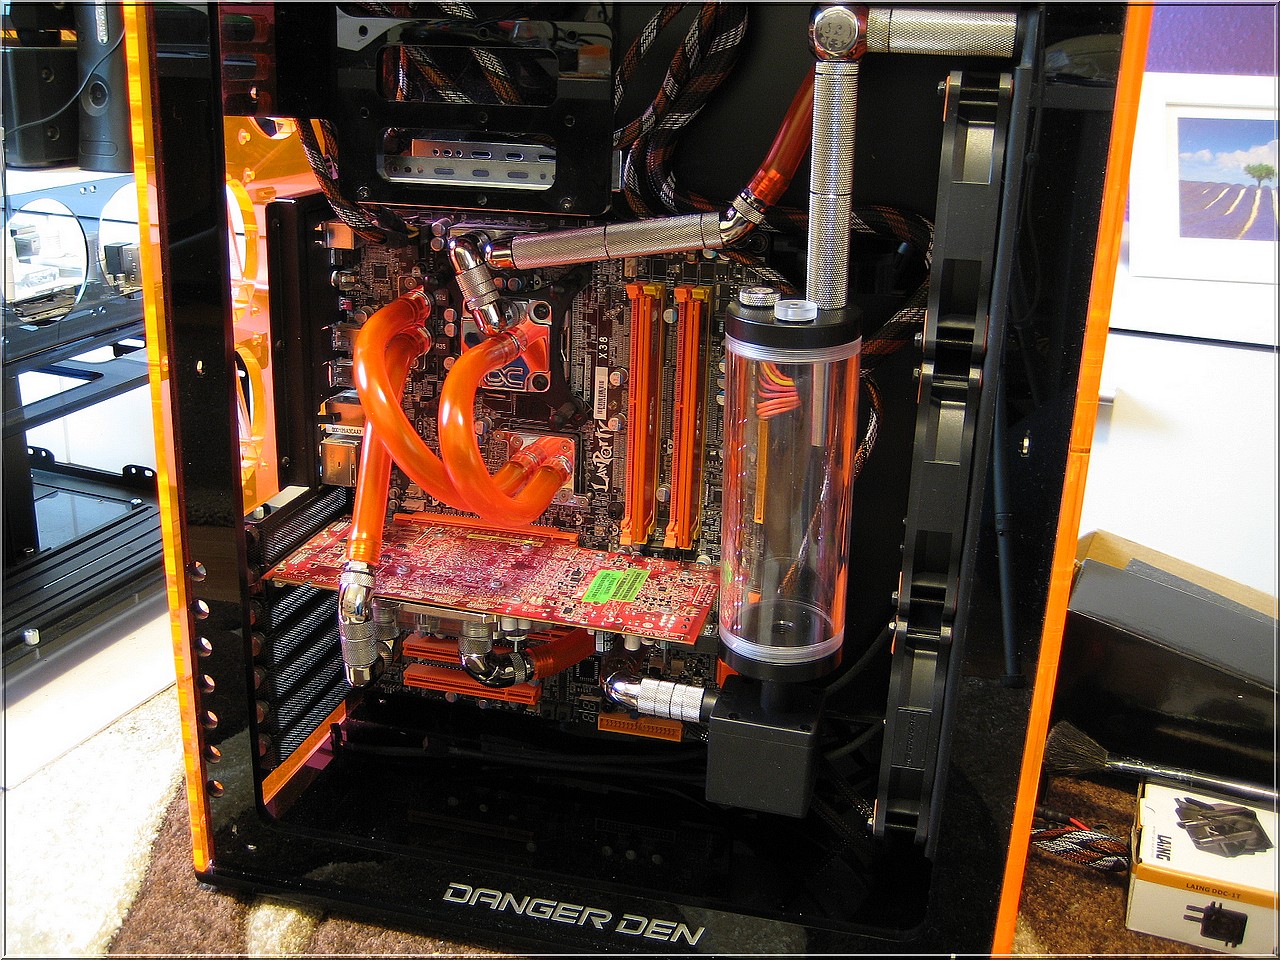
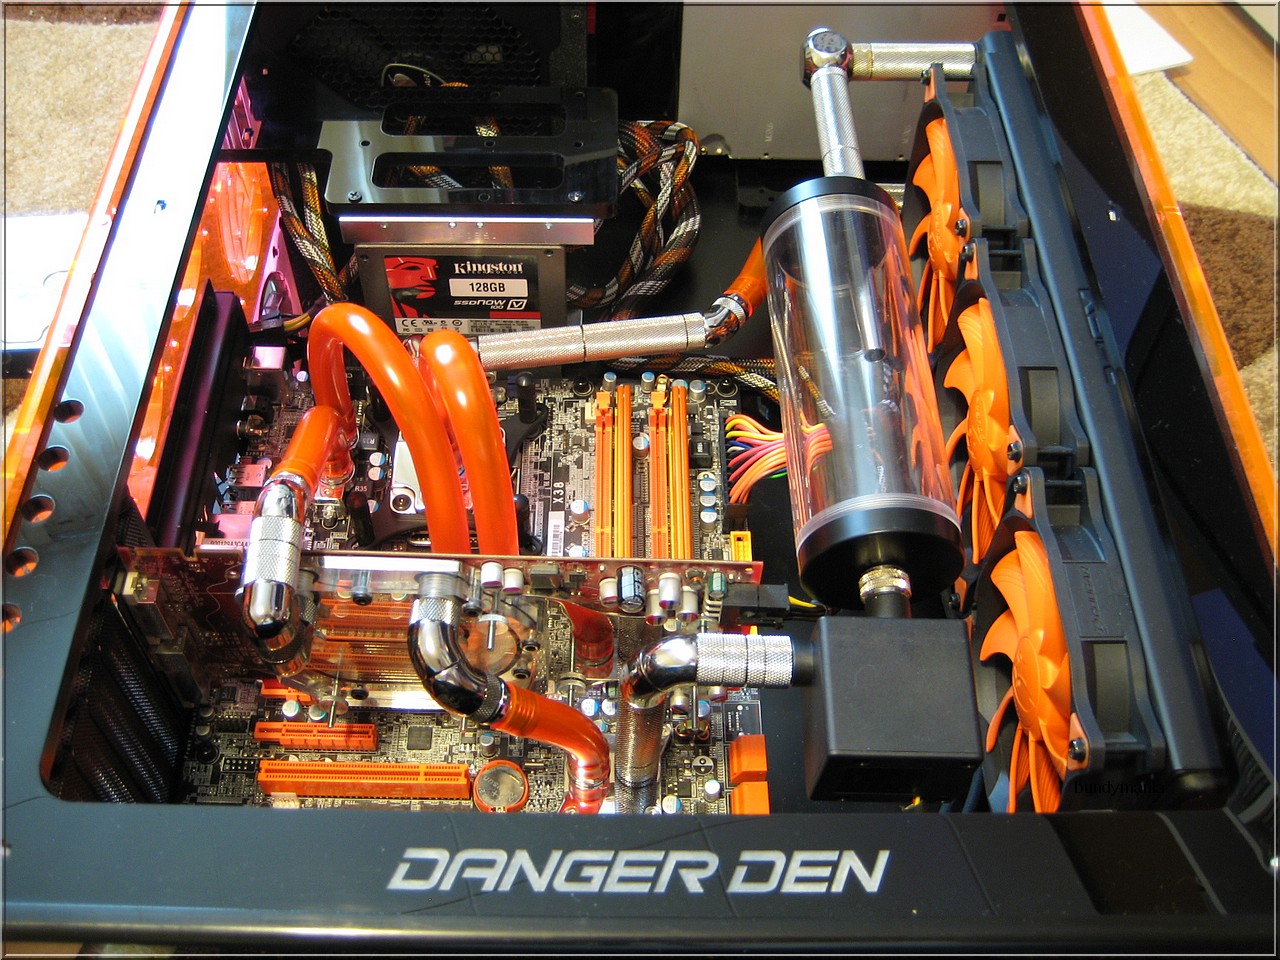
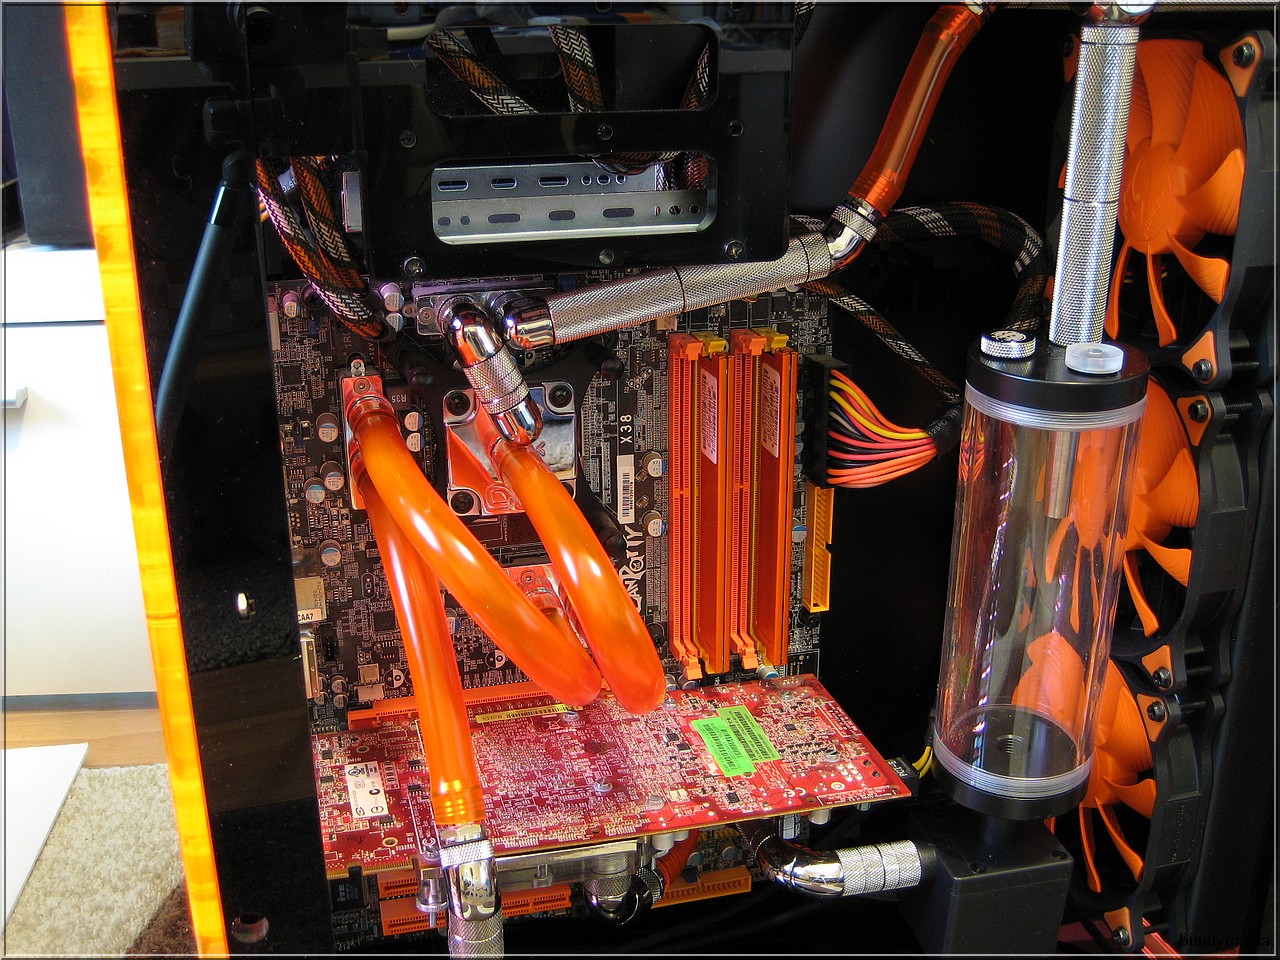
There are some holes in the Mainboardtray, so you can bring the hose easily down to the pump and rads here. No Problem to use 1/2" Tubing (19/13mm) here ! (like in my example setup)
When it comes to cable management, you have to be a bit creative, i attached many cables under the mainboard tray, so they are not visible when looking through the side window.
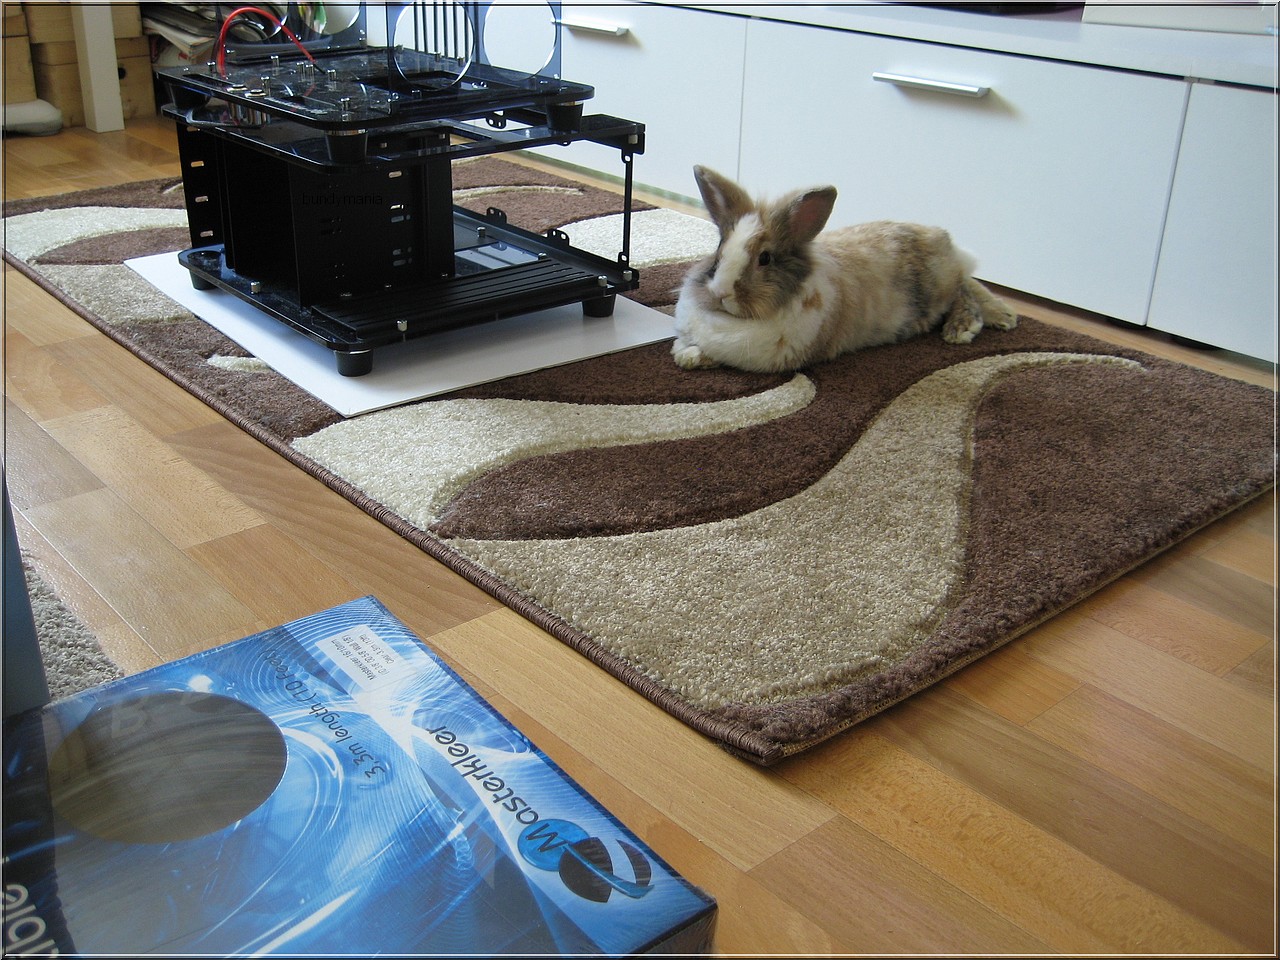
But enough words now, let me show you the pictures, they speak for themselves
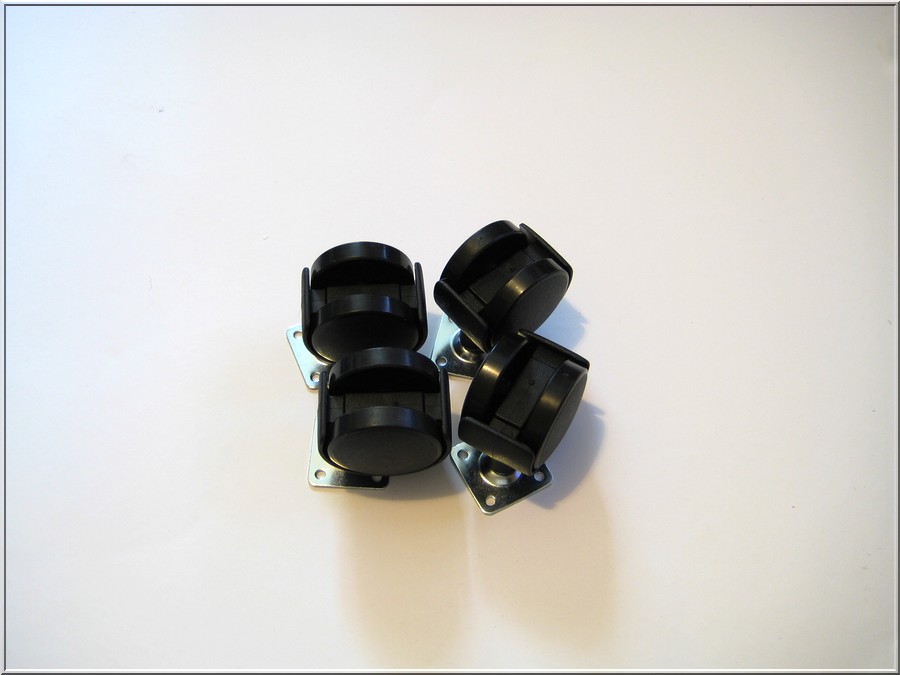
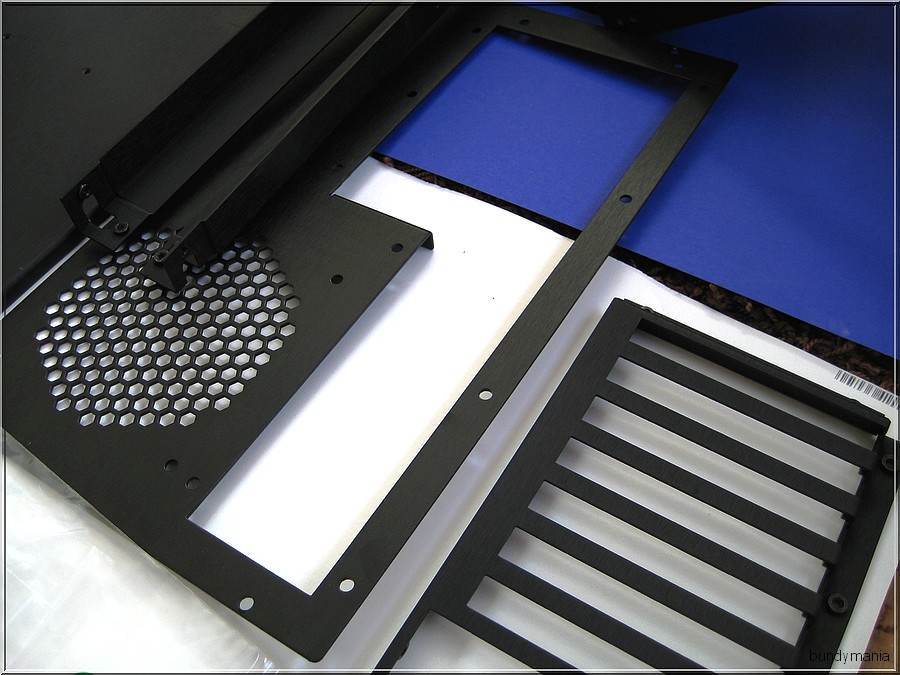
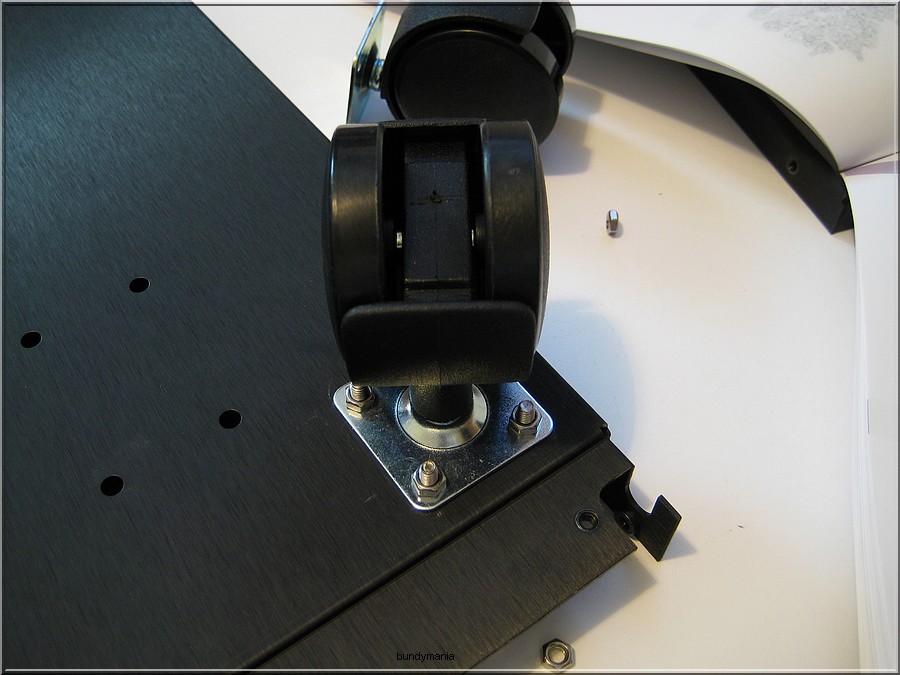
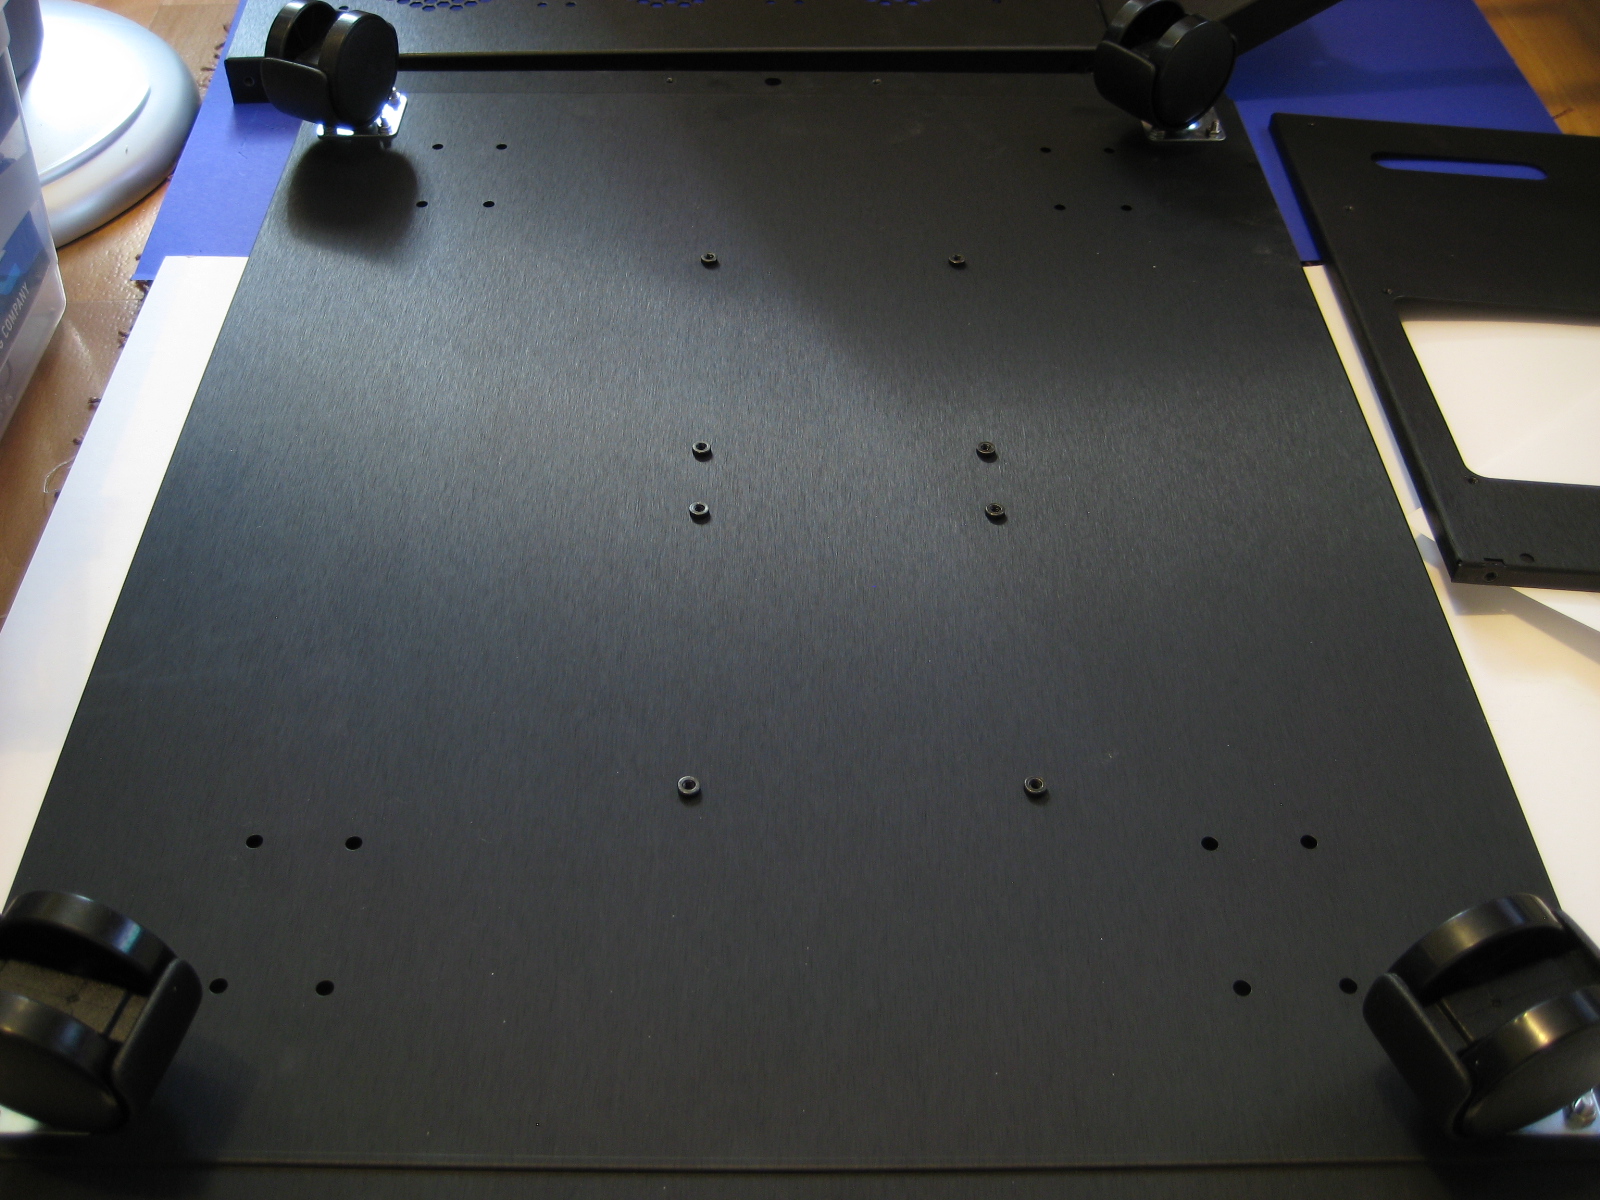
The Case has to be build by the Customer, many parts in the big package:
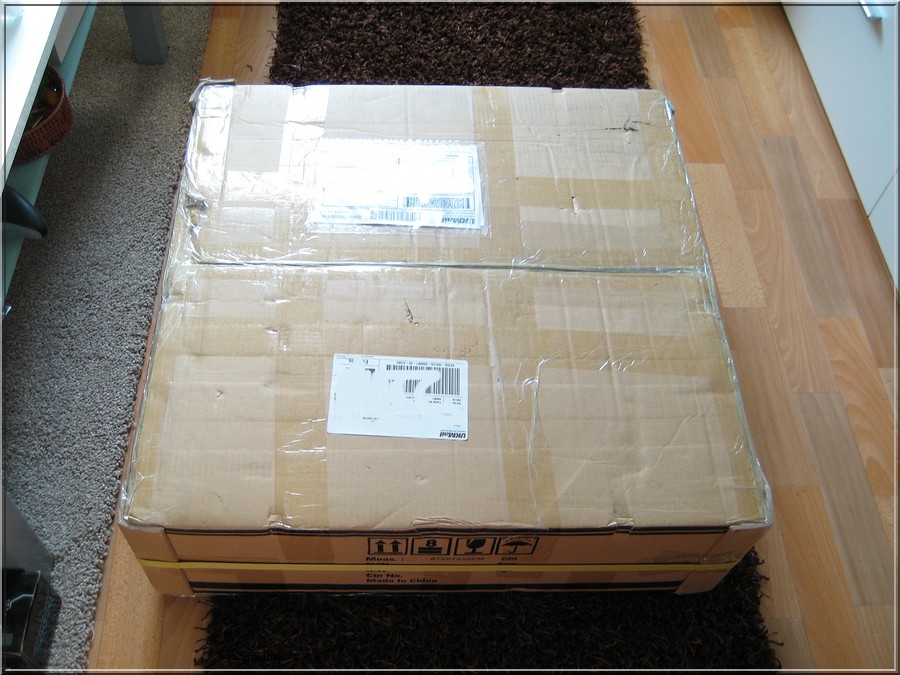
packed well and safe:
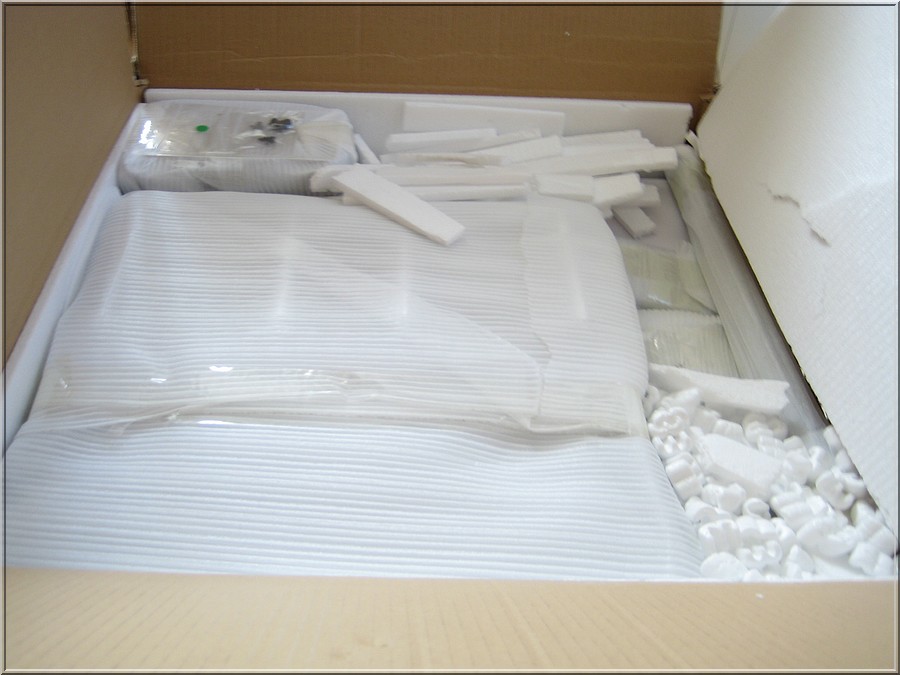
After 20 Minutes, all Parts are packed out and sorted:
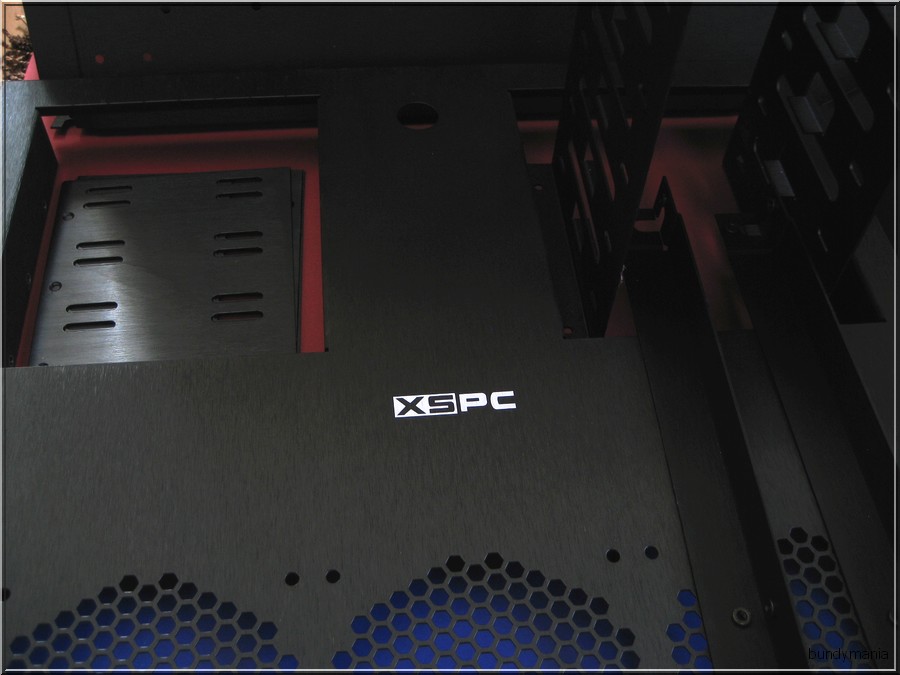
In the back there is space for a 120mm Single Radiator, or a fan:

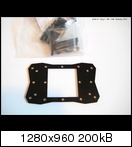
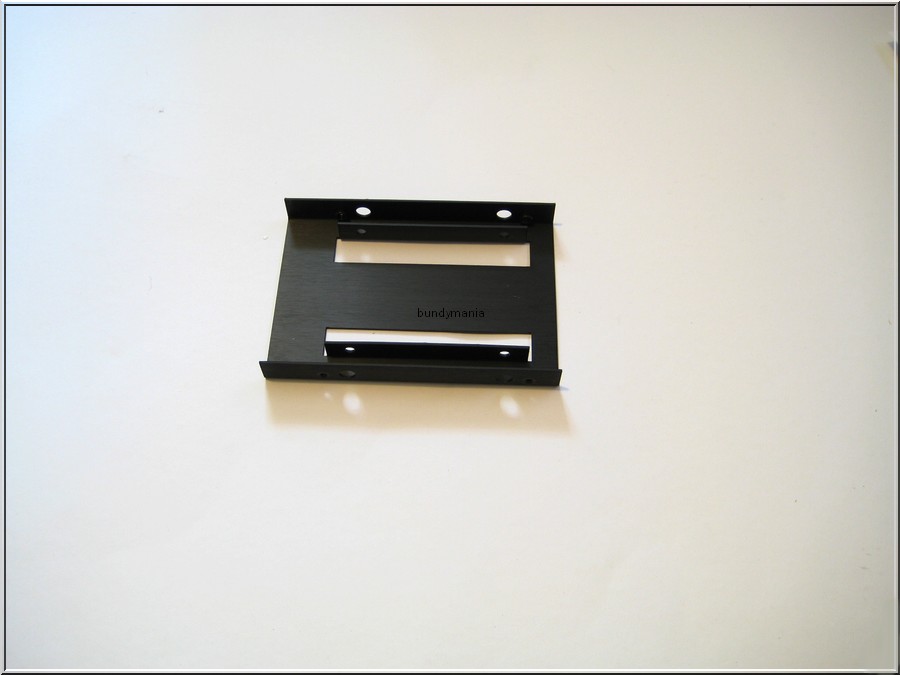
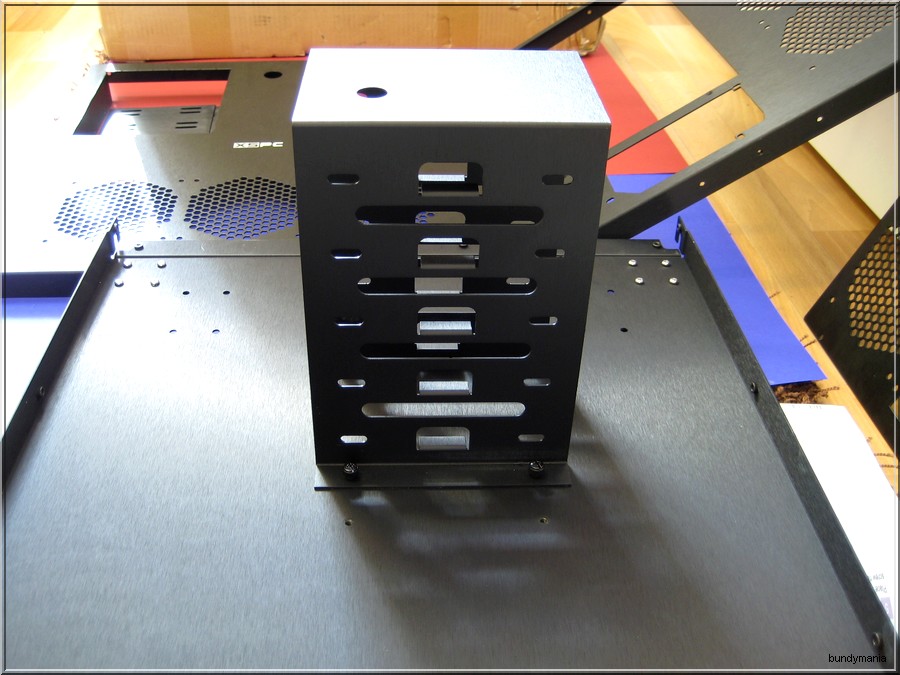
The SSD / 2,5" HDD Mounting Mechanism:
The HDD Cage will be installed via Thumbscrews:
The Manual:

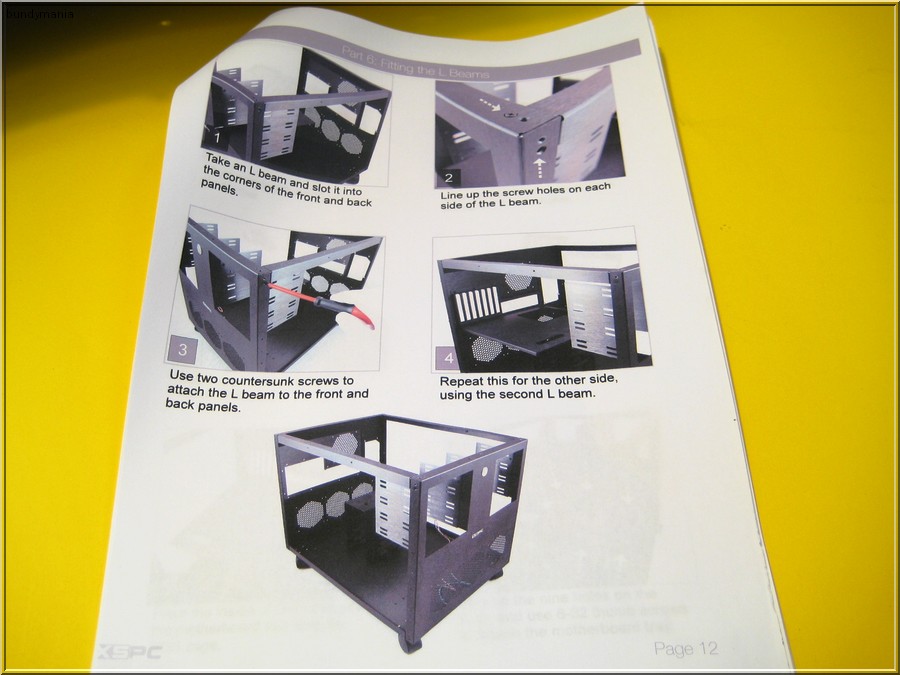
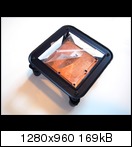
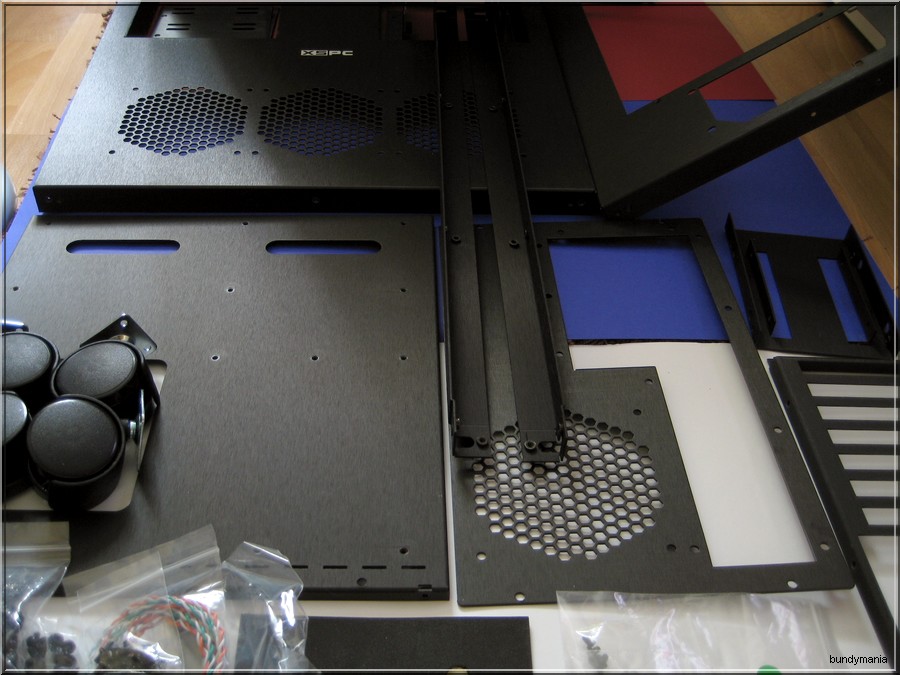
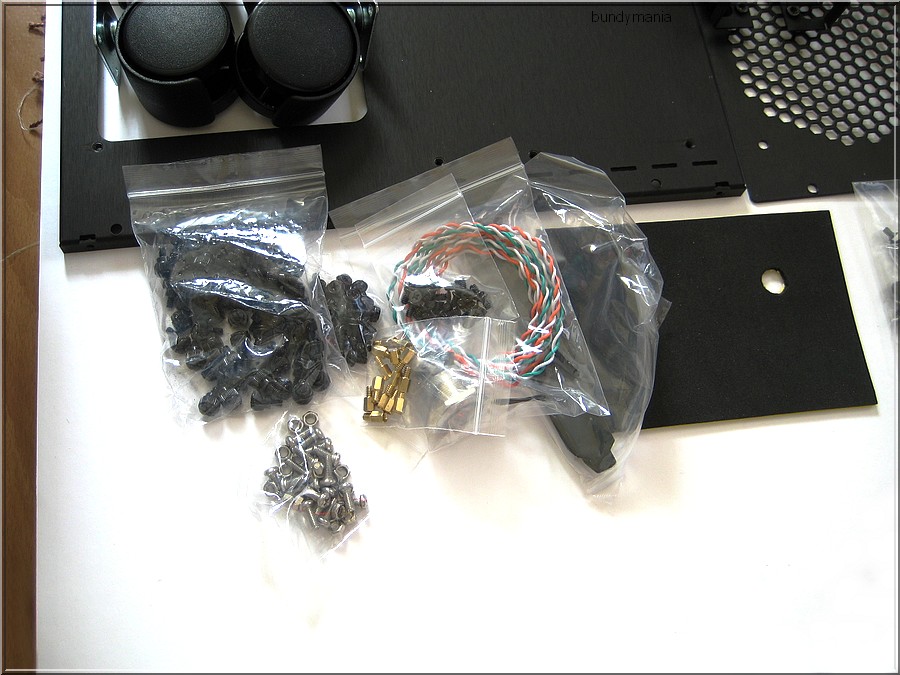
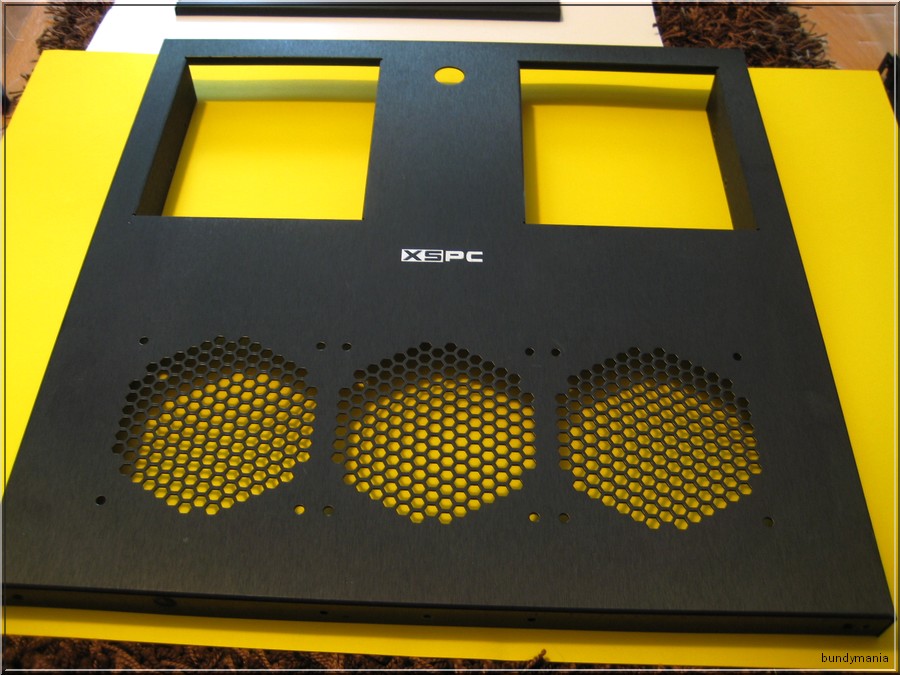
More Pics from Case Parts and the Build Process:


Conclusion: With their first PC Alu Case Series XSPC goes in the right direction. Here and there are details, that could be done better, but overall, it´s a good case and every PC Watercooling Enthustiast will have many fun with it ! What i don´t like is the fact, that the drive bays are sold separatly and the Aluminum Material itself could be a bit thicker in my opionion ! When equiped with hardware, the case looks really good and it´s no problem to install a very huge watercooling setup, it´s fun to put all the hardware and watercooling stuff in the case - even 2 watercooling loops with 2 pumps are possible to realize. When it comes to the retail price and i compare the XSPC H1 with some cases from Mountain Mods, the price seems ok. So, when you´re in the market for a really huge case, check this one out !
Thanks for the kind support goes to the following companies:
XSPC , Aquatuning , Phobya , Noiseblocker , Bitspower , Alphacool , Home | EkWaterBlocks , http://www.watercool.de , http://www.kingston.com , MIPS Computer , COUGAR , Corsair , http://www.caseking.de
-
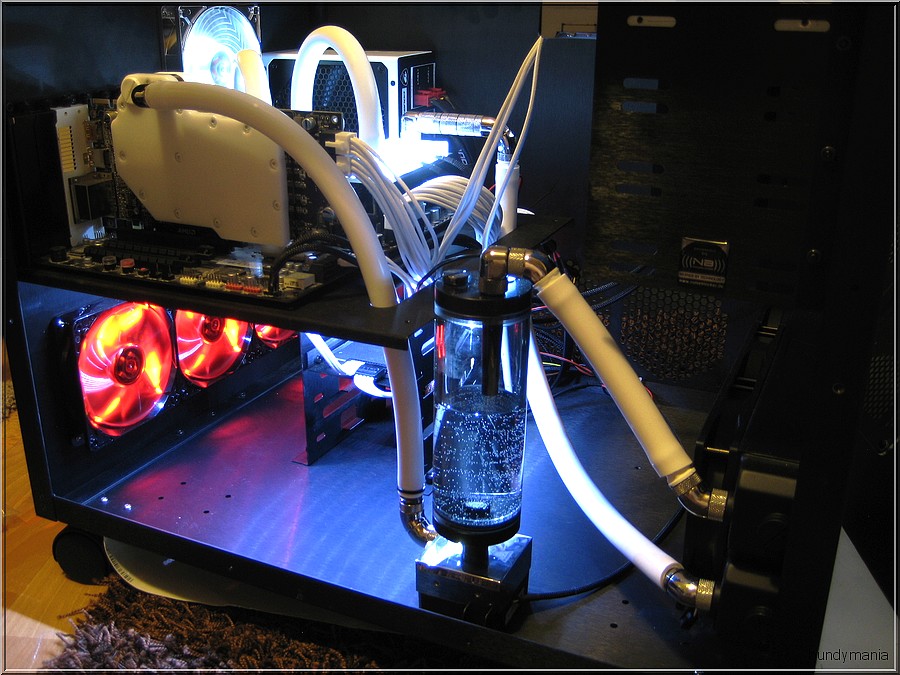
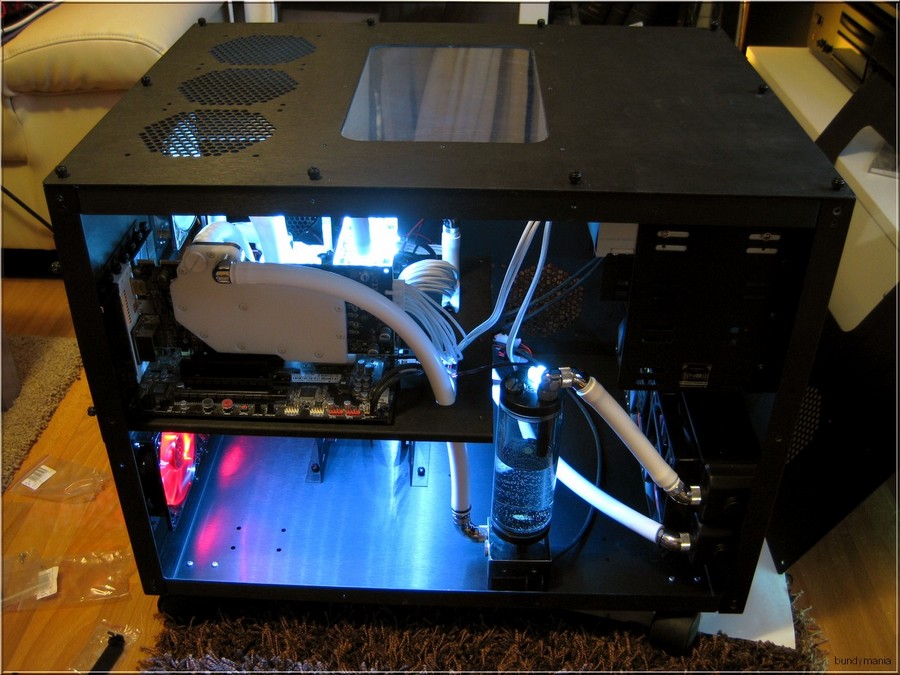
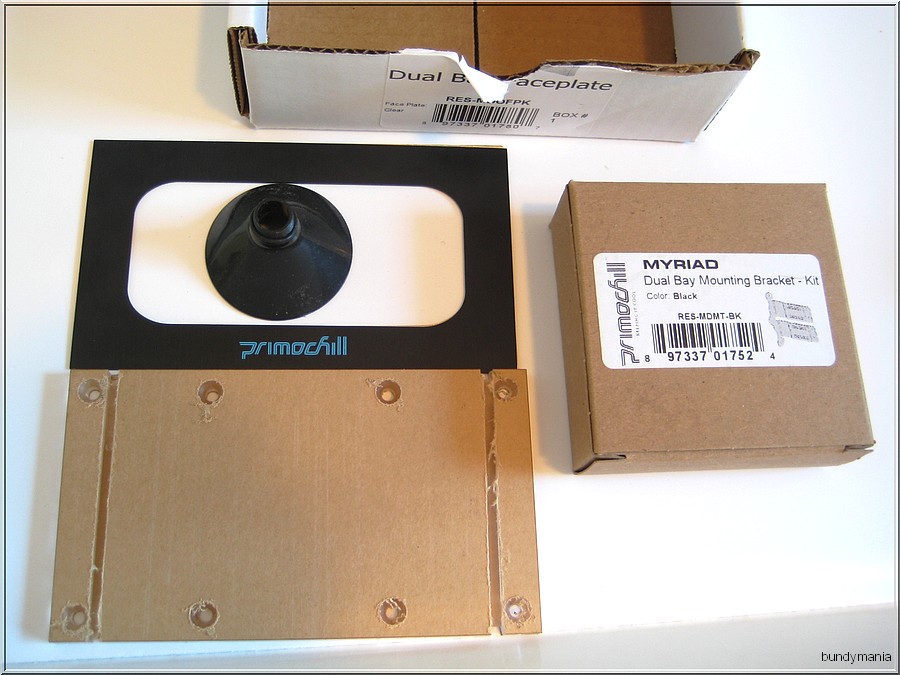
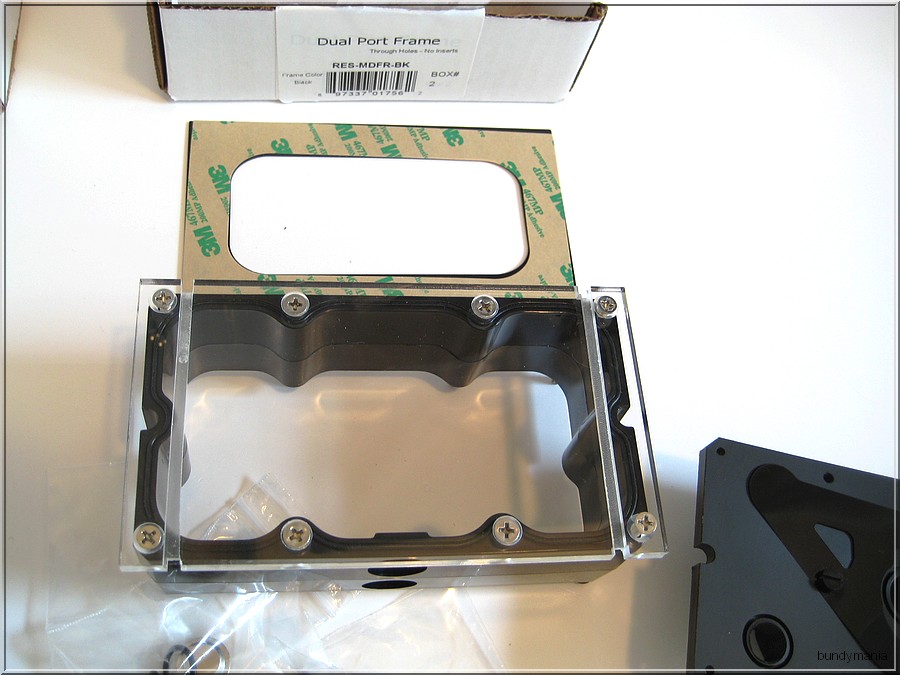
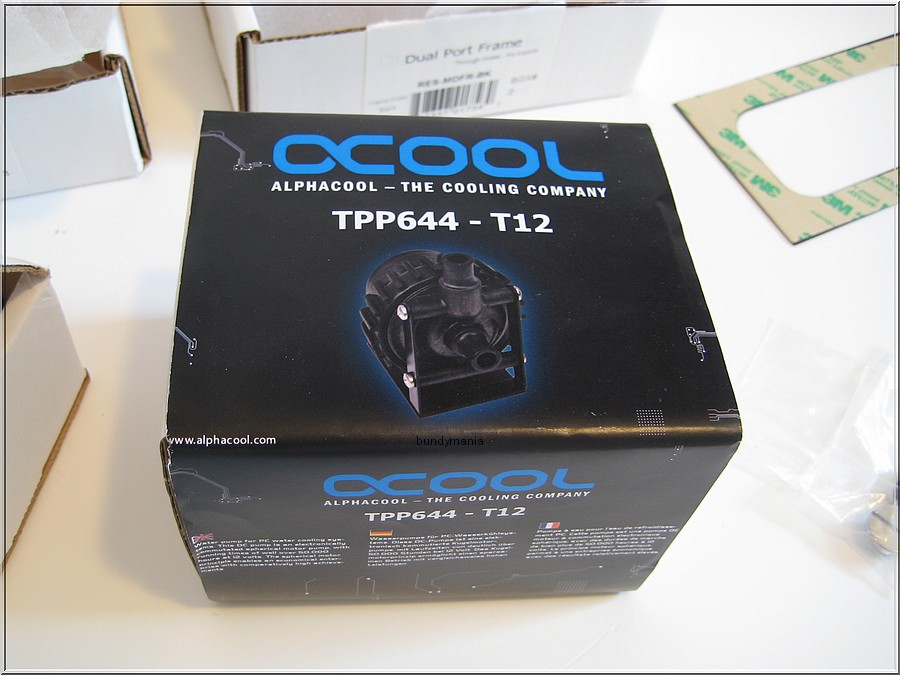
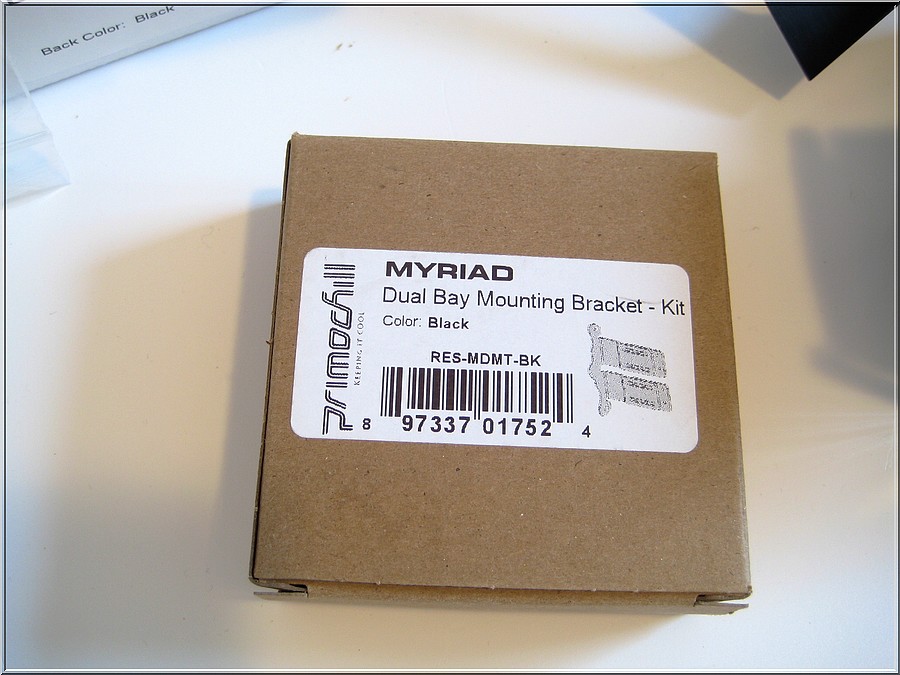
Hey Guys,
Today i want to show you a new reservoir from Primochill.
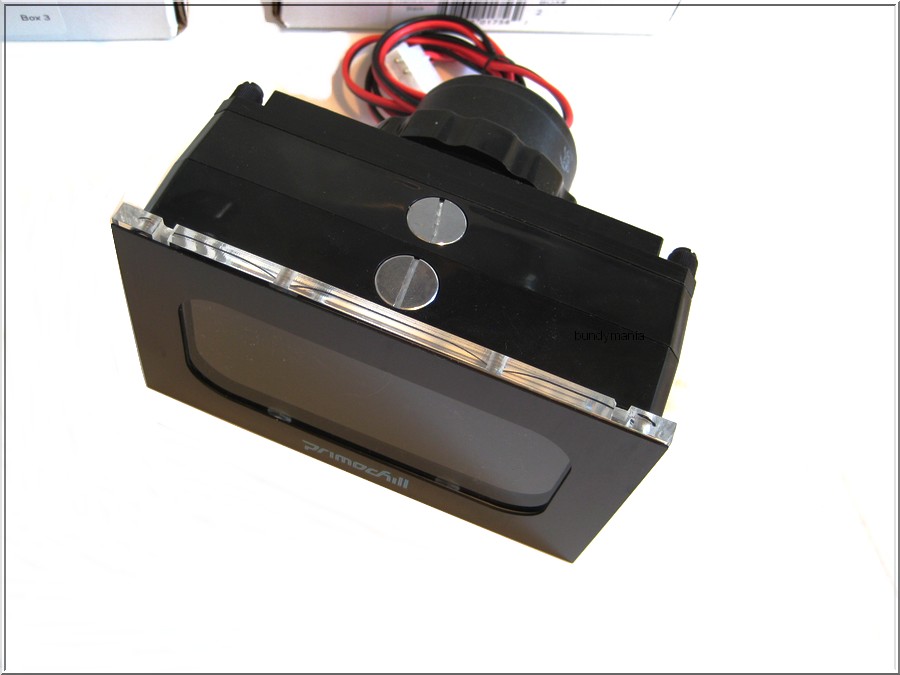
It´s a Bay Reservoir and fits in 2x 5,25" Drive Bays. The Name of the Reservoir is "Myriad" and it´s available in different versions. My Version is the clear version, there are also Variants with uv reactive faceplates.
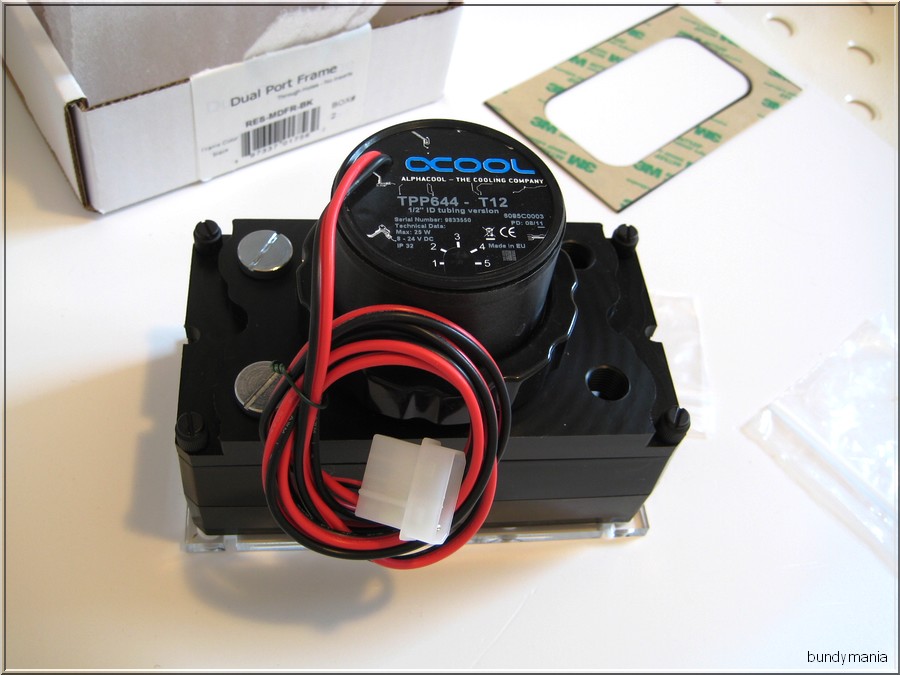
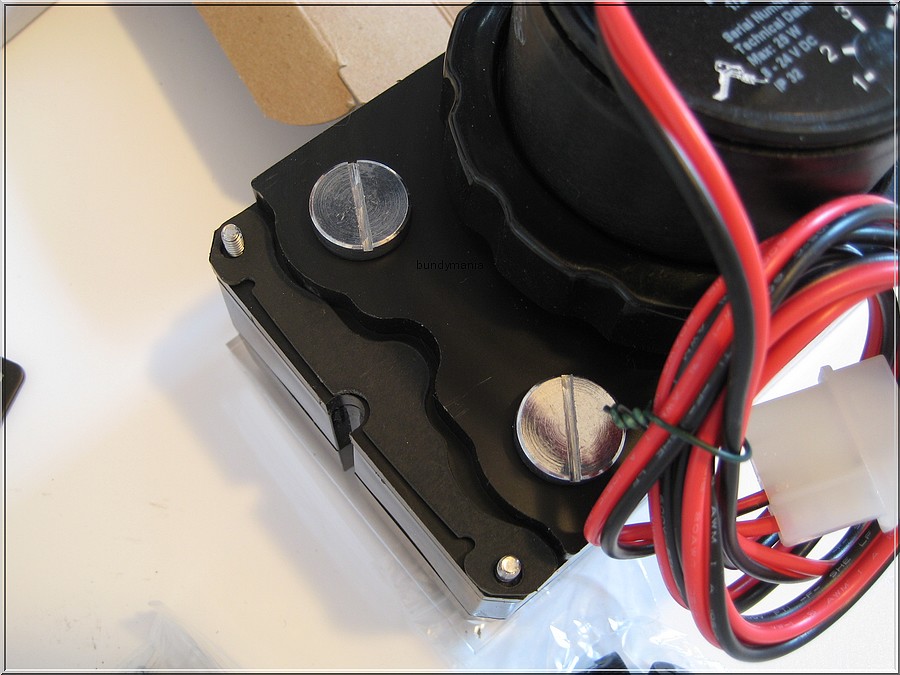
The good thing is: you can install a Laing D5 Pump (and derivates) directly at the back from this Reservoir.
Technical specifications:
Material: Plexi
Colour: Black front, transparent Plexi
Dimensions (LxWxH): 140 x 68 x 80mm
Filling threads: 2xG1/4"
Connection threads: 4x G1/4"
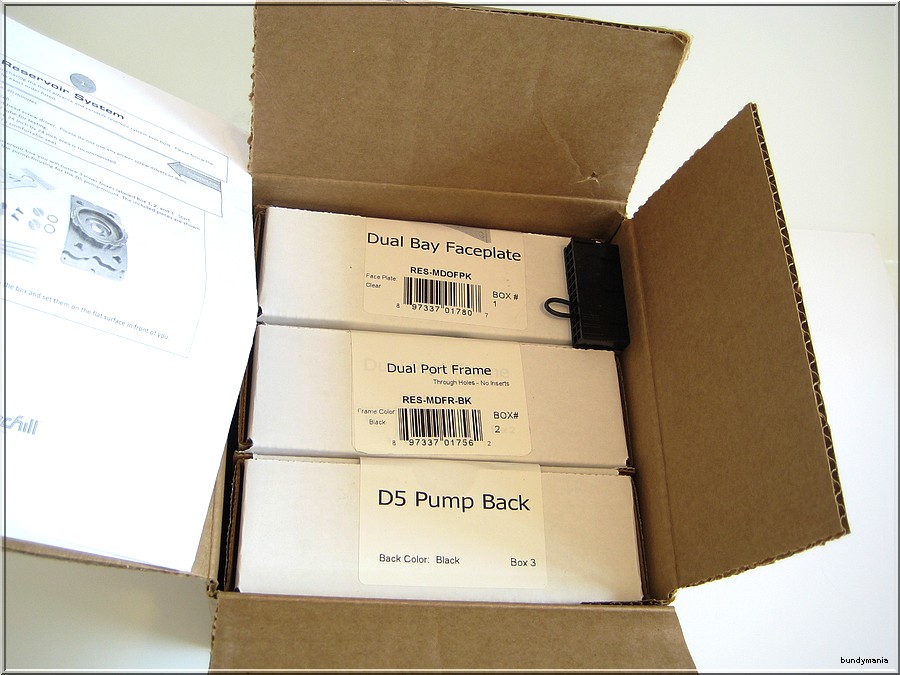
Extent of delivery:
1x Primochill Myriad Dual Bay D5 Reservoir (not assembled)
4x silver Screw plugs
1x Funnel
24Pin ATX bridging plug
English illustrated mounting manual
Mounting material
Price: 123 $ at Aquatuning.us
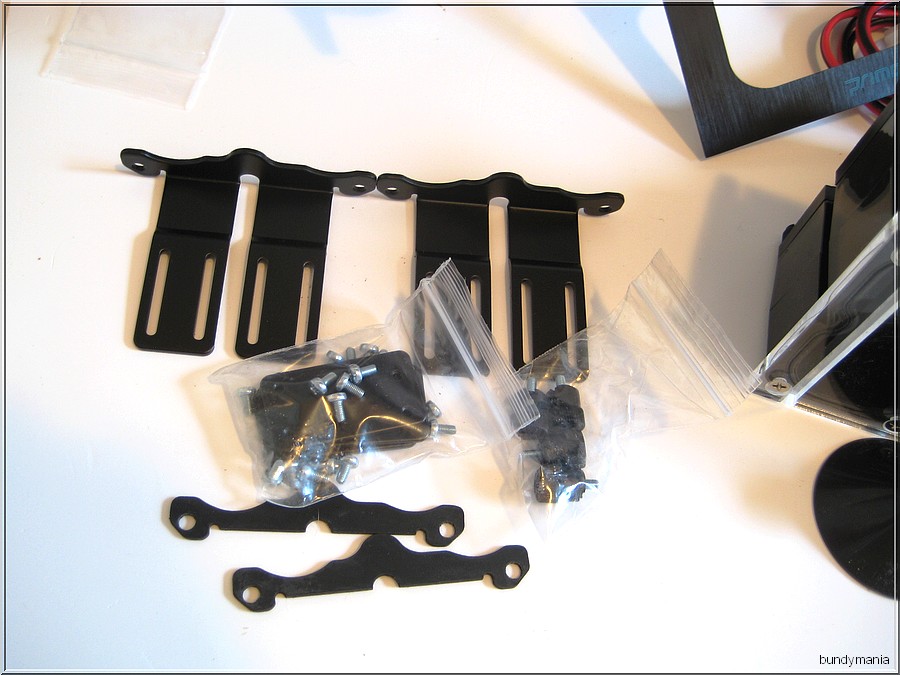
As you can see at the pics, there are many single parts in the package. The Myriad is not ready to use, like similar Reservoirs from other companies. You have to build it completly by yourself, like a big puzzle ! I sometimes felt like a IKEA Customer, when installing all those little pieces to a whole Reservoir !
Well, you have to be a patient person, to bring all those parts together, because it´s a bit tricky at all !
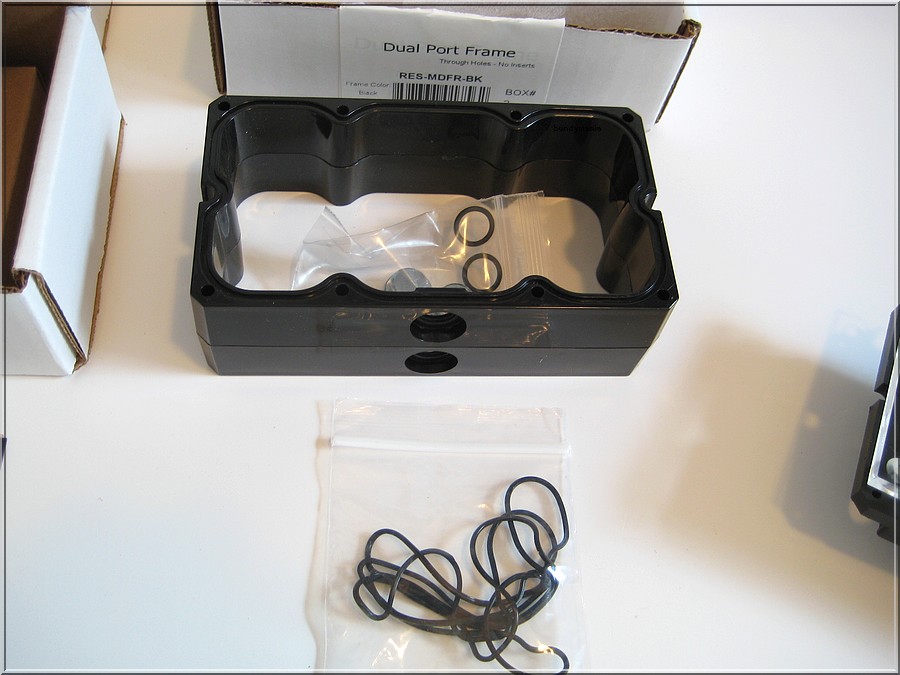
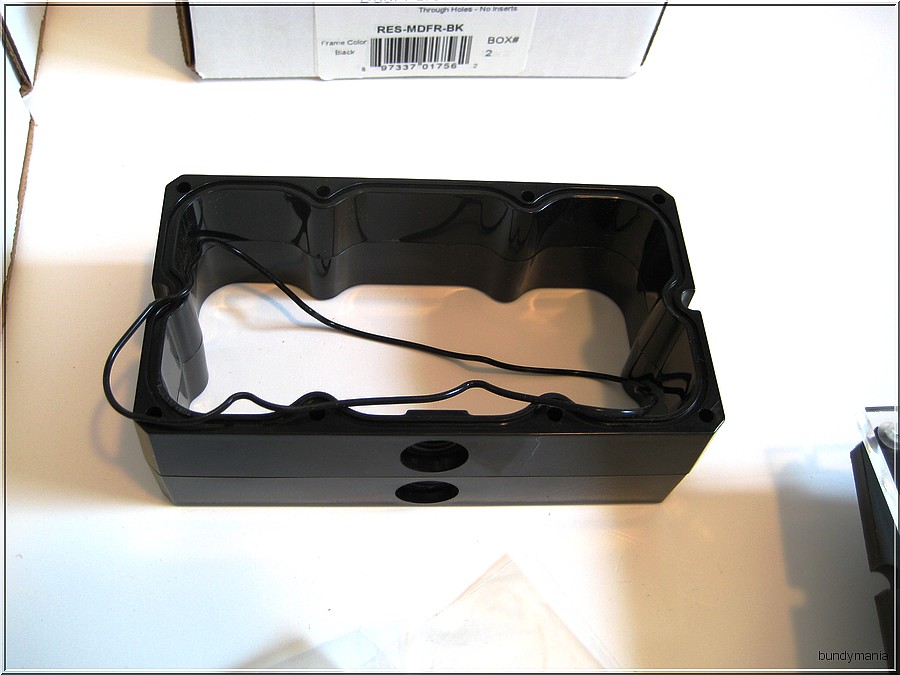
The Reservoir comes in one big package, which includes 3 smaller packages. The manual is in english, but there is missing a part, so this fact makes it more tricky to build !
But hey, you´re a watercooling enthusiast and should love it, or not ? 
You should expect an hour to bring all parts together, or maybe longer..who knows ?!

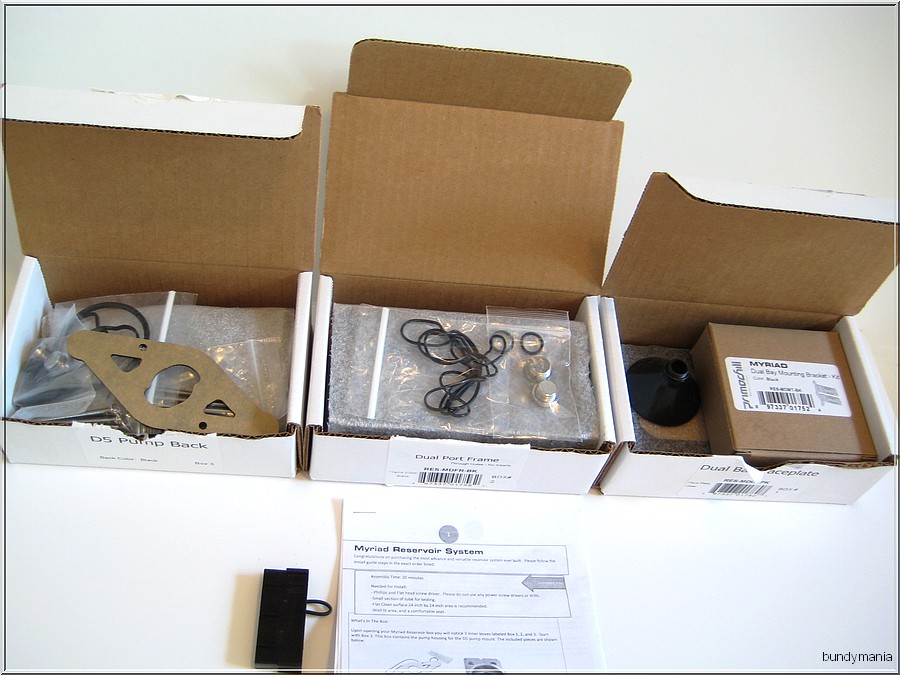
Just check the pics to see, how the build process goes on:

At the beginning, you have to put an O-Ring in the Back Part from the Myriad Reservoir but watch out, when doing this, because the screws can damage the Plastic Inlay! And yes, no worry, there will be a bunch of more O-Rings which you have to install by yourself !
I guess those Guys at Primochill over there must have a good sense of humor or whatever !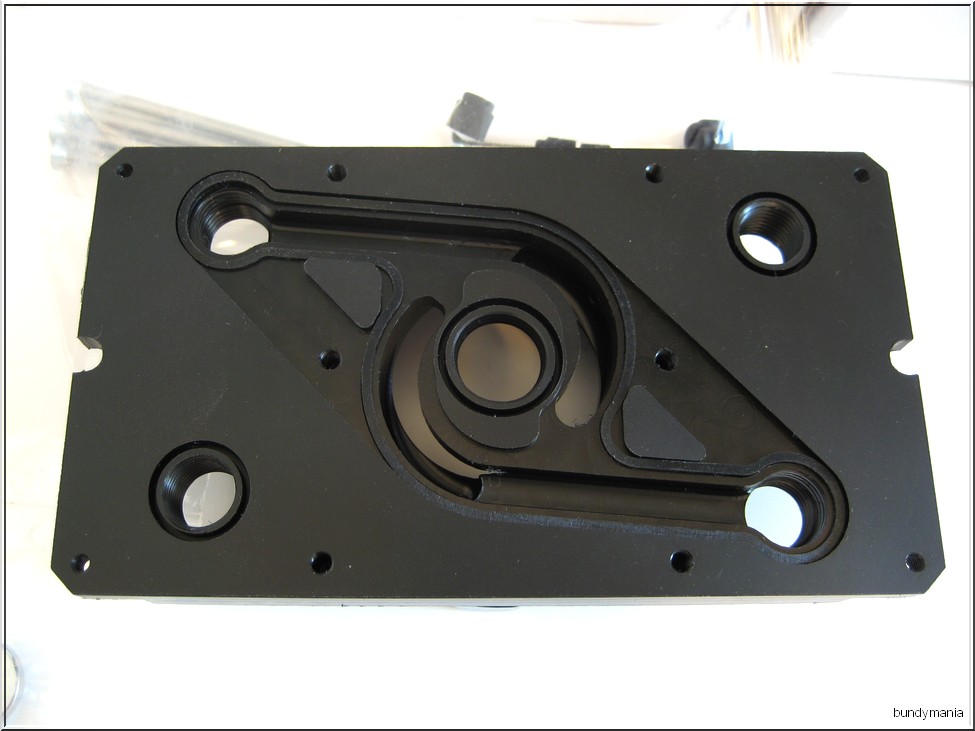


At this picture, you can see the acylic frontplate which needs to be mounted with 8 ! screws by yourself. When you think, this could be a bit dangerous, because of the plexi material, you´re absolutly right ! So watch out and tighten the screws smoothly. The funnel comes with the Res. to make the fill process a bit easier. The Alu Frontplate is fixed via 3M Tape.
Ok now, here you can see the middle part, the reservoir body itself, where the coolant is in later on. On both sides, long O-Rings must find their way in.
Please don´t ask, how often those Rings slips out during the build process !

When you finally masterered this part, the Reservoir is still not ready to use !
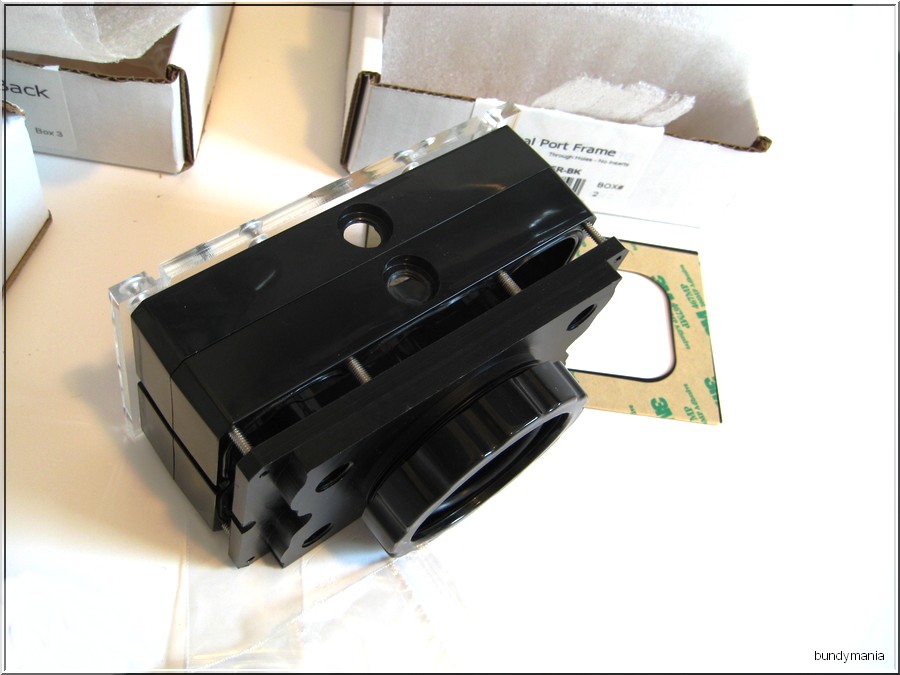
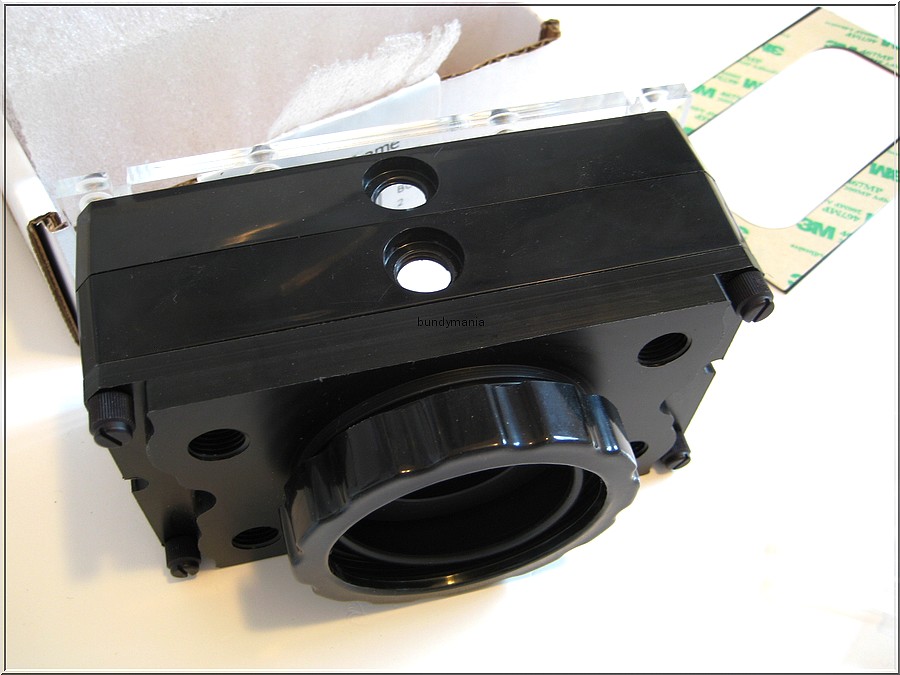
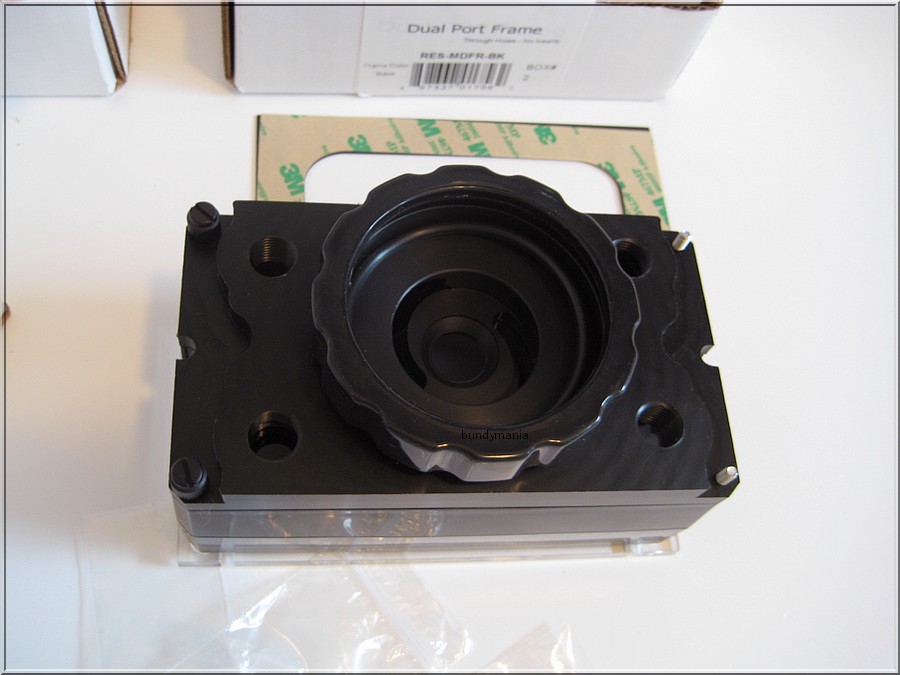
Finally, it follows the installation of the pump:
Since you have 4x G 1/4" Threads available, you can go for 1 or 2 Loops.
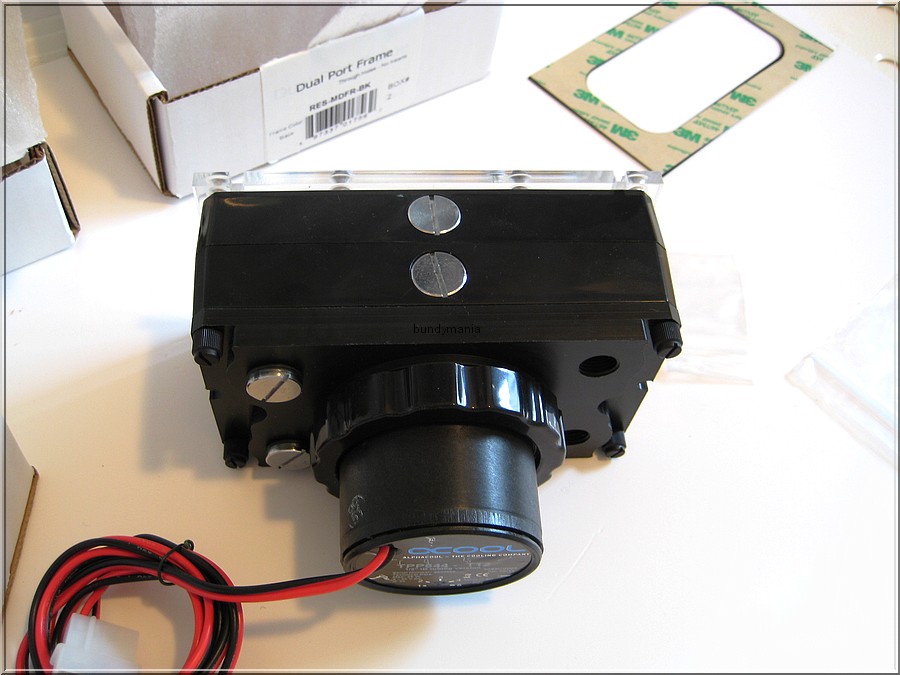

The Case Mounting Mechanism has to be installed by the customer aswell:
Using the Myriad Reservoir and Final Conclusion:
At first, i was wondering why the customer has to install all parts by himself. It´s not a 30 $ Reservoir, nope...it costs 120 $ ! The Build process should be done by a person, which has experience in such things. It can happen that you destroy the Frontplate easily with those 8 screws, or at the very beginning, when mounting the inlay plate. Short: It´s not user friendly !
Well, when the build process is finally done and all parts came together properly, the Reservoir looks ok and has no problem with a high Flow Setup (more than 250 liters/h.)
But let me tell you something: There are several Reservoirs, which i would recommend more than this one here, from Tecnofront or EK for example !
This Reservoir is available at Aquatuning:
Thanks to Primochill, Aquatuning, Phobya and Alphacool for their friendly support !
-
-
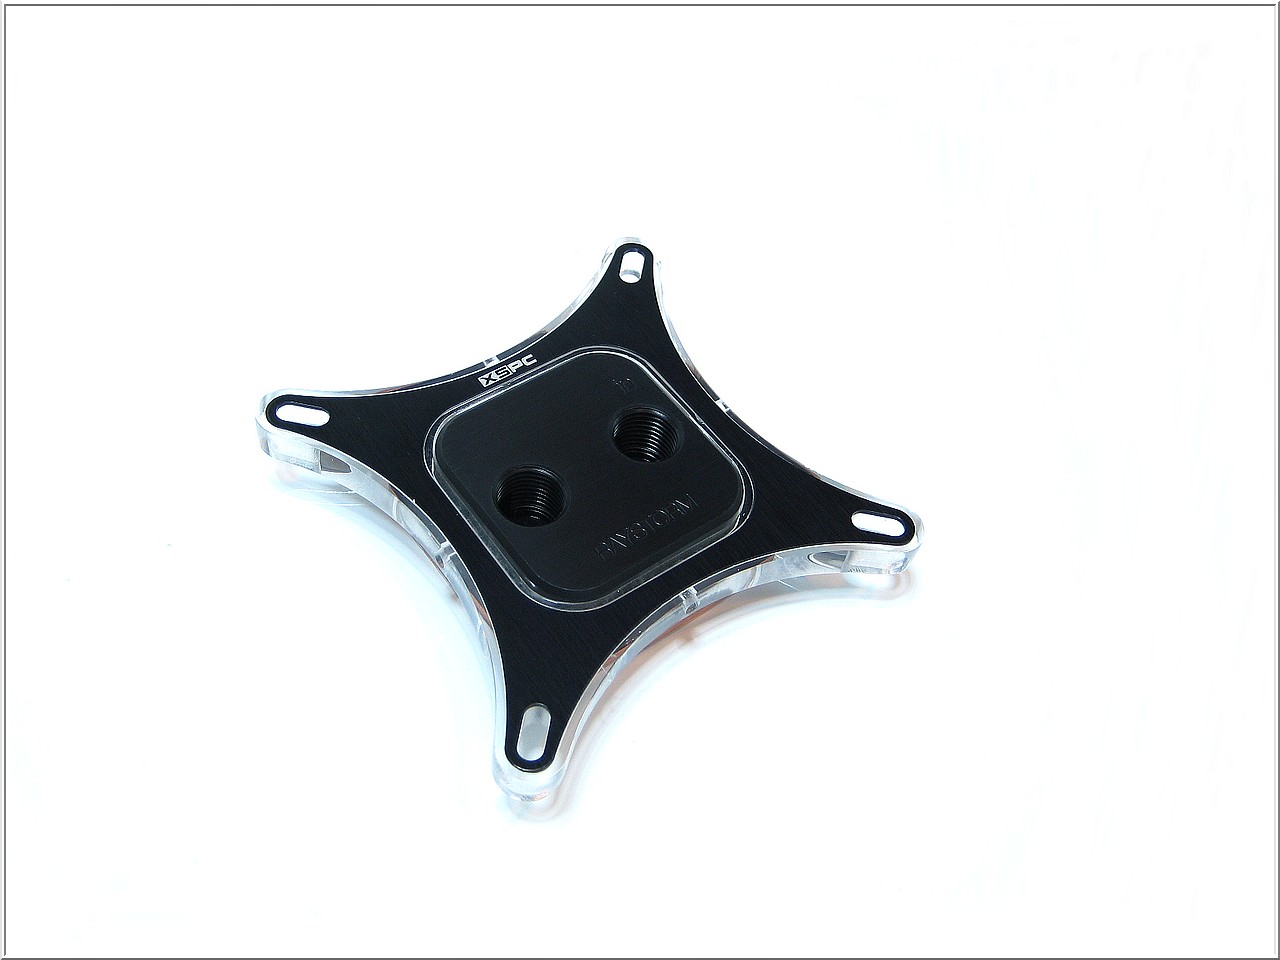
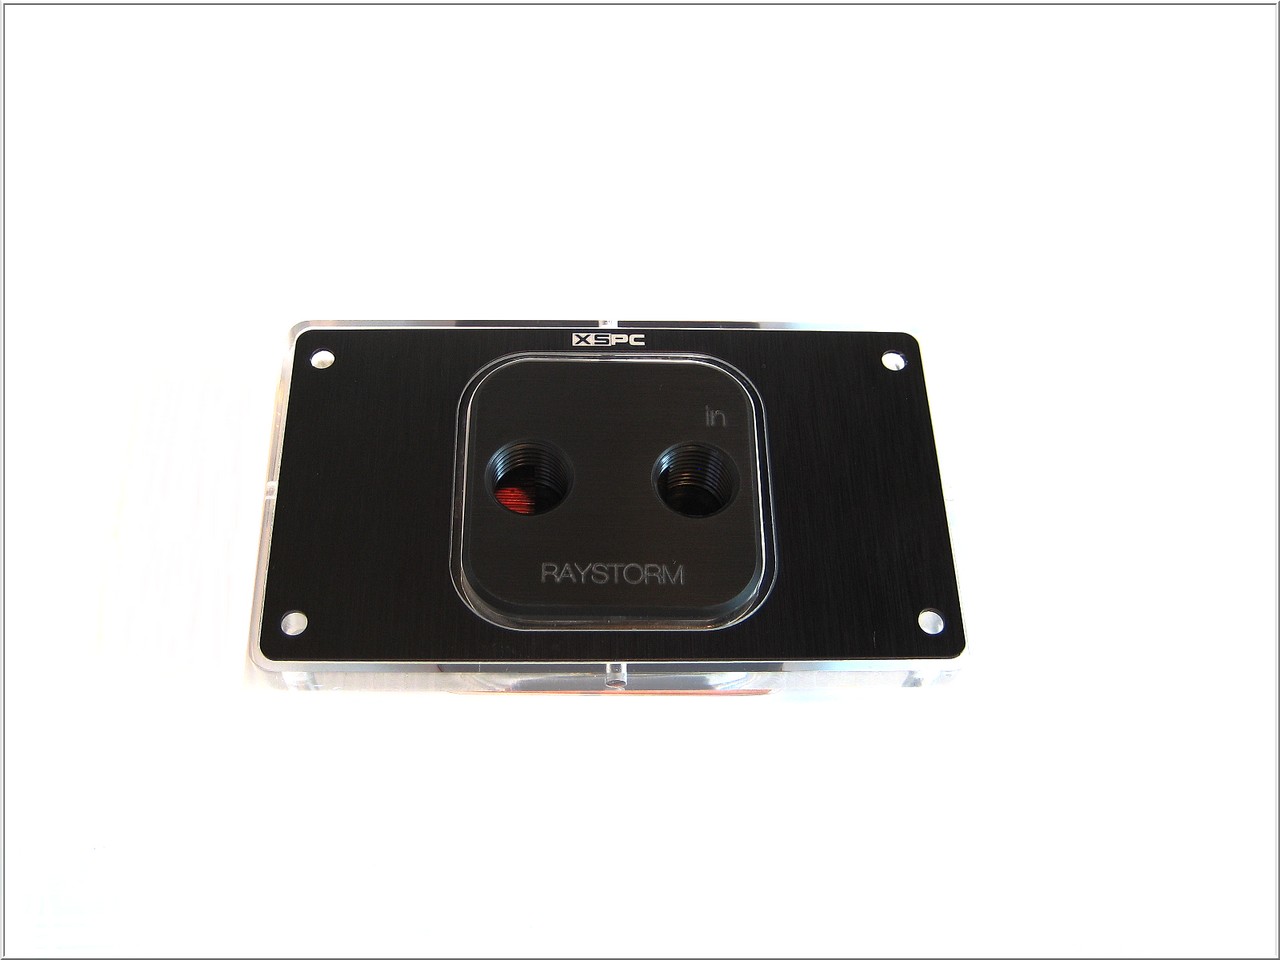
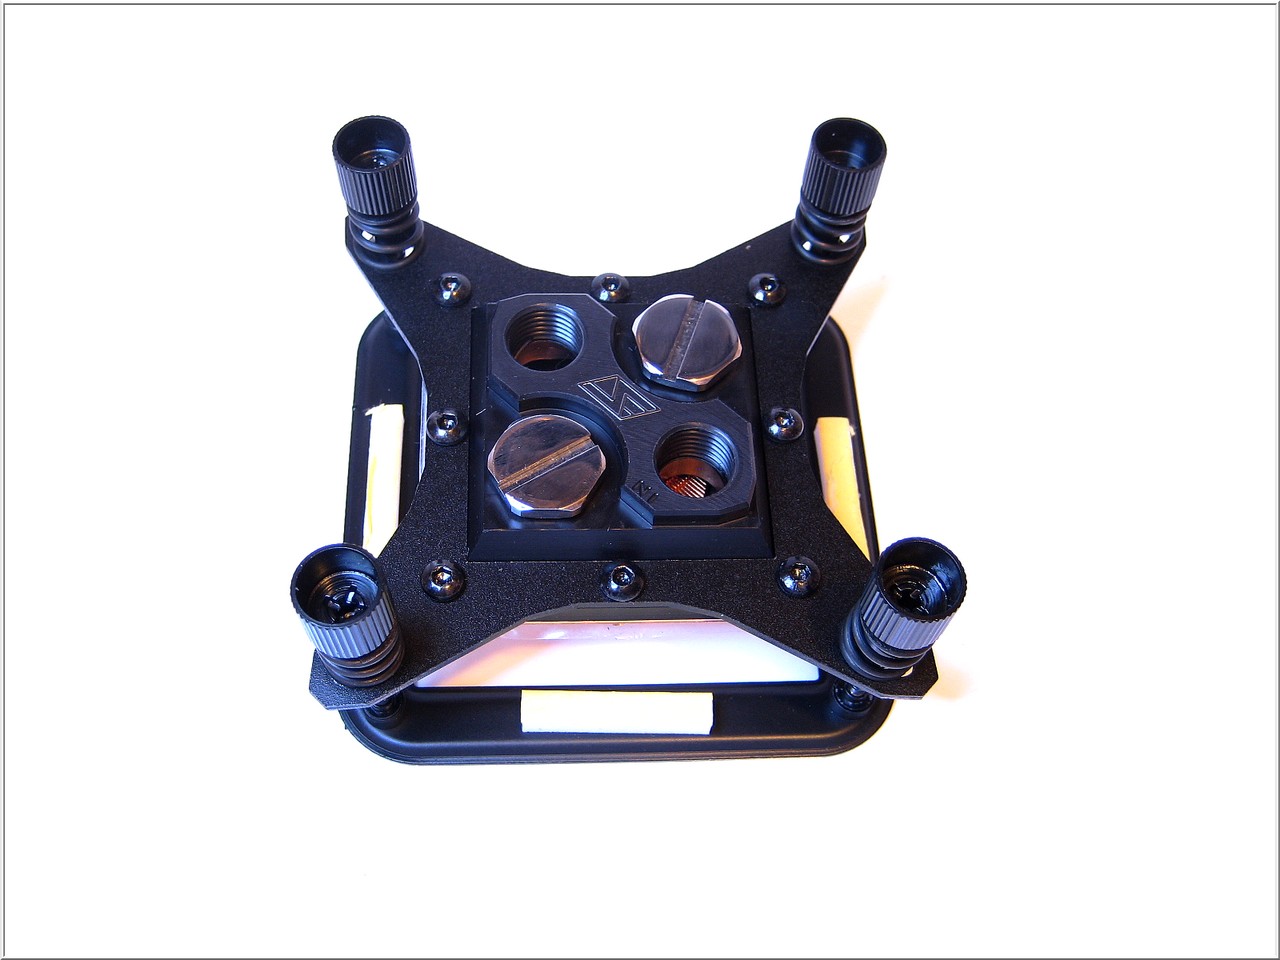
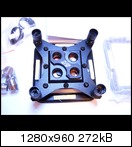
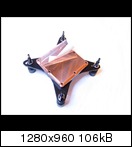
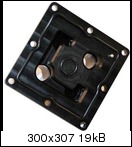
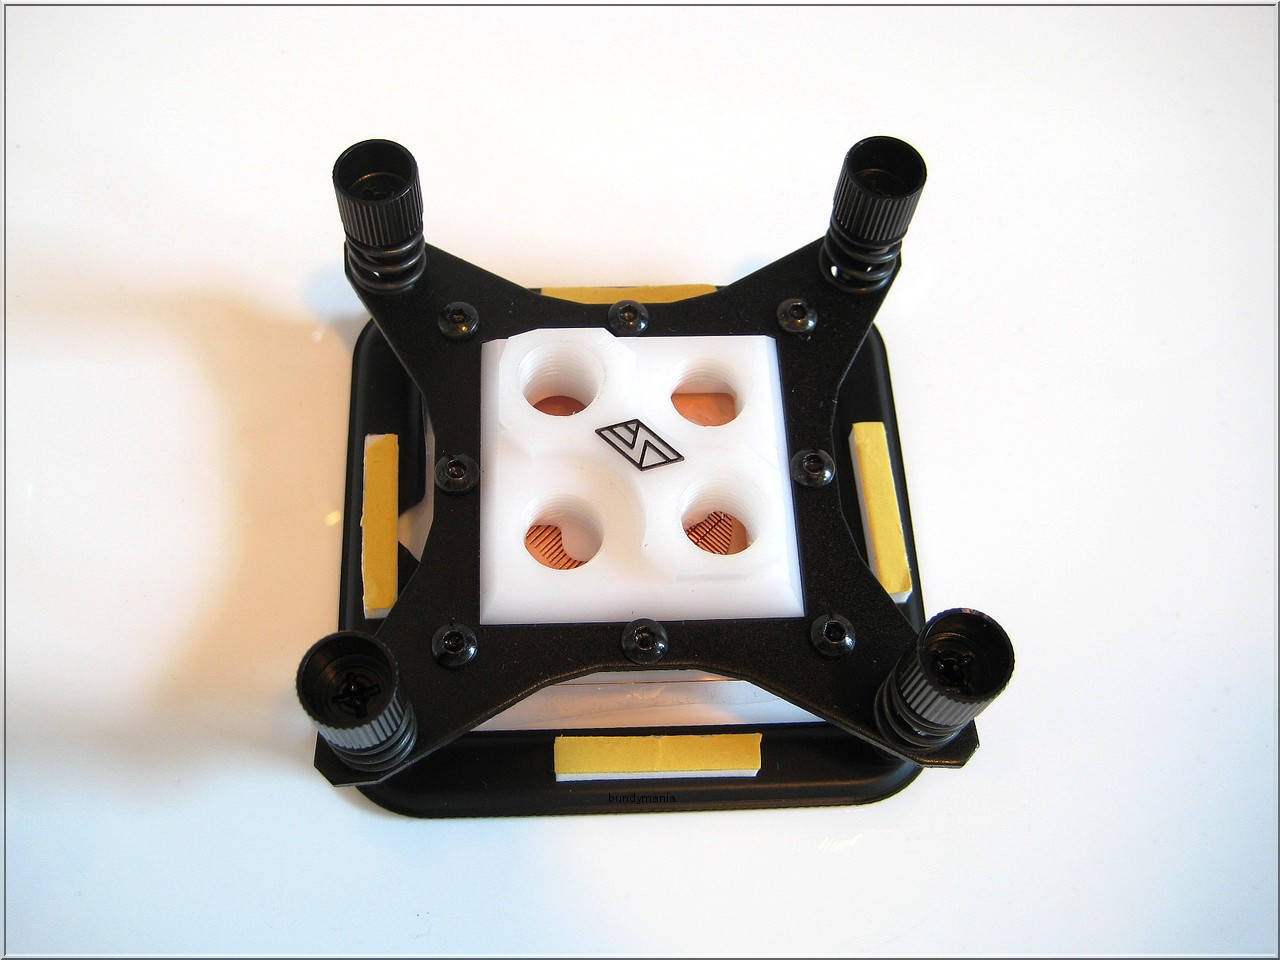
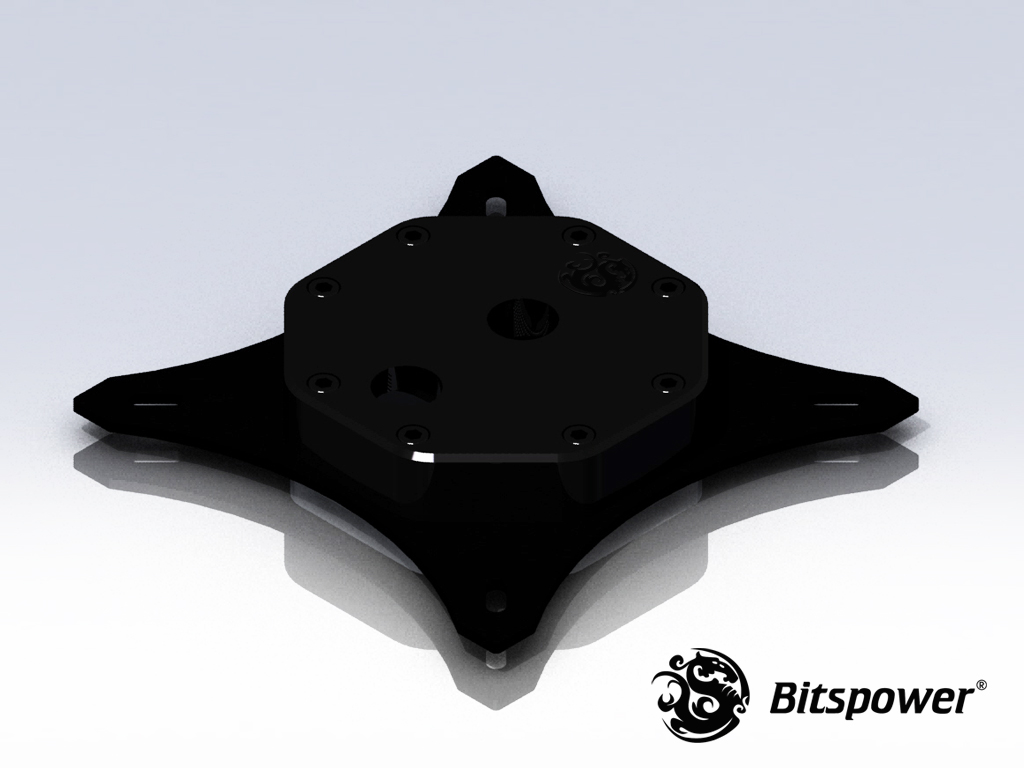
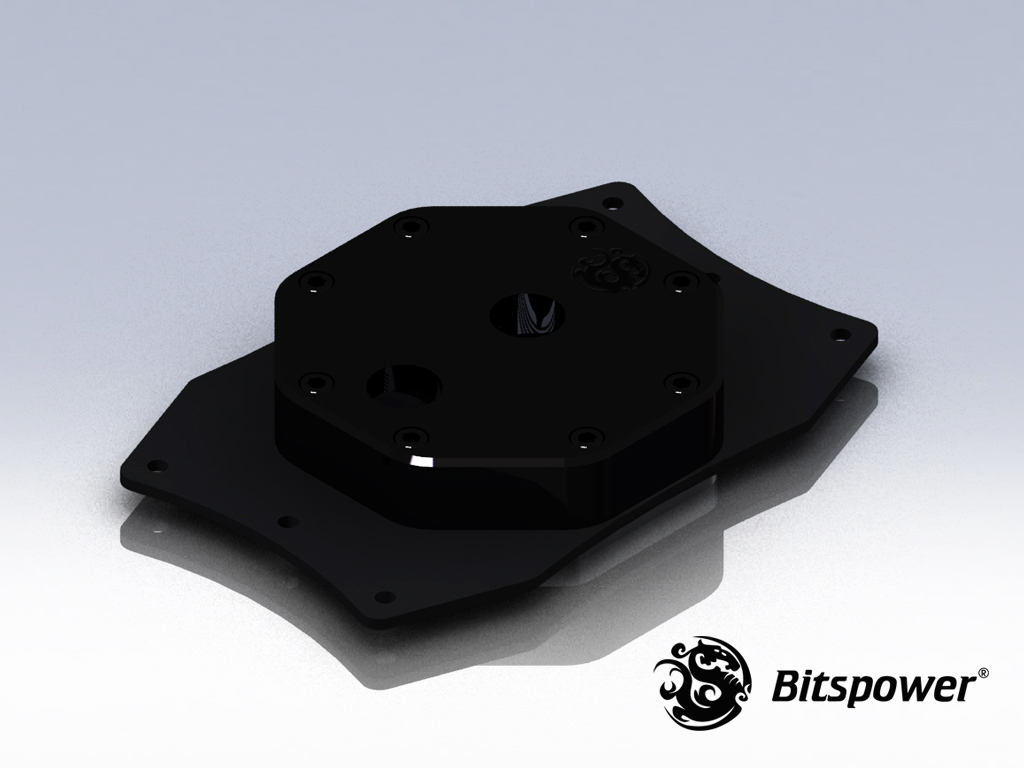
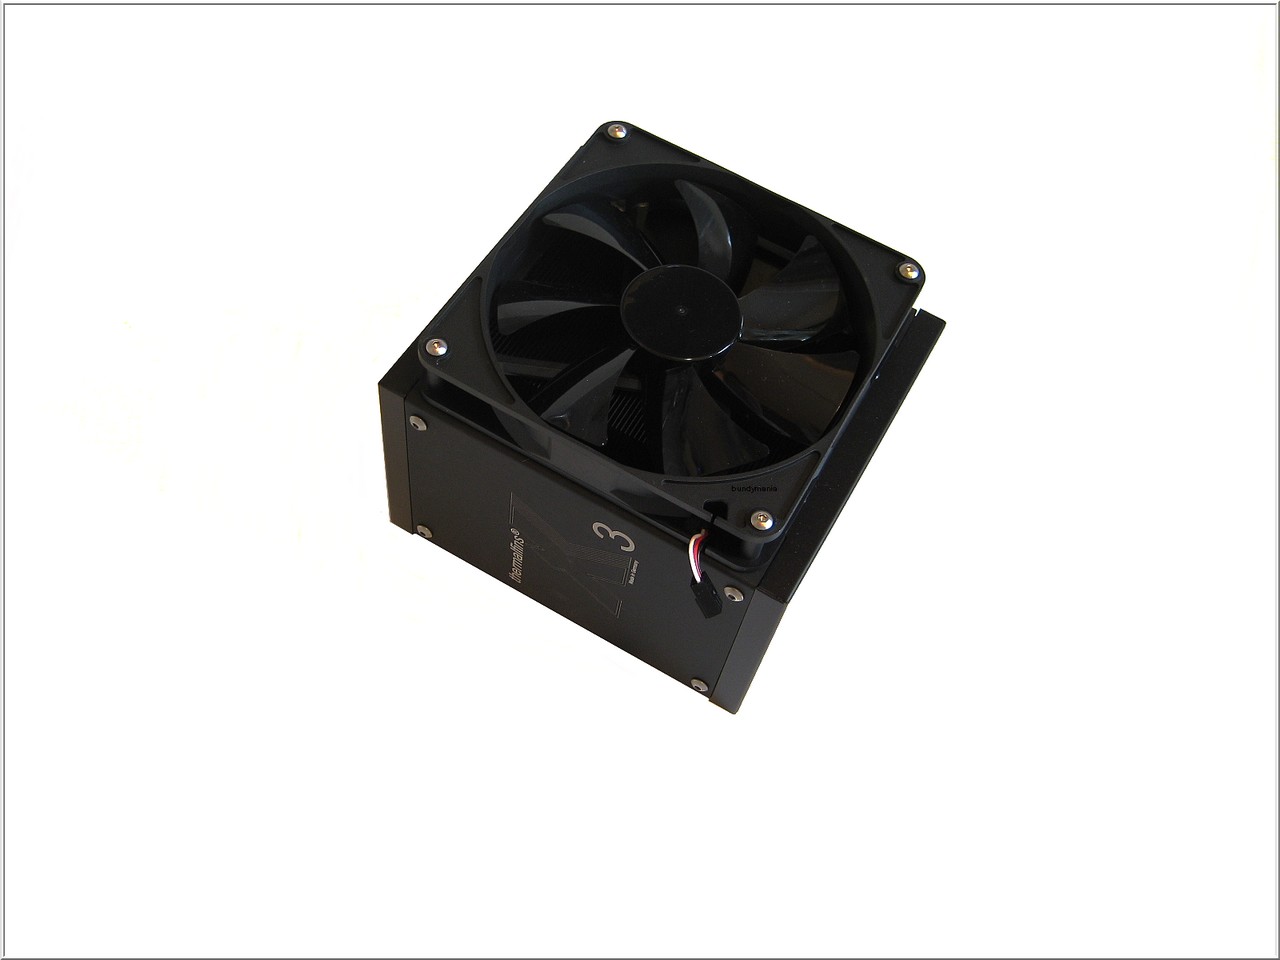
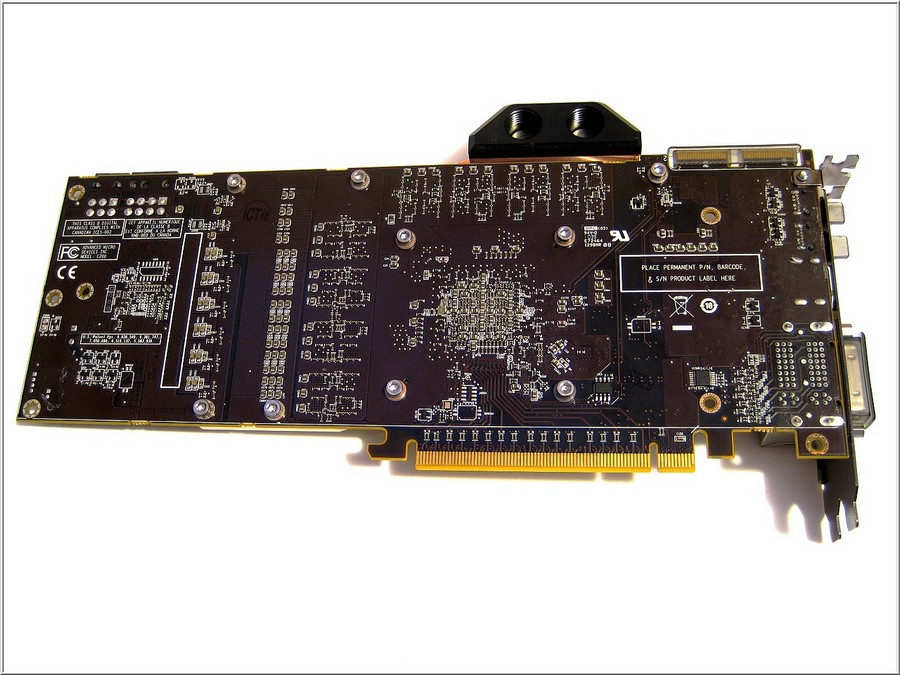
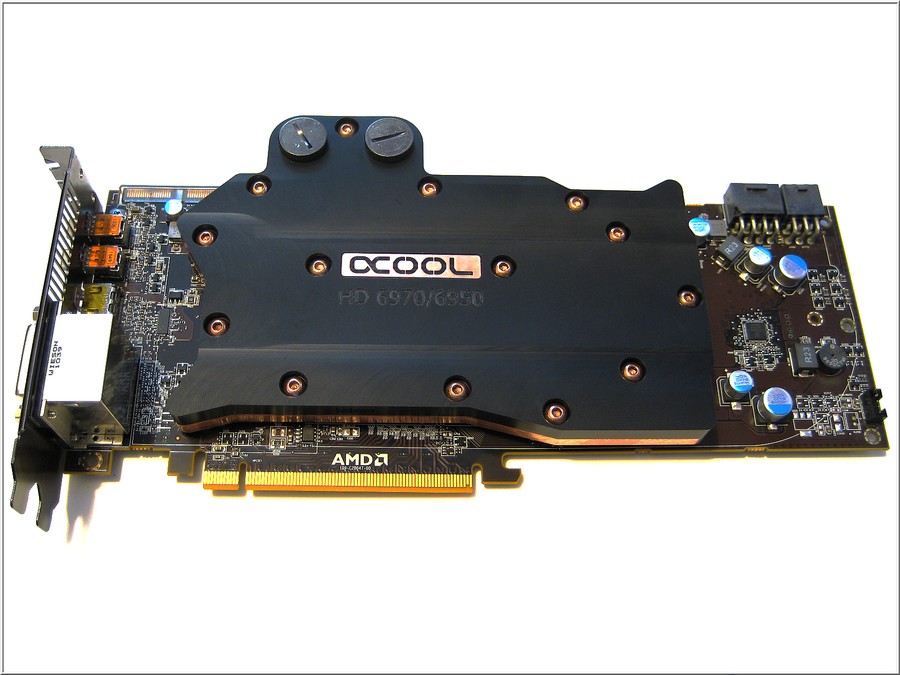
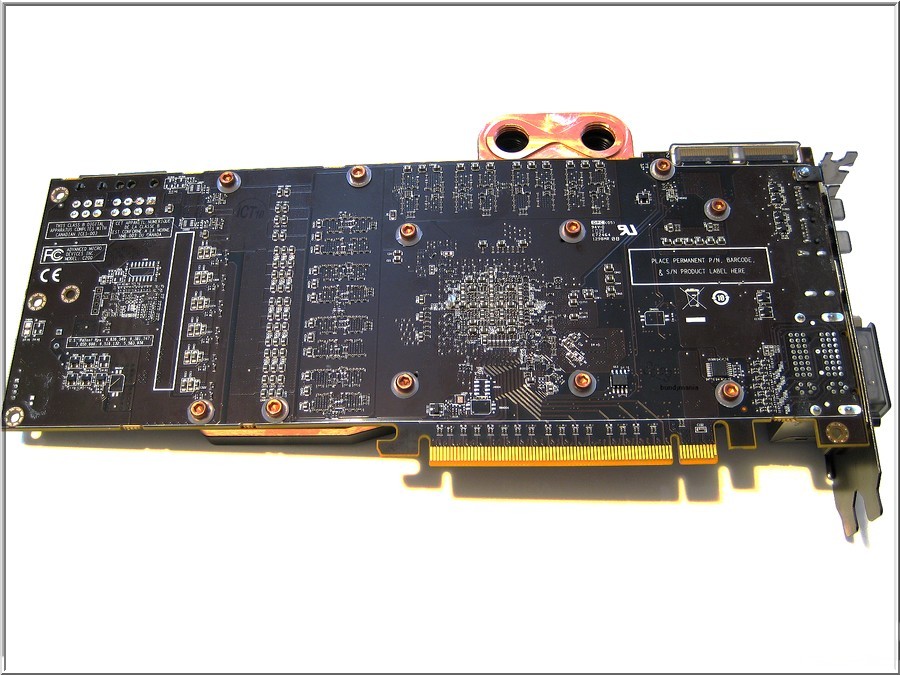
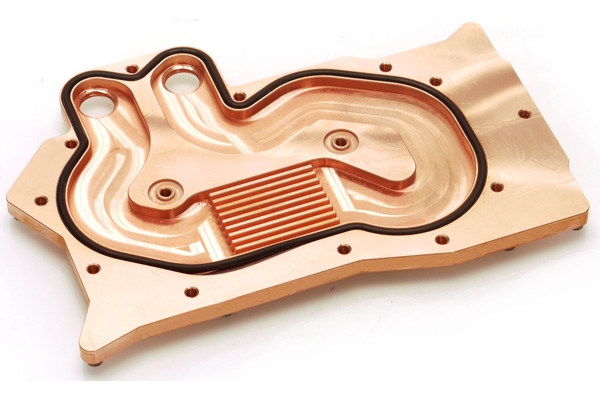
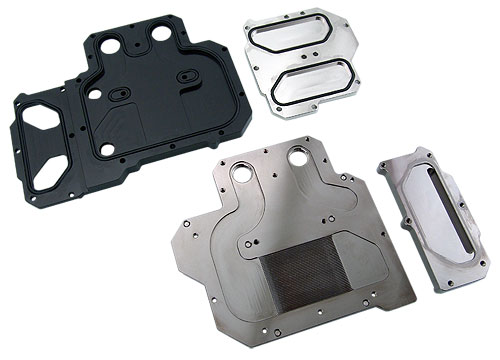
First CPU Waterblock from Bitspower looks like this and will be out in November
-
-
-
-
-
-


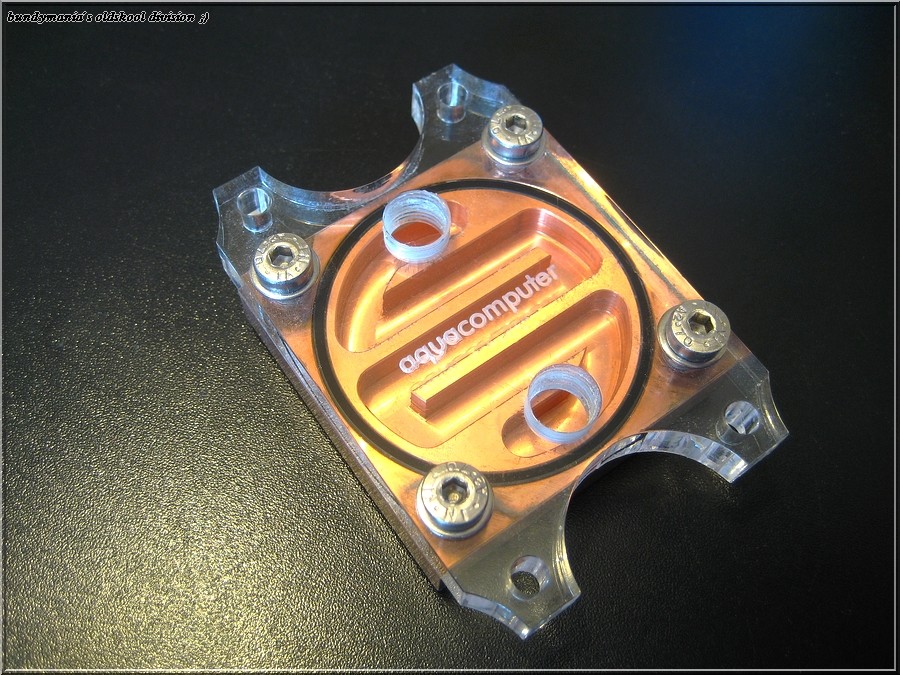
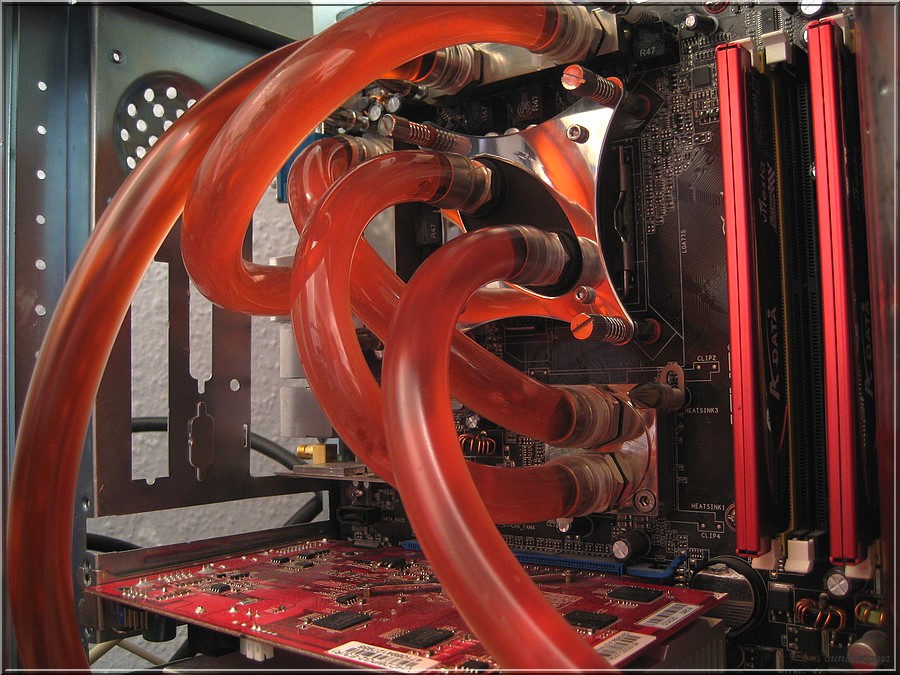

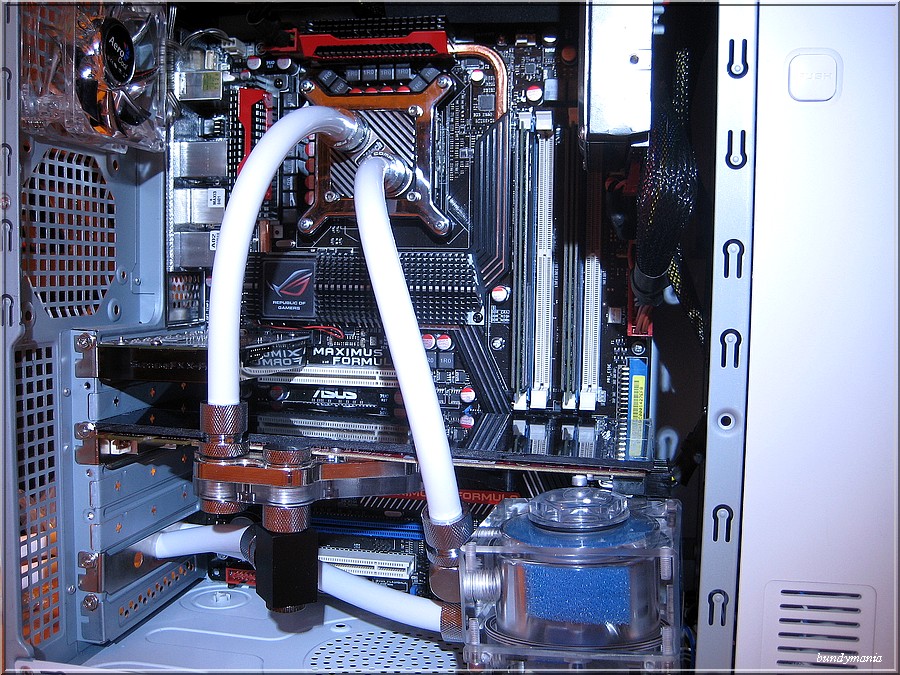
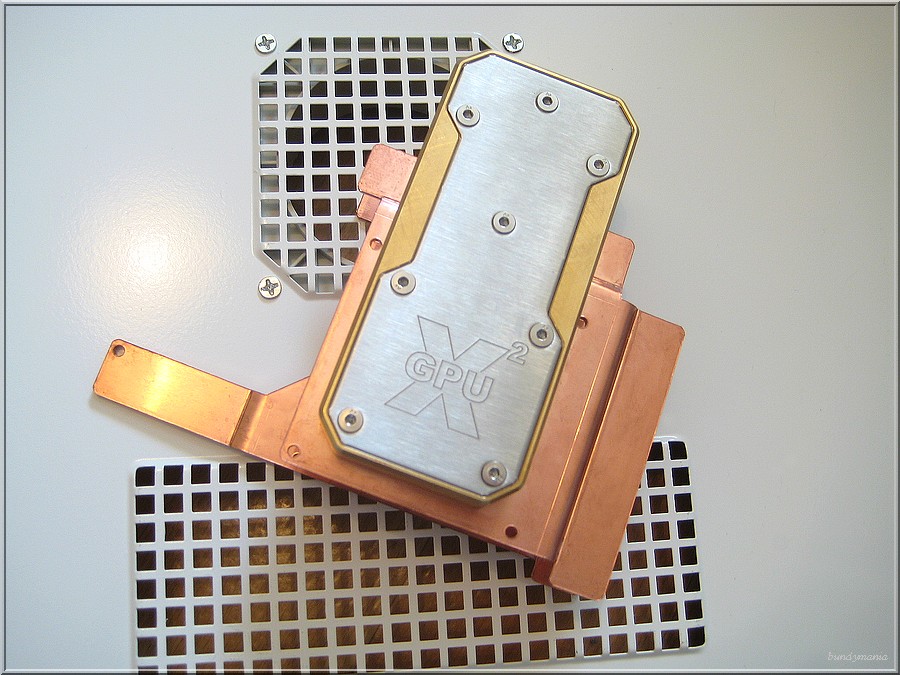
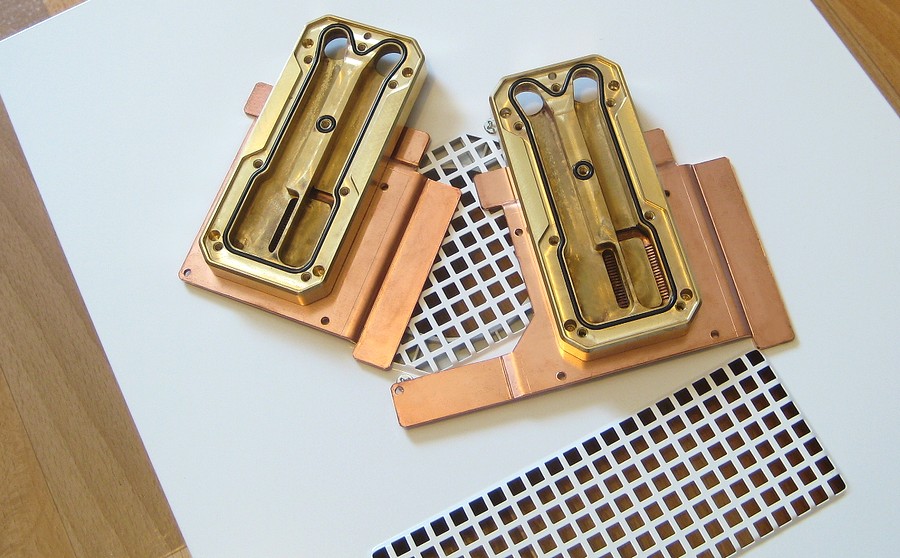
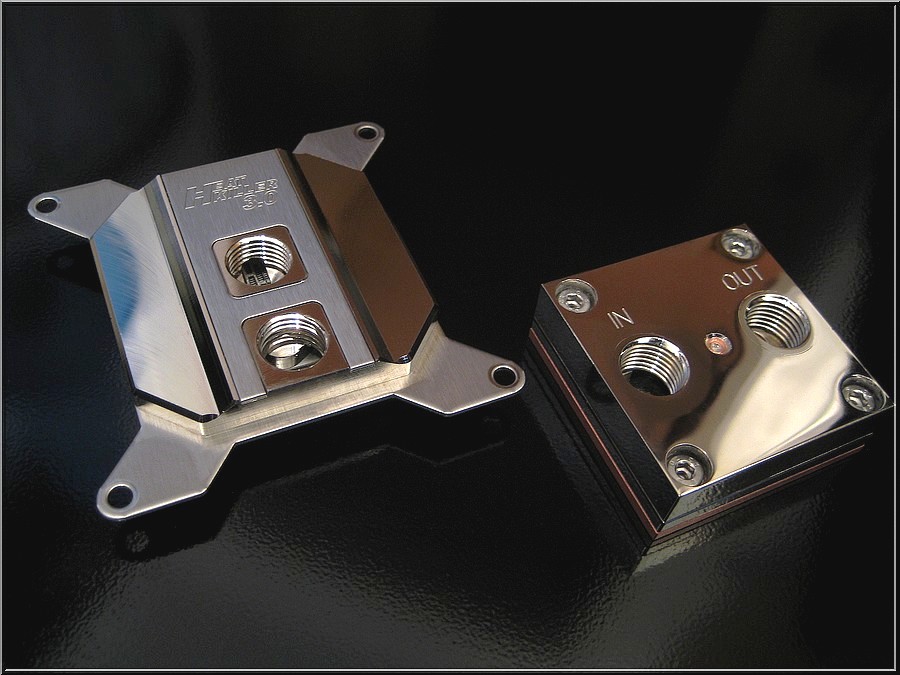
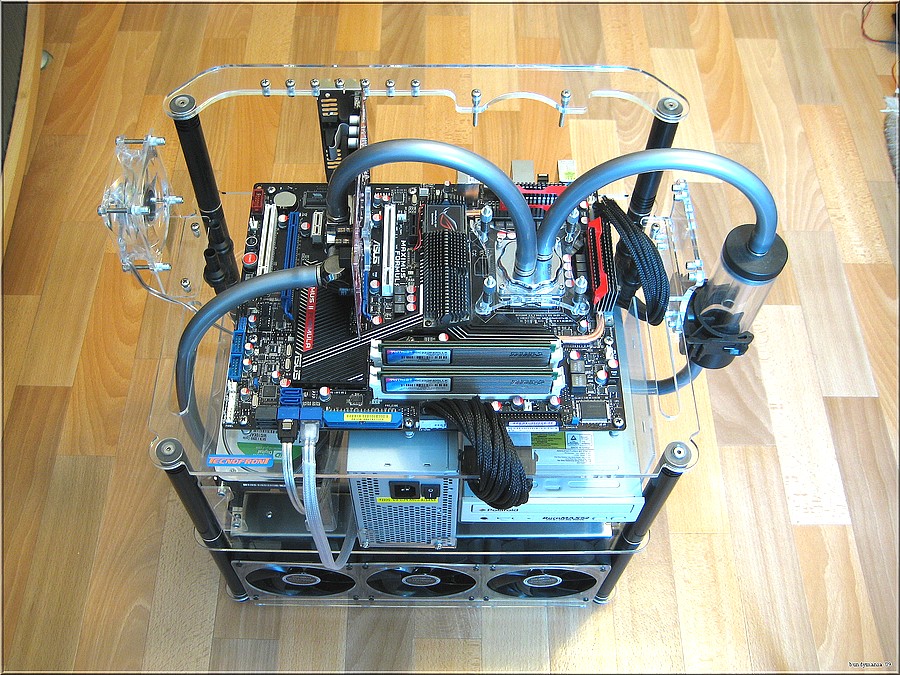
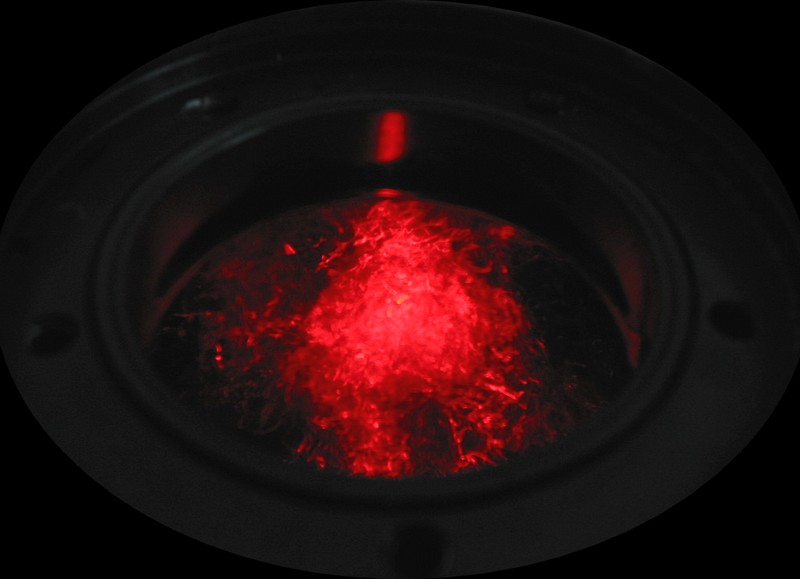


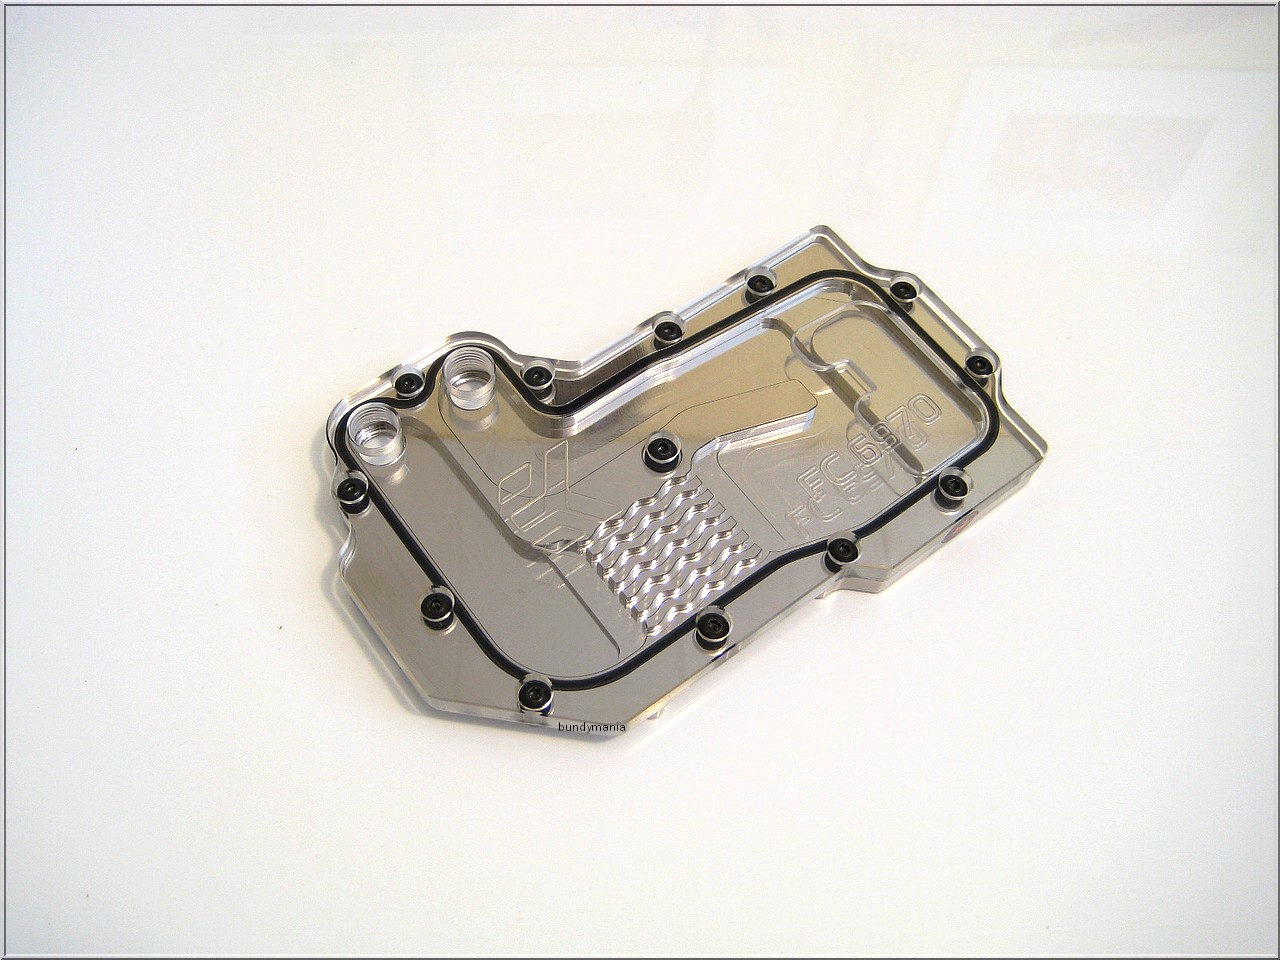
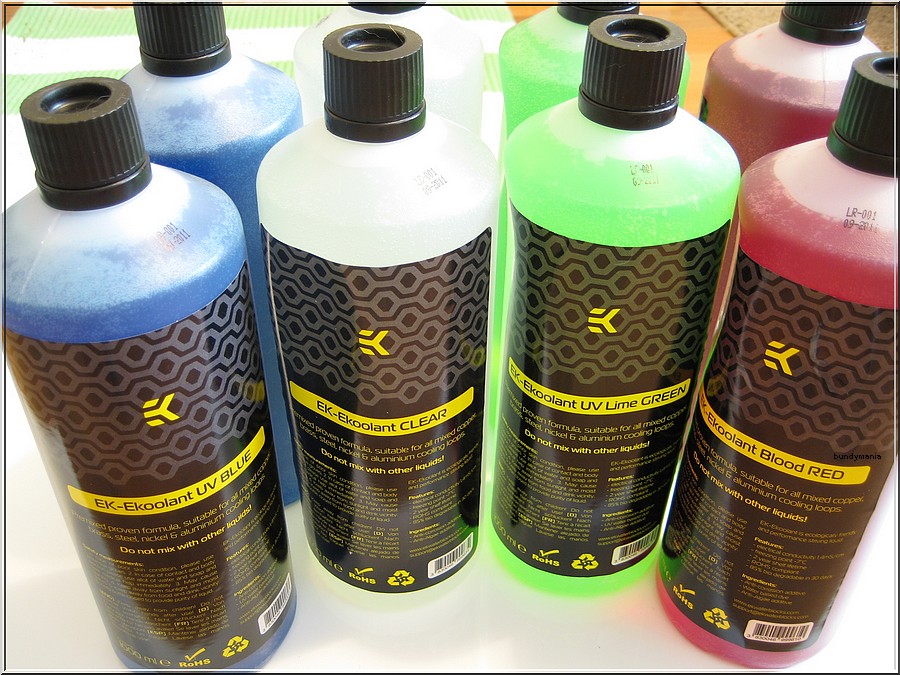


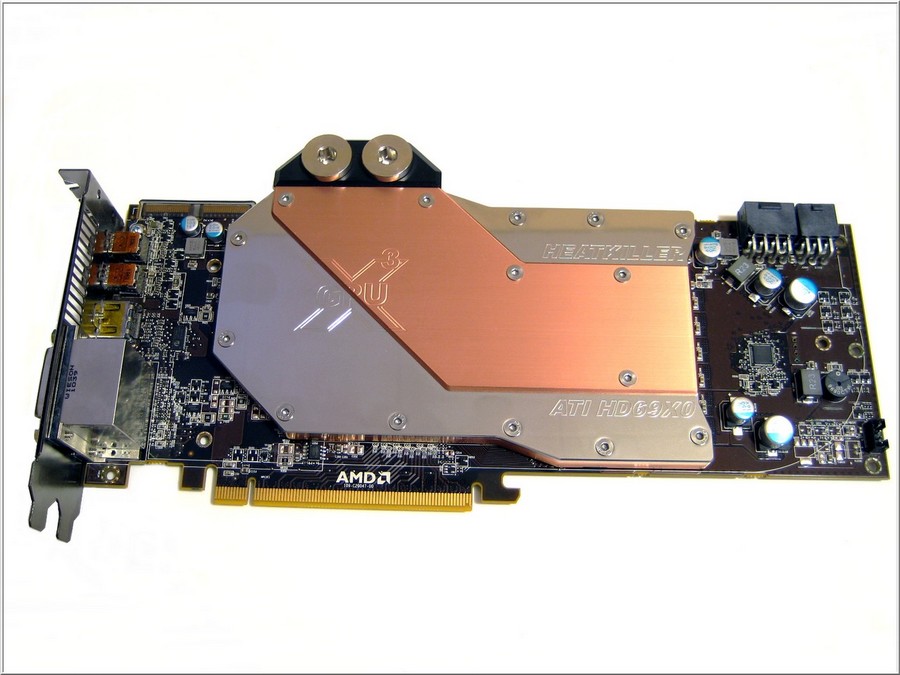

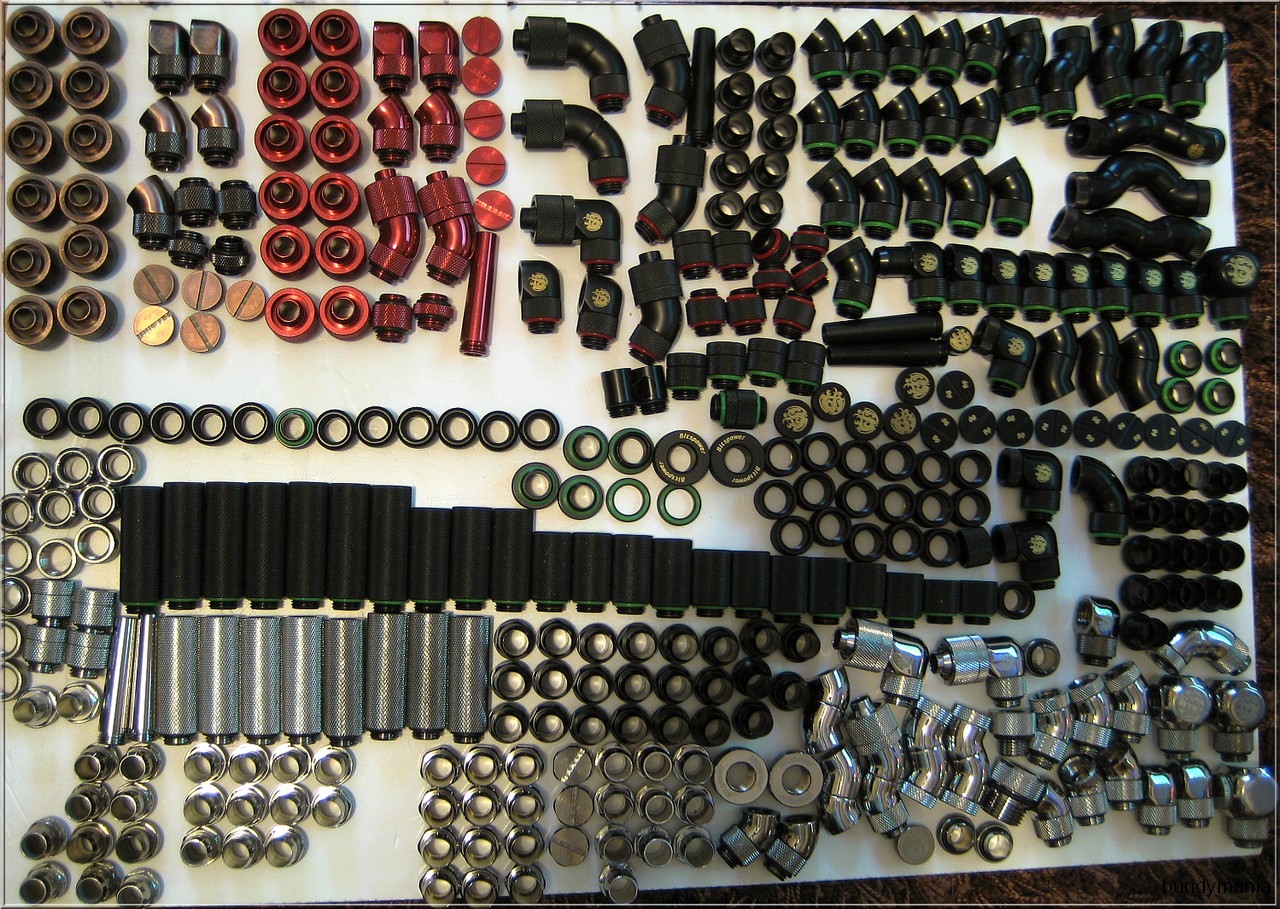
Bundymania Watercooling Parts and Systems Gallery
i Kjøling - Vann og ekstrem
Skrevet
Ice Dragon Cooling Store